Compare ceramic coating for new vs used cars in Savannah, GA. Learn timing, preparation needs, and how conditions impact durability and finish results.
Compare PPF vs wax in Savannah, GA, for long-term car protection. Learn durability, maintenance, and surface preservation to choose the right option wisely.
Discover how vinyl wrap UV protection helps preserve your vehicle’s paint and reduce sun fading in Savannah, GA.
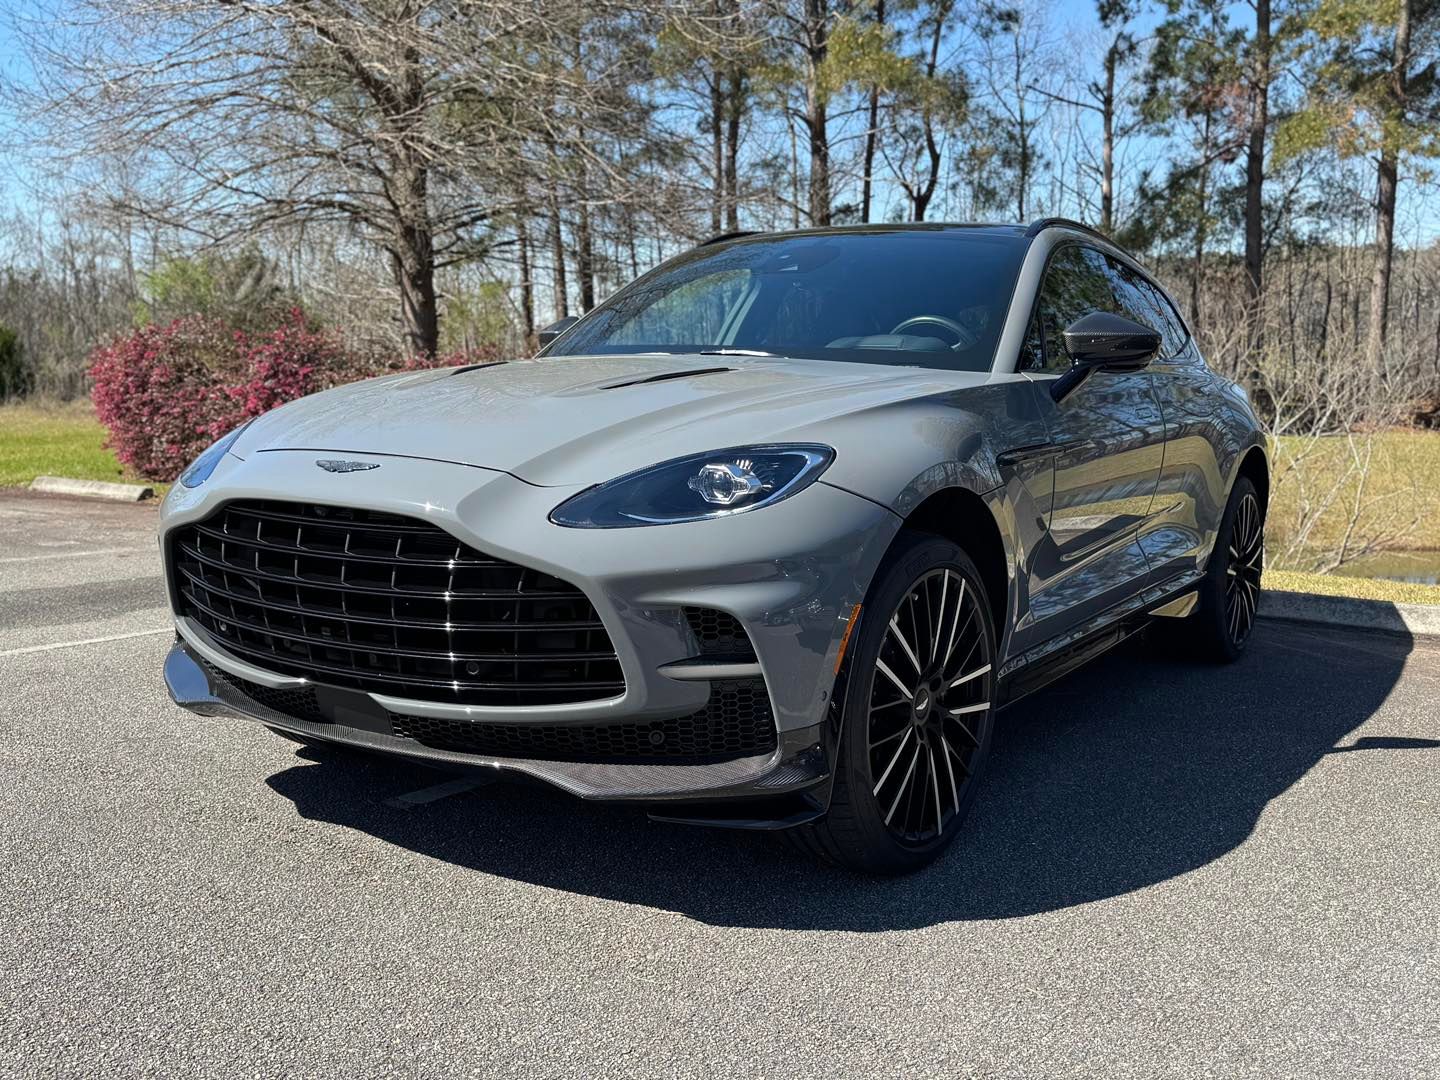
Learn the difference between graphene vs ceramic coating and discover which option offers better protection for your vehicle in Savannah, GA.
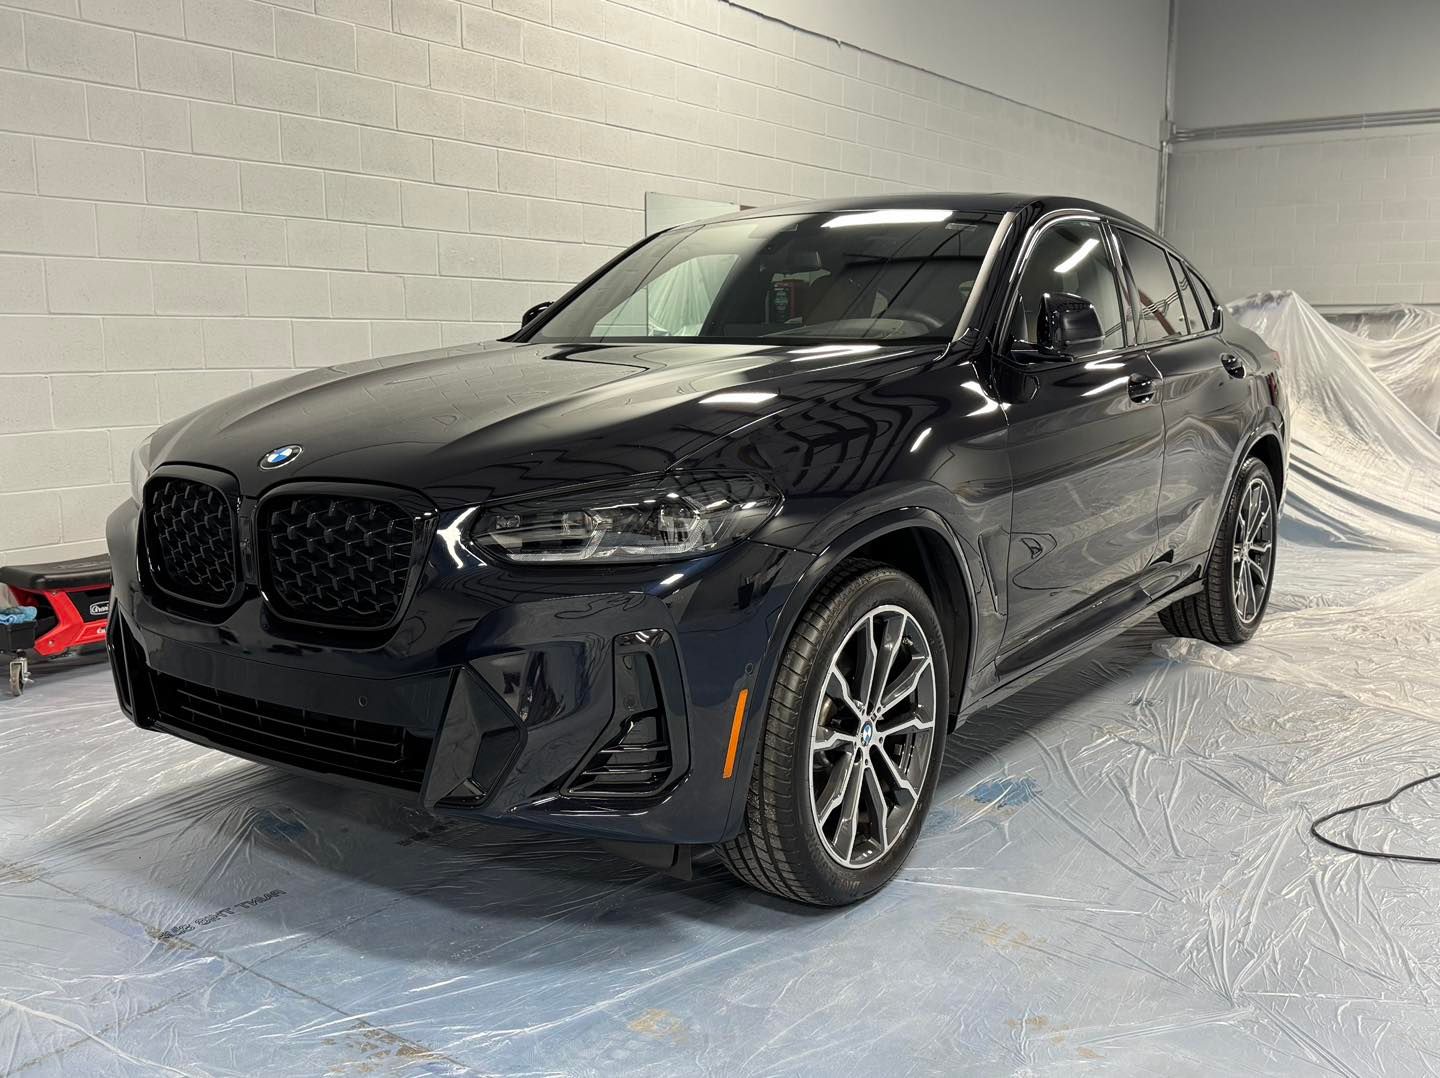
Discover paint protection film benefits for preventing long-term paint damage and preserving your vehicle’s finish in Savannah, GA.
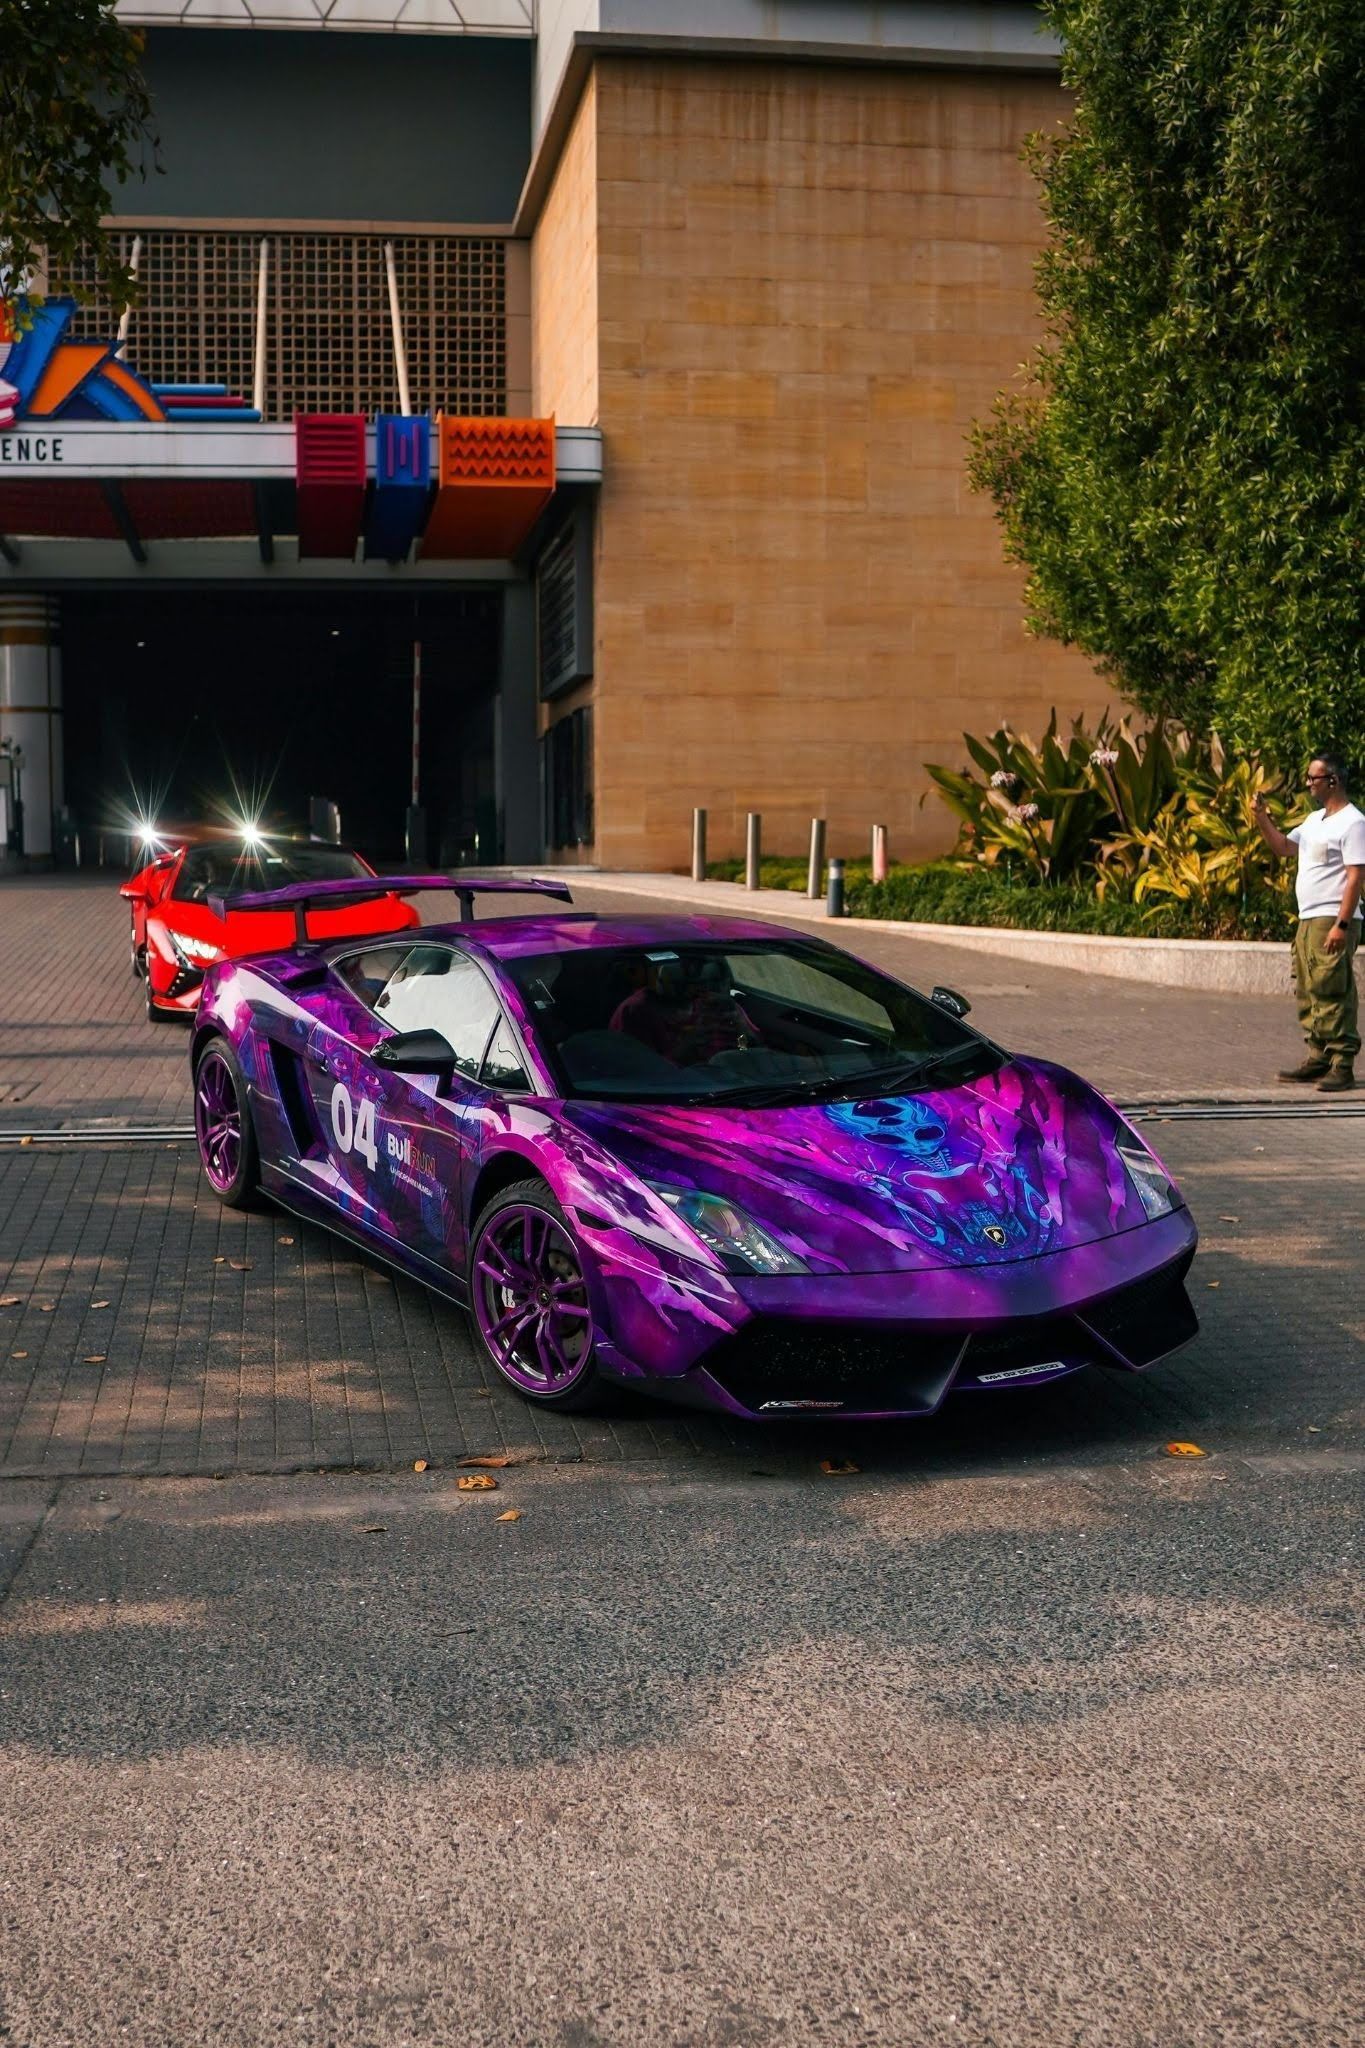
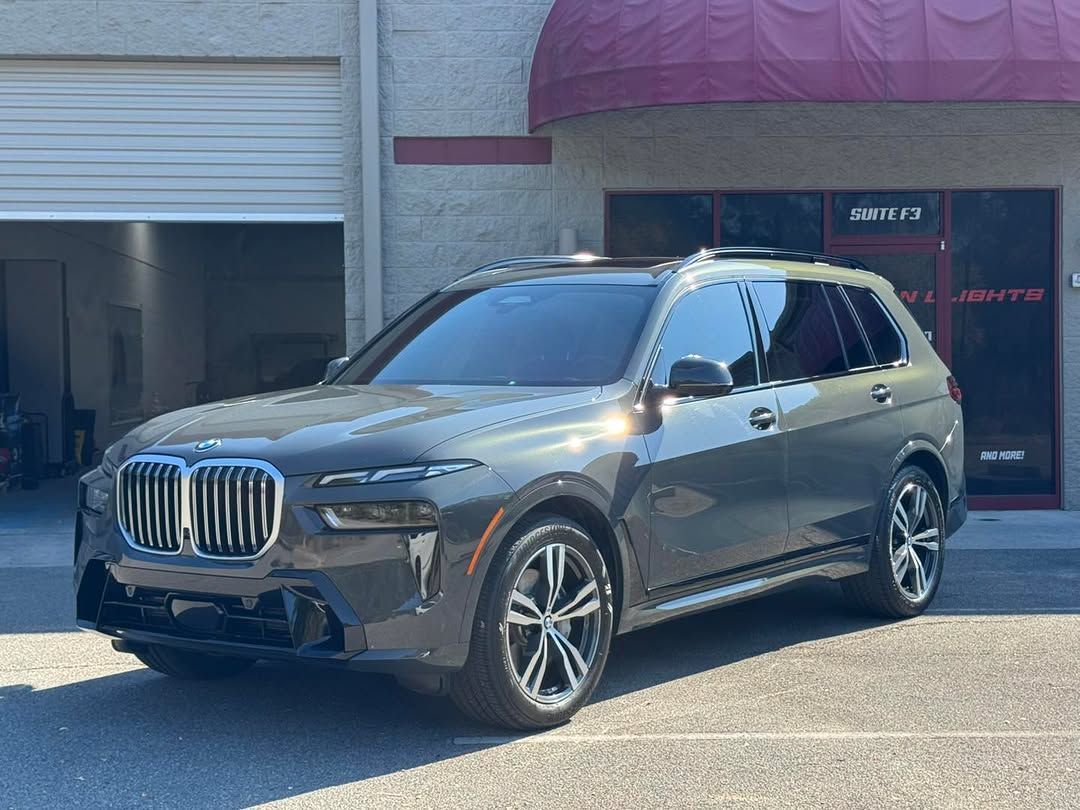
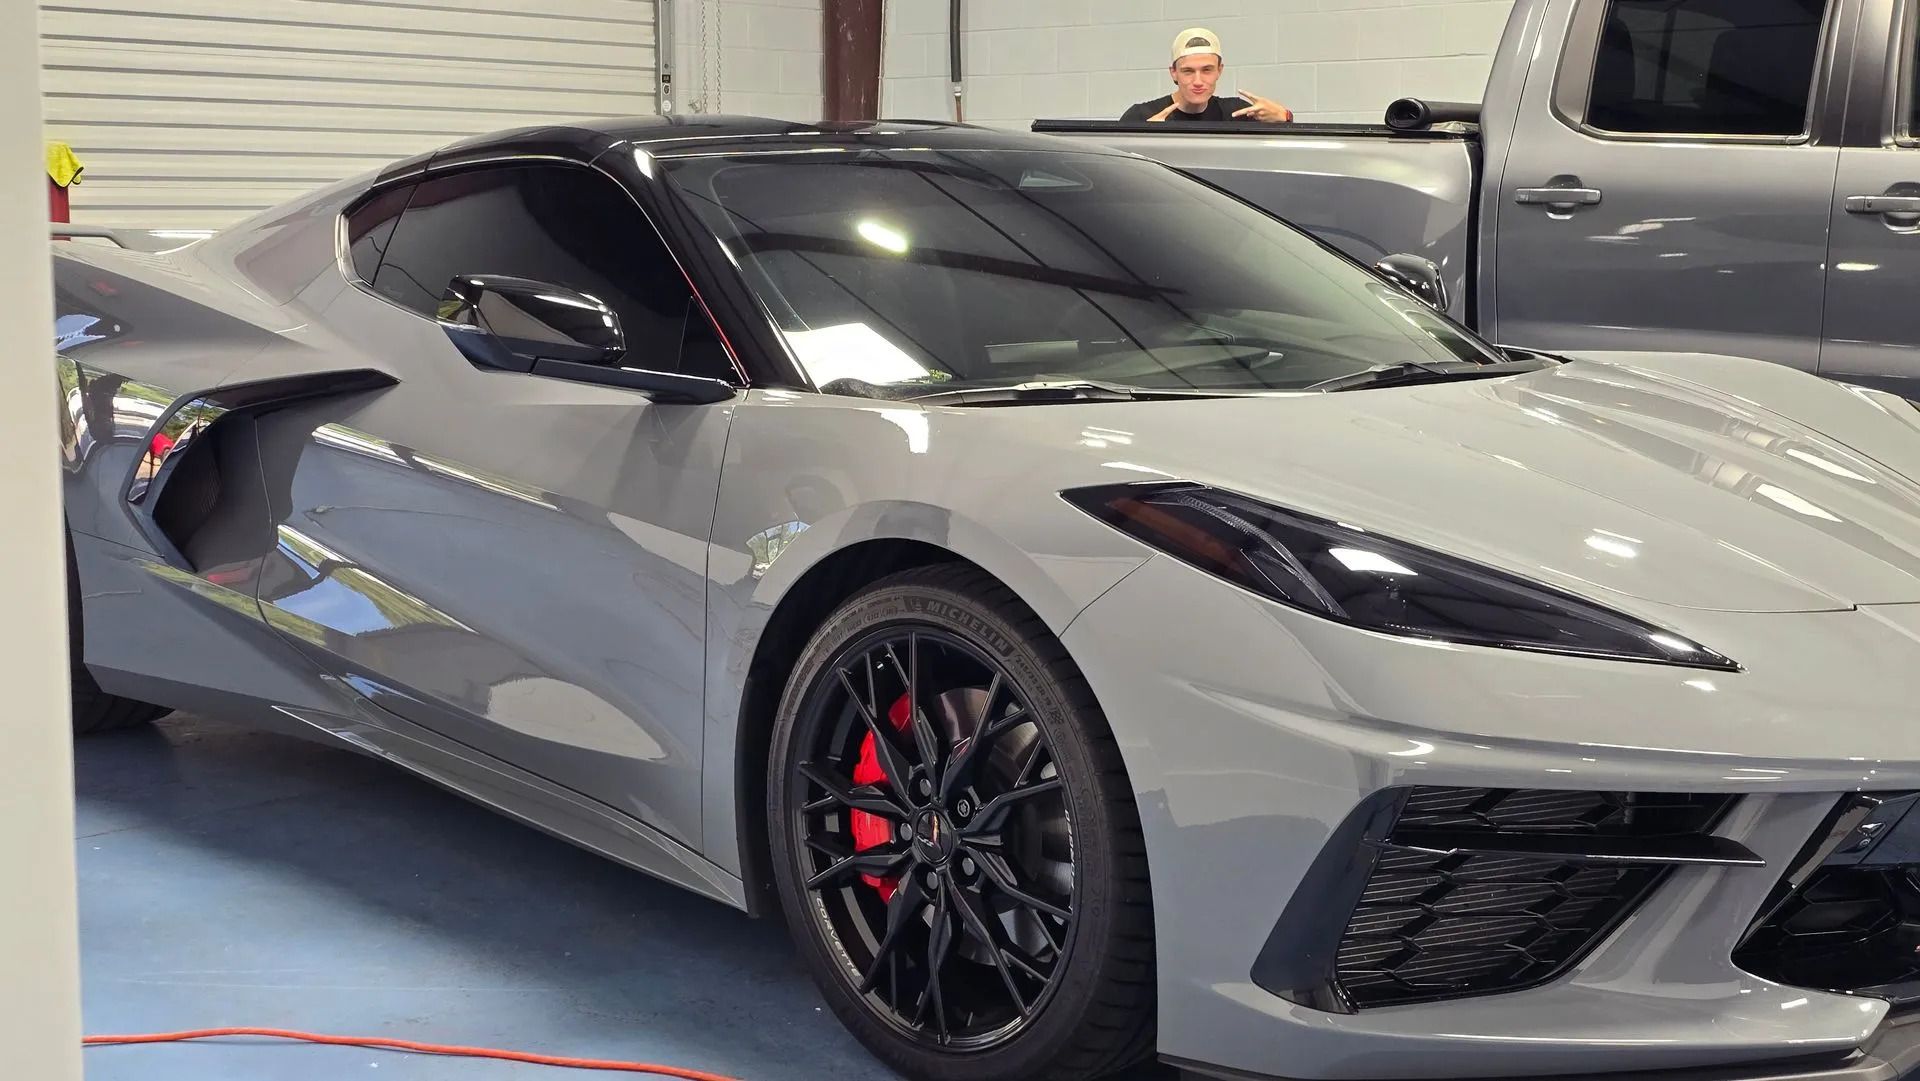
Vinyl wrap application for vehicle surfaces in Savannah, GA, enhances color, finish, and paint protection by Northern Lights Home & Auto Coatings.
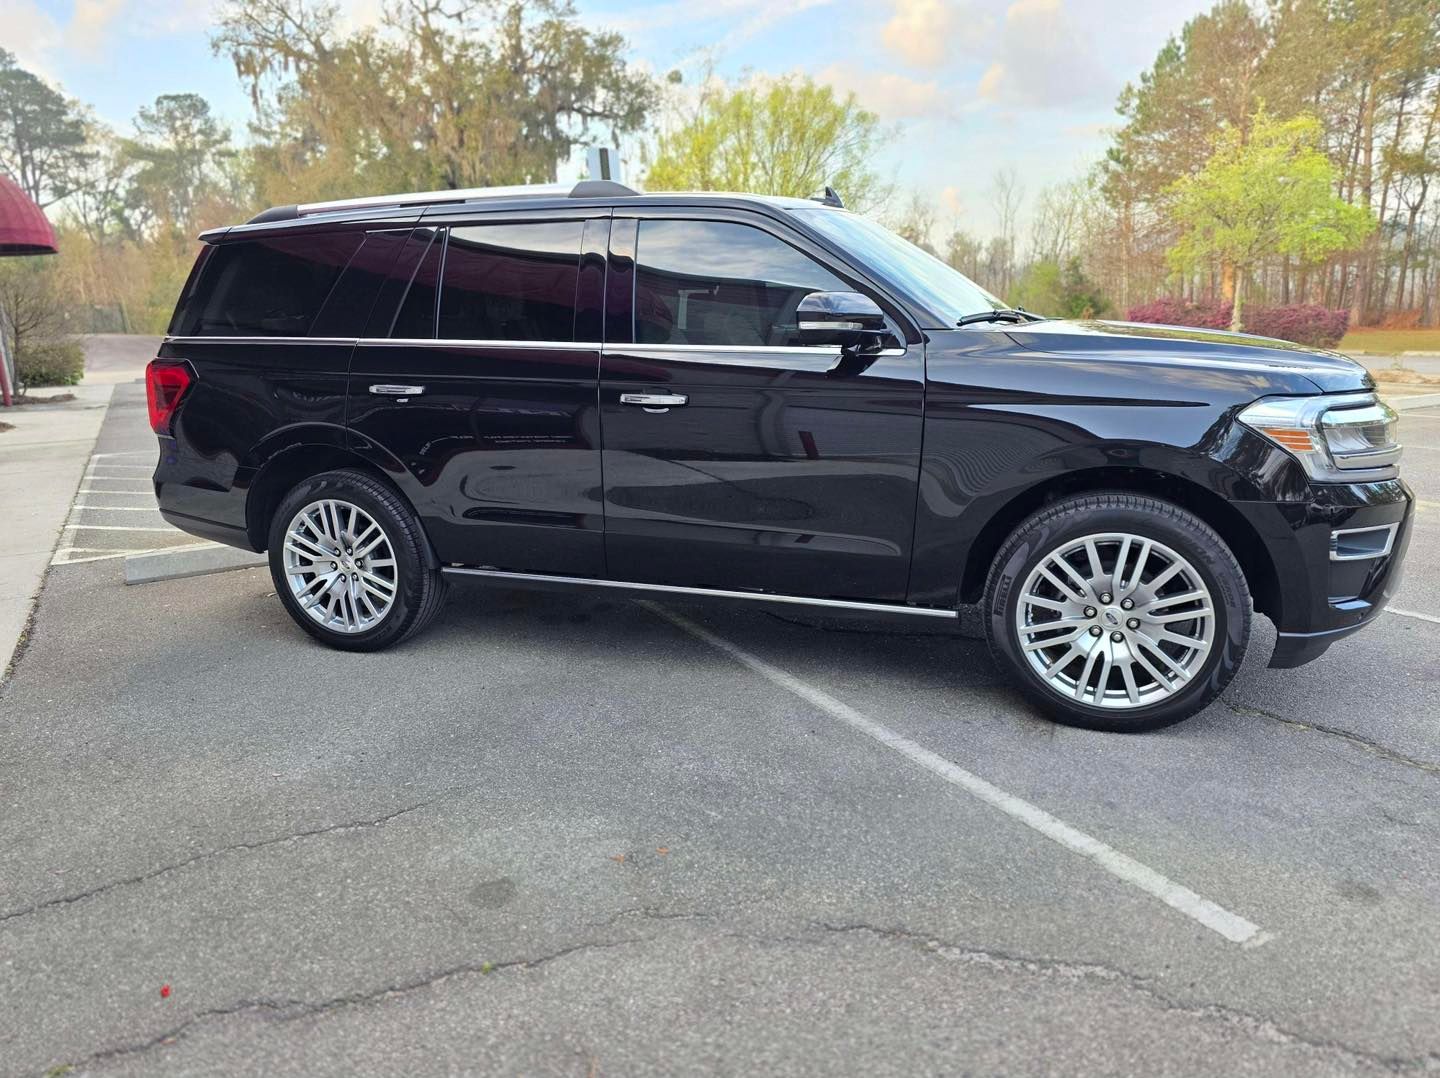
How Ceramic Coatings Protect vehicle paint from moisture, contaminants, and buildup during daily driving in Savannah, GA, for lasting protection.

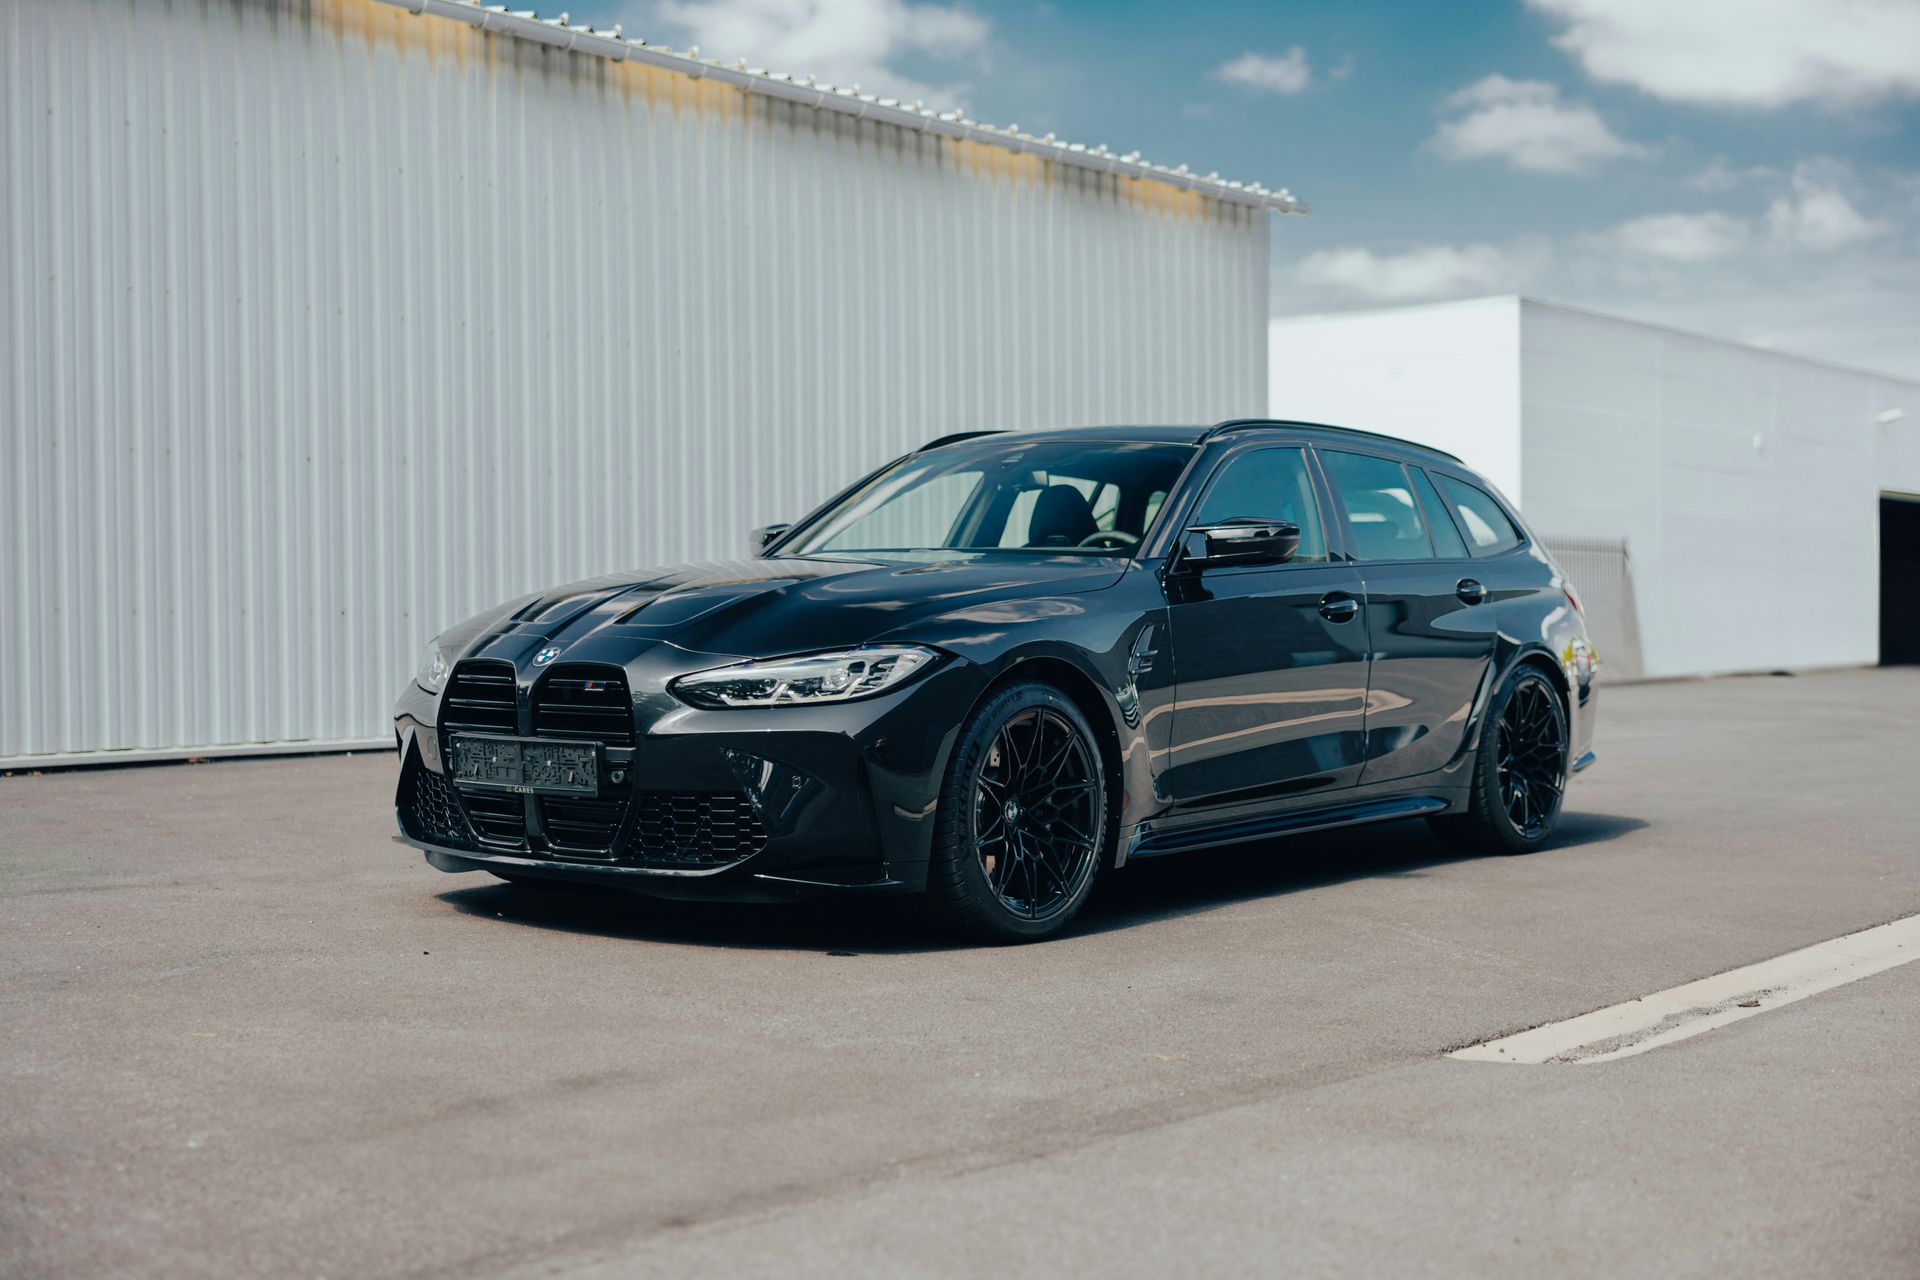
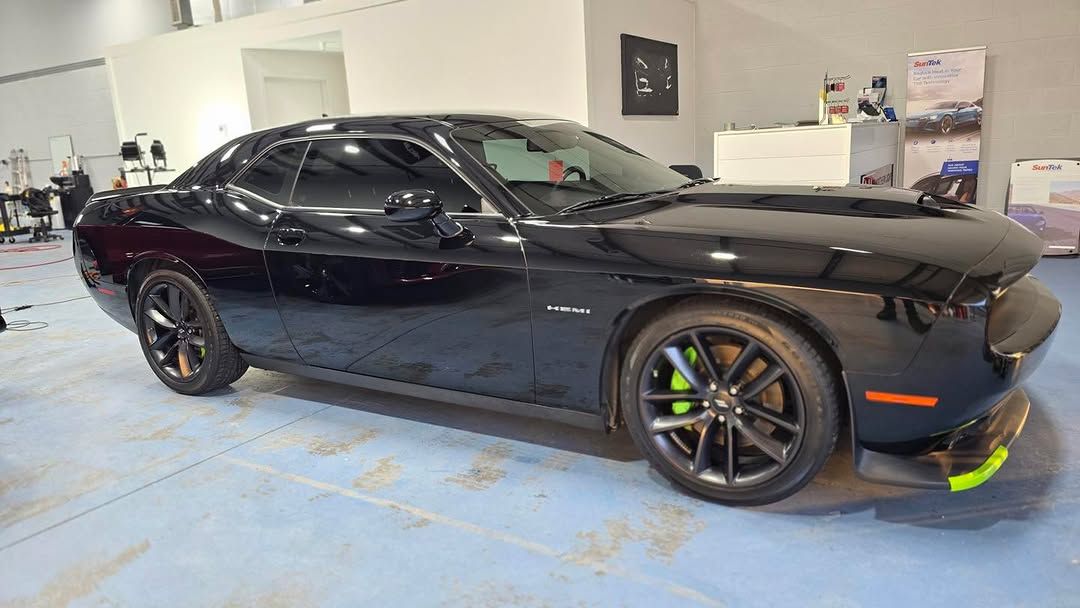
Paint protection film purpose: protects vehicle paint in Savannah, GA, from road debris, scratches, and light damage while preserving the finish.
Learn how vinyl wrap helps customize vehicle color, finish, and style while preserving original paint with professional vinyl wrap services in Savannah, GA.
Learn what paint protection film does to help reduce chips and everyday road wear while supporting surface protection for vehicles in Savannah, GA.