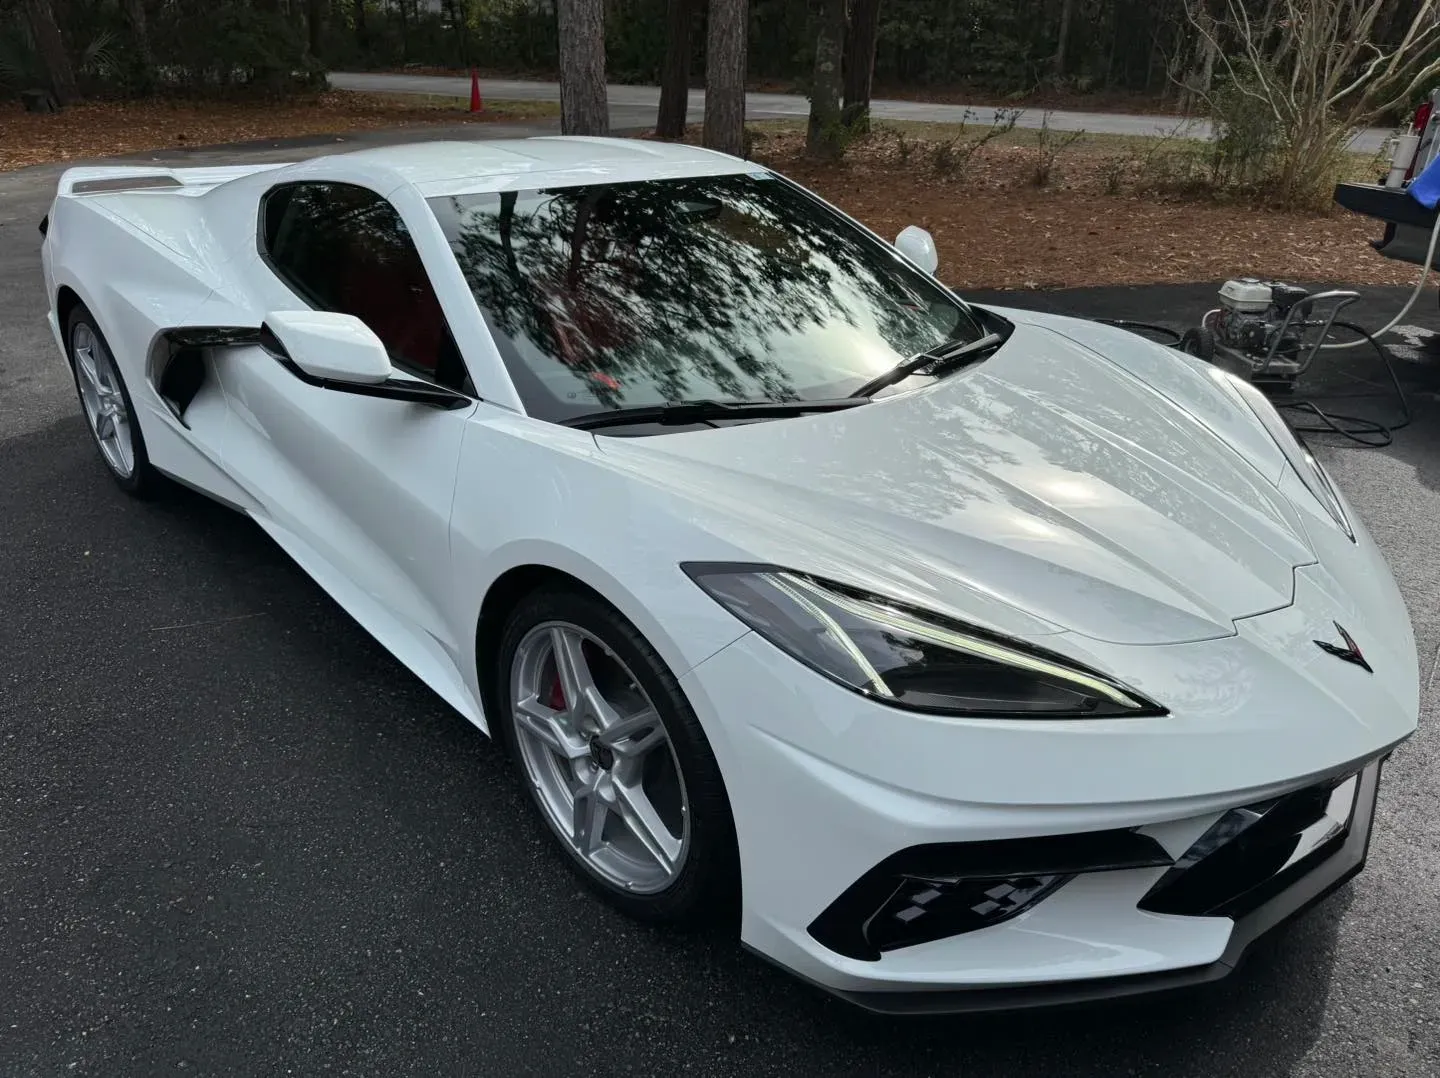
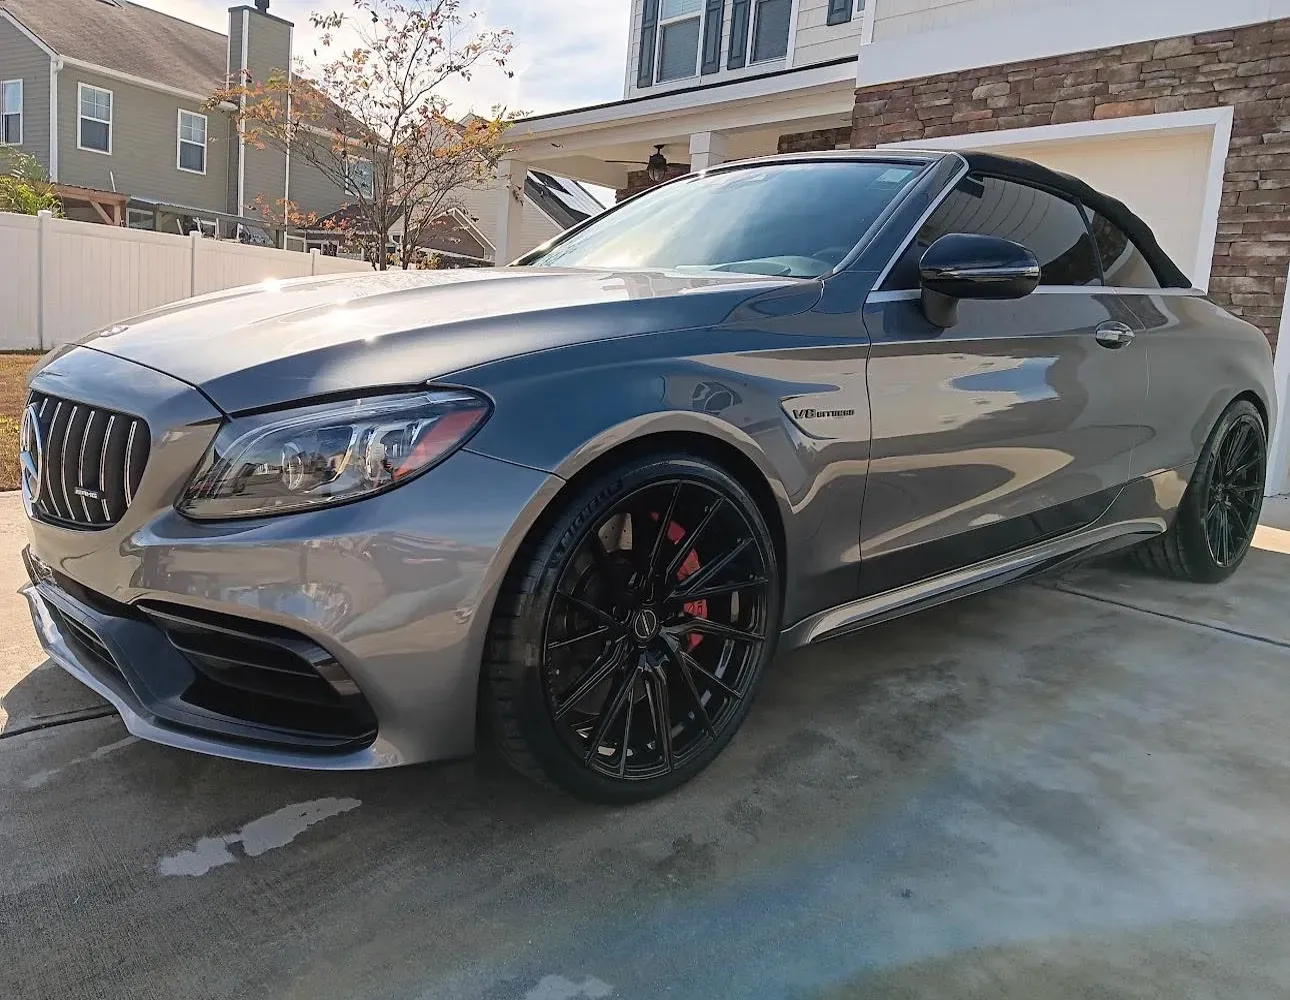
Stepping onto a journey to improve the protection and aesthetic appeal of your vehicle with a ceramic coating is often met with questions regarding its duration. Here is our comprehensive guide that answers this query in full detail, providing insights and timelines that ensure you make well-informed decisions for your car's care and well-being. From exploring stages of curing to understanding factors affecting durations, let's dive deep into this world of ceramic coating to discover optimal timelines for achieving unparalleled results!
Factors Affecting Ceramic Coating Cure Time
When it comes to
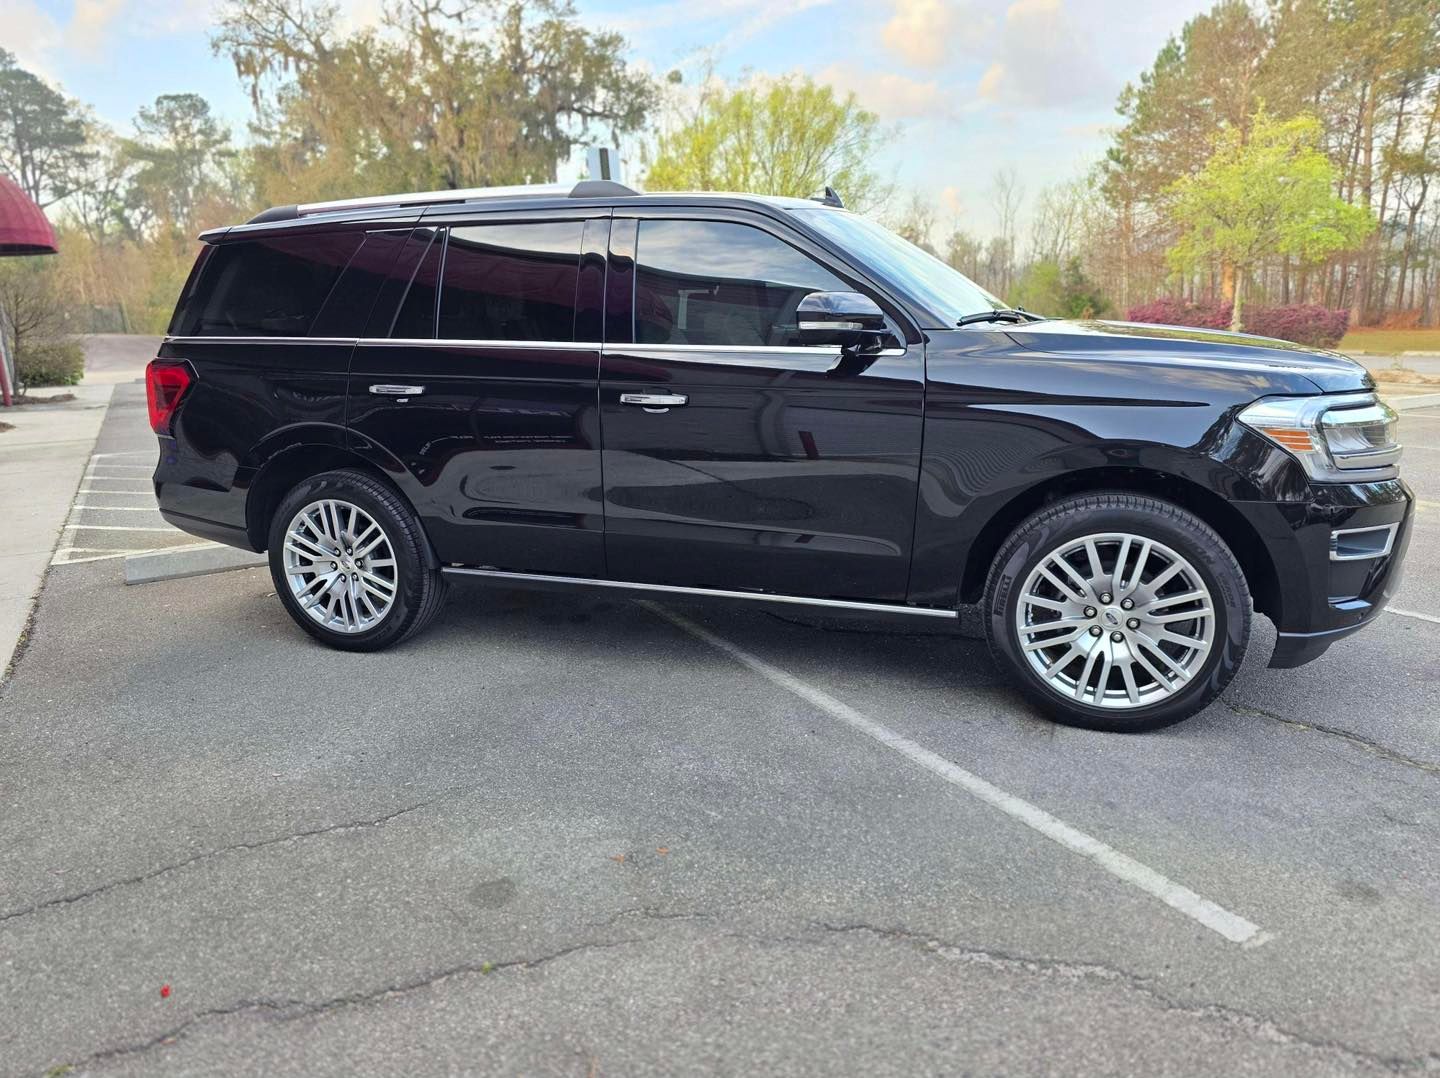
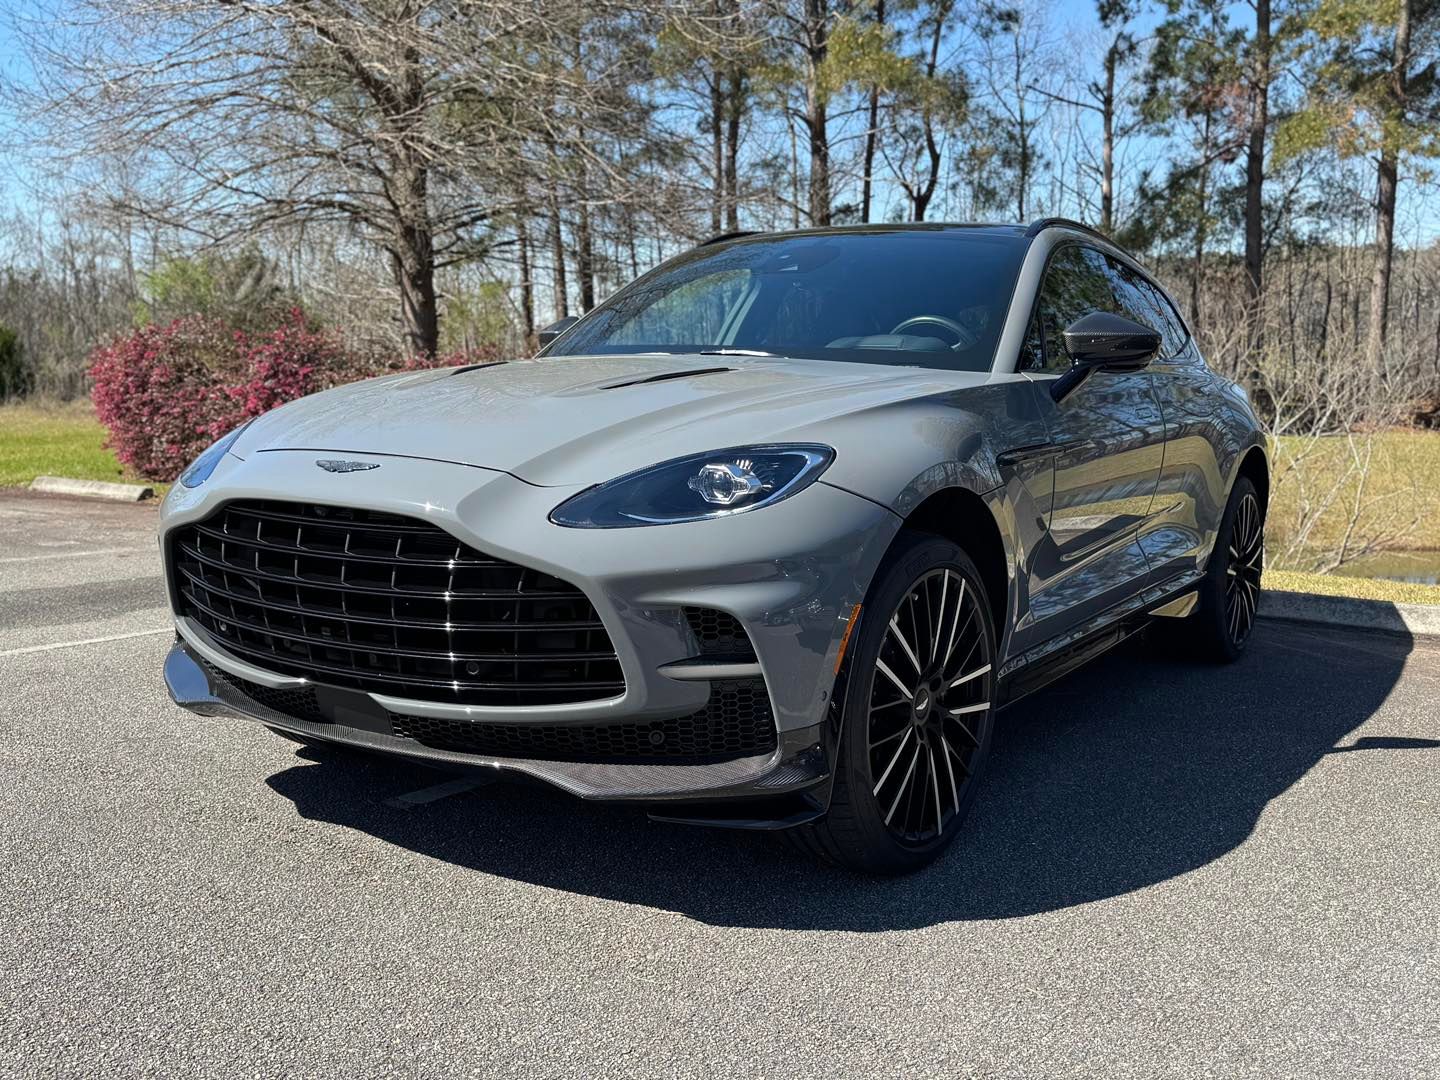
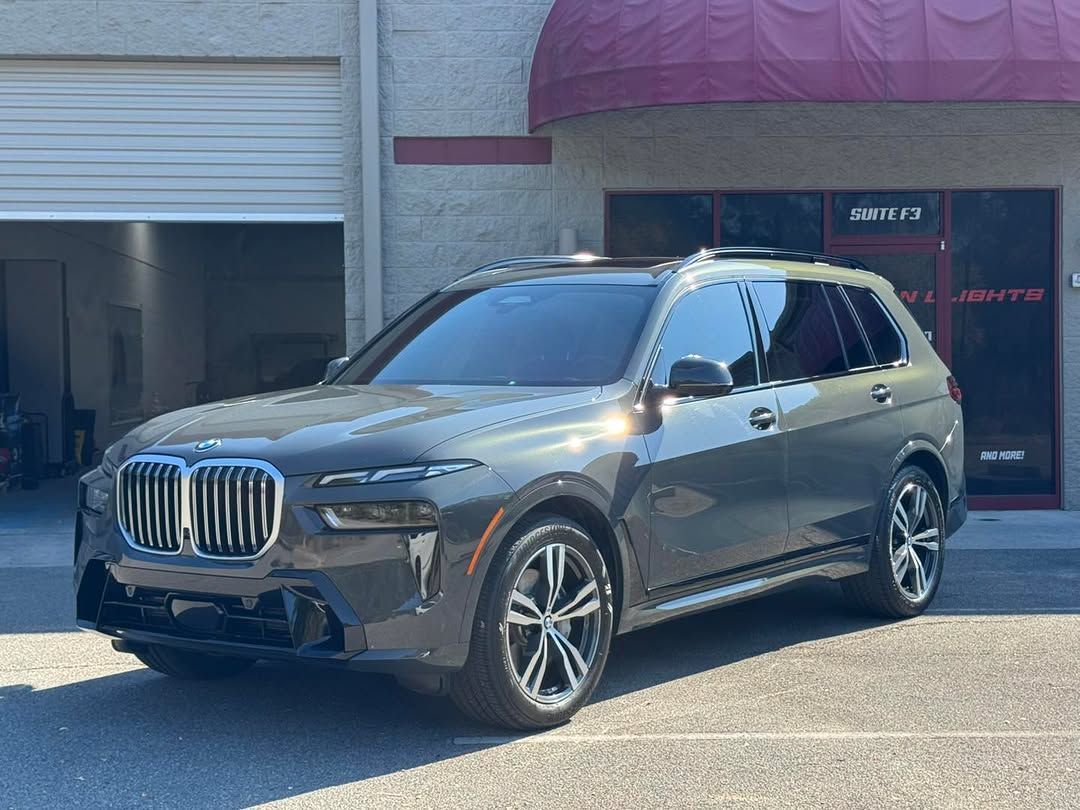
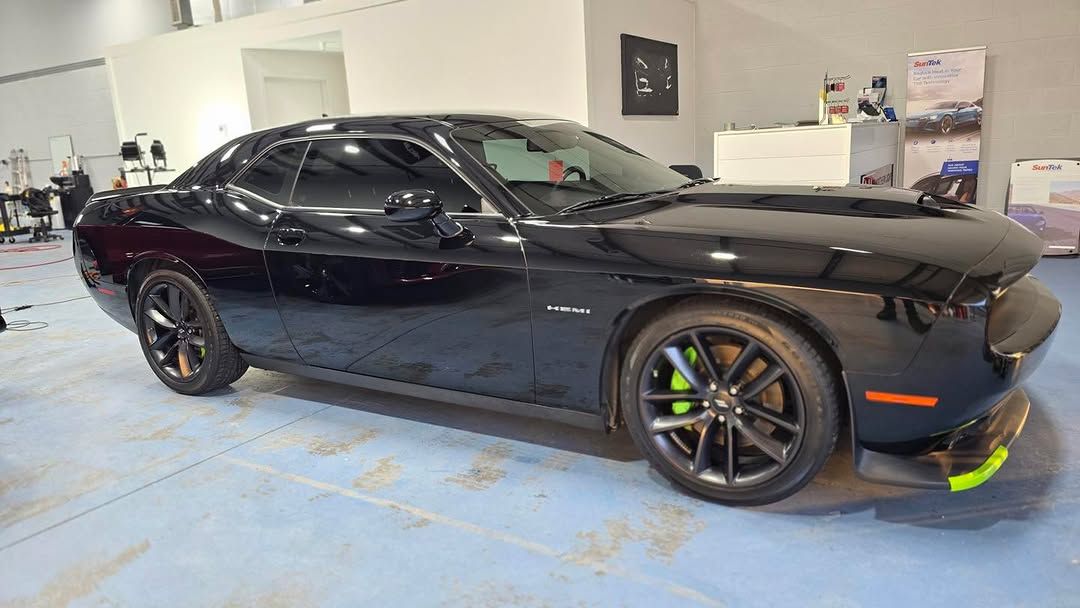
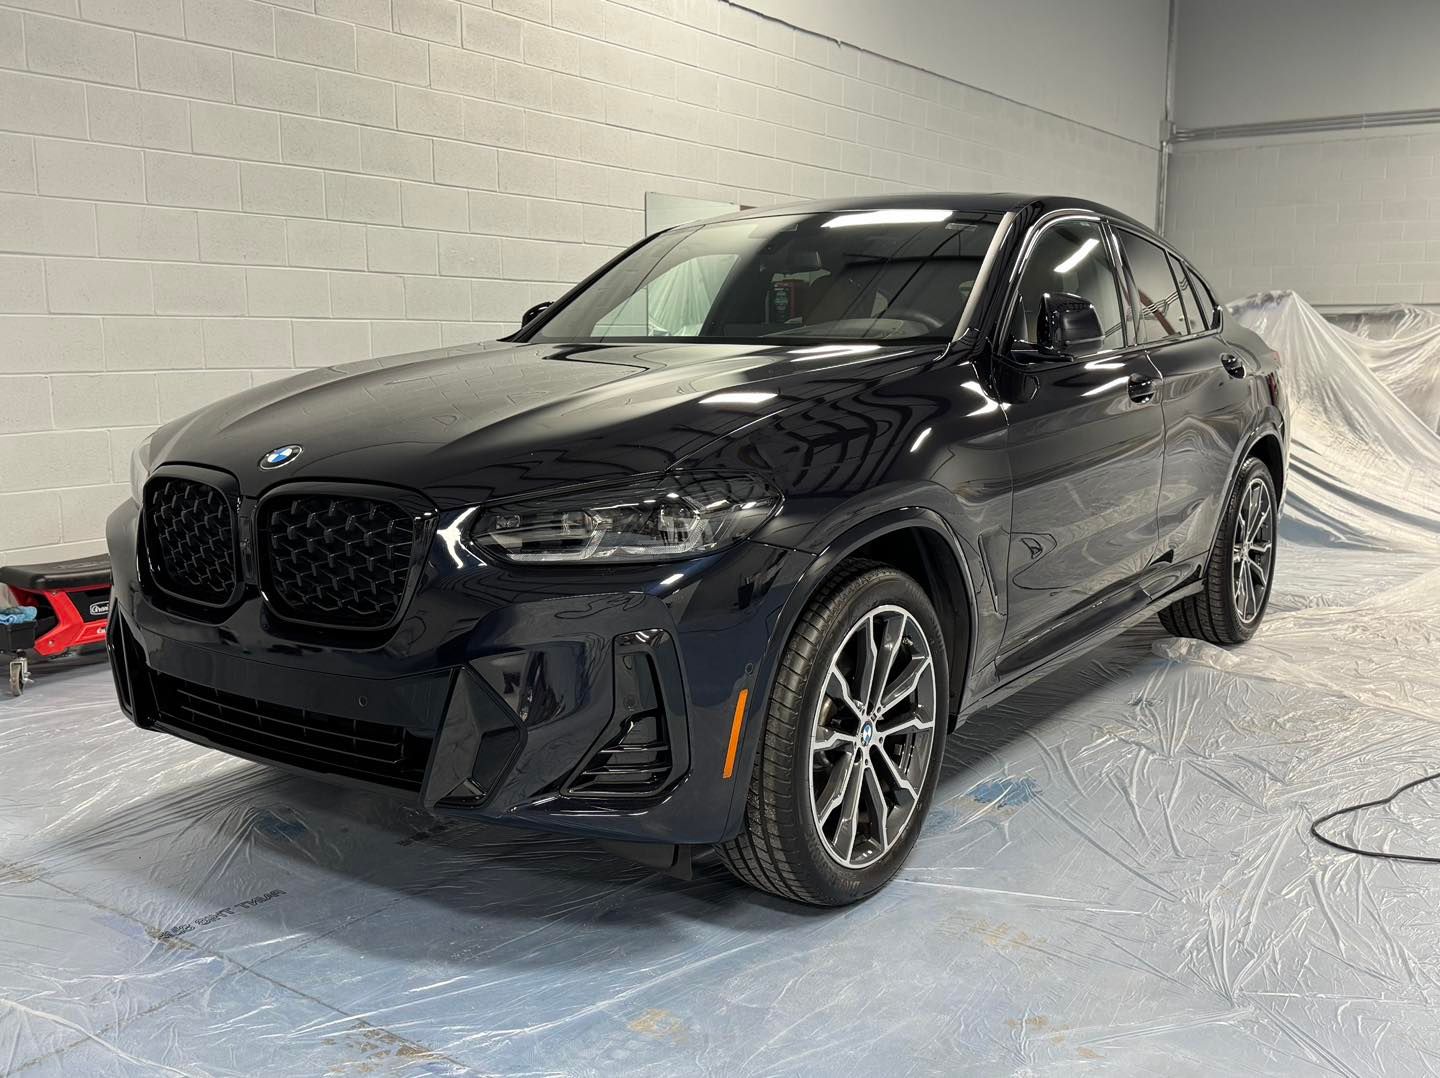
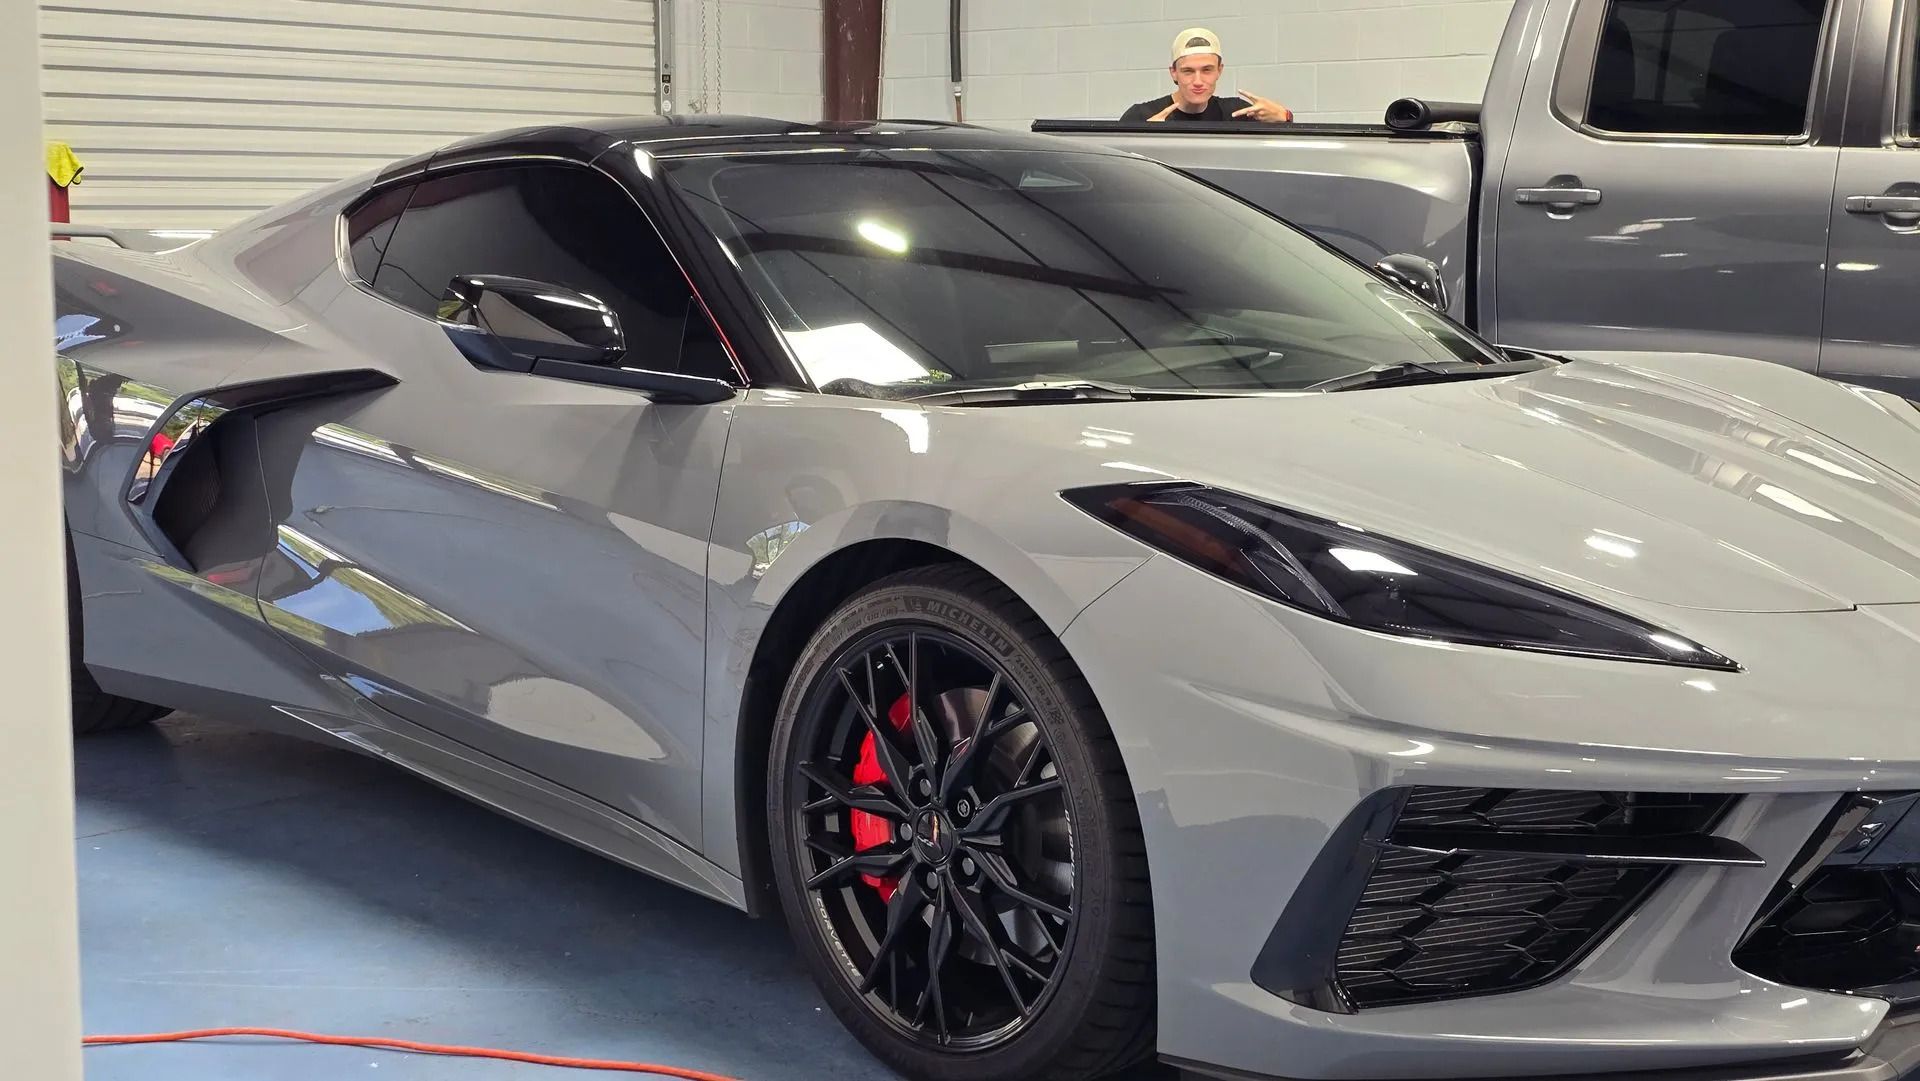
ceramic coating on cars, one of the most common questions that detailers hear is, "How long does it take for the coating to cure?" The answer to this question is not a simple one, as several factors can affect the curing time. Understanding these factors is crucial to set realistic expectations for your ceramic coating application.
One key factor that can influence the curing time of ceramic coatings is the specific product being used. Different manufacturers may have varying instructions and guidelines for their coatings, including recommended curing times. It's important to carefully follow the manufacturer's instructions and adhere to their recommendations in order to ensure the best results.
Additionally, the application process itself can impact curing time. Factors such as the thickness of the coating and the technique used by the detailer can play a role in how quickly the coating cures. Thicker coatings may require more time to fully cure, while thinner applications may dry faster. The skill and experience of the detailer can also contribute to a more efficient application process.
Weather Conditions and Coating Thickness
Weather conditions, such as temperature, humidity, and even the presence of rain or intense sunlight, can have a significant impact on the curing time of ceramic coatings. Additionally, the thickness of the coating itself can also play a role in how long it takes to cure.
Generally, higher temperatures can speed up the curing process, while colder temperatures can slow it down. However, extreme heat can also cause issues such as uneven drying or premature hardening, so it's crucial to find the right balance. For example, if you're applying a ceramic coating in scorching summer heat, finding a shaded area or working indoors may help ensure proper curing.
Humidity levels can also affect curing time. High humidity can prolong the drying process, while low humidity may cause the coating to dry too quickly. Balancing temperature and humidity is essential for optimal results when applying ceramic coatings.
Another important consideration is rain or exposure to moisture during the curing process. Moisture can interfere with the bonding process of the coating and potentially lead to subpar results. Ideally, you should aim to apply your ceramic coating when there is no rain in the forecast and ensure that the vehicle remains dry during the initial curing period.
Environmental Factors Impacting Cure
When it comes to the curing process of ceramic coatings, environmental factors play a crucial role in determining the overall outcome. Factors such as temperature, humidity, dust, rain, and exposure to UV rays can significantly impact the curing time. Understanding these variables is essential for achieving the desired results and ensuring the longevity of your coating.
Dust and debris in the environment can pose significant challenges during the curing process. Even small particles can mar the finish and compromise the effectiveness of the coating. It's crucial to ensure that you apply ceramic coatings in clean environments and take measures to minimize dust contamination during curing.
Heat and its Impact on Ceramic Coating Process
Heat plays a significant role in not only speeding up the curing process but also affecting the overall performance of ceramic coatings. When applied within the recommended temperature ranges, heat can facilitate faster drying and enhance bonding between the coating and the vehicle's surface.
Higher temperatures can expedite the evaporation of solvents in the coating, leading to quicker drying times. This means that if you live in a location with warmer climates, your ceramic coating is likely to cure faster compared to those residing in colder regions. However, it is crucial to prevent direct exposure to intense heat, as it can lead to premature drying and uneven application.
It's important to note that, while heat can be beneficial for curing, extreme temperatures should be avoided during application. Excessive heat can evaporate solvents too quickly, resulting in poor leveling and coverage. A gradual increase in temperature during curing allows for proper solvent evaporation and ensures a uniform layer of protection across the painted surfaces of your vehicle.
On the flip side, some may argue that applying ceramic coatings in colder climates might incur longer cure times and less desirable results. While it is true that colder temperatures can slow down the curing process, proper preparation and understanding of temperature limitations can still yield successful outcomes. By taking precautions such as employing heat lamps or working in heated environments, you can overcome the challenges posed by colder climates.
Regardless of your location or climate, being mindful of heat's role in ceramic coating cure time is essential for achieving optimal results. Balancing temperature considerations during both the application and curing processes can ensure that your ceramic coating not only cures efficiently but also provides long-lasting protection for your beloved vehicle.
UV Exposure and Its Implications
When considering ceramic coating cure time, another factor that comes into play is UV exposure. While sunlight provides natural heat that aids in curing, prolonged exposure without proper precautions can lead to unforeseen consequences.
Picture this: you've just had your car's ceramic coating applied, and you decide to park it outside for an extended period. The relentless UV rays beating down on the coating can cause premature drying, resulting in uneven application and potentially compromising its protective qualities. Additionally, excessive UV exposure can lead to discoloration or fading of the coating over time.
To prevent these issues, it is crucial to keep your newly coated vehicle protected from direct sunlight during the curing process. This means parking it in a shaded area or even indoors if possible. By doing so, you allow the coating to cure evenly and thoroughly without risking any negative effects from excessive UV exposure.
Indications of Full Ceramic Coating Cure
When it comes to ceramic coating on cars, one question that often arises is how to determine when the coating has fully cured. Understanding the signs of a complete cure is essential to ensuring that the coating has hardened and formed a protective layer over your vehicle's paintwork. While each coating product may have specific instructions regarding cure time, there are a few general indications that can help you gauge if the curing process is complete.
One of the most straightforward ways to determine if your ceramic coating has cured is through a visual inspection. Once the recommended curing period has passed, carefully examine the surface of your vehicle for any visible changes. The coating should appear glossy and smooth, indicating that it has bonded securely to the paintwork. If there are any streaks, hazing, or other visual abnormalities present, it may be an indication that the cure process is not yet complete.
Additionally, you can assess the hydrophobic properties of the ceramic coating after it has had time to cure. A properly cured coating should repel water effectively, causing droplets to bead up and roll off the surface of your vehicle. If you notice that water no longer beads up as it did during the initial application phase, this could suggest that curing has taken place successfully.
Furthermore, consider how easy it is to maintain your vehicle's appearance after applying a ceramic coating. Once the coating has fully cured, you should find it easier to remove dirt, dust, and other contaminants from your car's surface. The slickness imparted by a cured ceramic coating makes washing and maintaining your vehicle more efficient and helps prevent any potential damage caused by abrasive particles during cleaning.
While these indications can provide you with a reasonable assessment of whether or not your ceramic coating has cured thoroughly, it's important to note that following the manufacturer's guidelines for curing time is crucial. Keep in mind that different products may have varying cure times, and other factors, such as environmental conditions, can also impact the overall curing process. With that said, let's delve deeper into the general timeframe required for a full ceramic coating cure.
Time Required for Full Cure
The curing time for ceramic coatings on cars can vary depending on various factors. As we've discussed earlier, product-specific instructions should be carefully followed to ensure an accurate curing time estimation. Generally, it takes about 24 hours for a ceramic coating to cure partially and become touch-dry. During this initial period, you should avoid getting the surface wet or exposing it to rain or any form of moisture.
To achieve a full cure and maximize the durability of the coating, a waiting period of approximately two to three weeks is typically recommended. This extended timeframe allows the chemical properties of the coating to fully bond with the paintwork and create a solid protective layer. Rushing or compromising this process may lead to suboptimal results and reduced longevity of the coating.
It's important to note that certain environmental conditions can impact the cure time of ceramic coatings. Factors such as temperature and humidity play a significant role in determining how quickly the coating will harden. Higher temperatures generally promote faster curing, while colder temperatures can slow down the process. Extreme temperatures below 4.40°C can render the coating useless altogether.
Understanding these factors can help you plan accordingly and allow ample time for your ceramic coating to fully cure before exposing your vehicle to harsh conditions or washing it too soon. Remember that patience is key when it comes to achieving optimal results with your ceramic-coated car.
Post-Cure Maintenance and Lifespan of Ceramic Coating
Just like any other investment, proper maintenance is essential to maximize the
benefits of ceramic coating. Once the coating has fully cured, which typically takes around 48 hours, you can resume regular use of your vehicle. However, there are a few things you should keep in mind to ensure your coating remains in pristine condition for years to come.
First and foremost, regular washing is key to maintaining the appearance and performance of your ceramic coating. Use pH-neutral car wash soaps and a soft microfiber mitt or cloth to gently wash your vehicle. Avoid using abrasive materials or harsh chemicals that can potentially damage the coating. Regular washing will remove dirt, grime, and contaminants that may accumulate on the surface and compromise the protective properties of the ceramic coating.
Inspecting and Maintaining Your Coating
One effective way to inspect your ceramic coating is through regular visual inspections. Take the time to closely examine the surface of your vehicle under good lighting conditions. Look for any signs of swirl marks, water spots, or diminished hydrophobicity. These could indicate a degradation in the performance of your coating or the presence of contaminants that need to be addressed.
If you discover any imperfections or areas that require attention, don't panic. Regular maintenance procedures like spot cleaning or targeted polishing can often resolve minor issues and bring back the shine and protective properties of your ceramic coating. However, it's crucial to approach these tasks with caution to avoid unintentionally damaging the coating further.
Additionally, periodic application of a spray-on ceramic booster product can help rejuvenate the hydrophobic properties of your coating, ensuring water beads up and rolls off effortlessly. This step can also provide an extra layer of gloss and protection between
professional detailing sessions.
By following these inspection and maintenance practices on a regular basis, you can address any potential issues before they escalate and keep your ceramic coating looking and performing at its best for an extended period of time.
Lifespan Expectancy of Ceramic Coatings
One of the most frequently asked questions about ceramic coatings is how long they will last. It is understandable, as investing in a ceramic coating for your car is not a decision to be taken lightly. You want to ensure that your investment will provide long-lasting protection and value for years to come. So, let's talk about the lifespan expectancy of ceramic coatings.
First and foremost, it's important to note that the lifespan of a ceramic coating can vary depending on several factors, including the type and quality of the coating, the maintenance performed, and the environmental conditions to which it is exposed. However, on average, a well-applied and properly maintained ceramic coating can last anywhere from two to ten years.
Final Words
In conclusion, while ceramic coatings can provide a significant boost to your vehicle's appearance and protection, they are not invincible. To ensure that your investment lasts as long as possible, it is crucial to follow proper maintenance practices and understand that the lifespan of a ceramic coating can vary. By taking good care of your coating and addressing any issues promptly, you can enjoy the benefits of enhanced durability and visual appeal for years to come. If you want to learn more about ceramic coating curing time or ceramic coating application, contact
Northern Lights Home & Auto Coatings today!