How Often Should You Detail Your Car: Tips for Proper Vehicle Maintenance

GET A FREE ESTIMATE

CALL (912) 656-6947

January 5, 2025

Keeping your car clean isn't just about looking good; it's essential for its overall health and longevity. Regular detailing helps protect your investment and ensures you enjoy a comfy ride. But with so many factors influencing how often to detail your car—like where you drive, the weather, and even how you use it—figuring out the right schedule can feel a bit overwhelming. In this article, we will go over everything you need to know, including how often you should detail your car to keep it looking good while retaining its value over time.


It is generally recommended to detail your car 2 to 3 times a year, or approximately once every 4 to 6 months. However, this frequency may vary based on factors such as your driving habits, environmental conditions, and how well you maintain your vehicle with regular washing and waxing.


Recommended Frequency for Car Detailing


When thinking about the right frequency for car detailing, there are important aspects to consider. Experts generally recommend a thorough detailing every 4 to 6 months. This timeframe helps keep your vehicle looking sharp and avoids deterioration of its surfaces. However, individual circumstances vary greatly, and personal usage plays a critical role in determining the ideal schedule.


Exterior detailing typically involves washing, waxing, polishing, and protecting the paint, while interior detailing focuses on deep cleaning surfaces like seats, carpets, and dashboards.


For those who are particularly passionate about keeping their car in pristine condition, you might consider monthly detailing for light maintenance—this helps keep everything looking fresh without waiting for dirt and grime to accumulate.
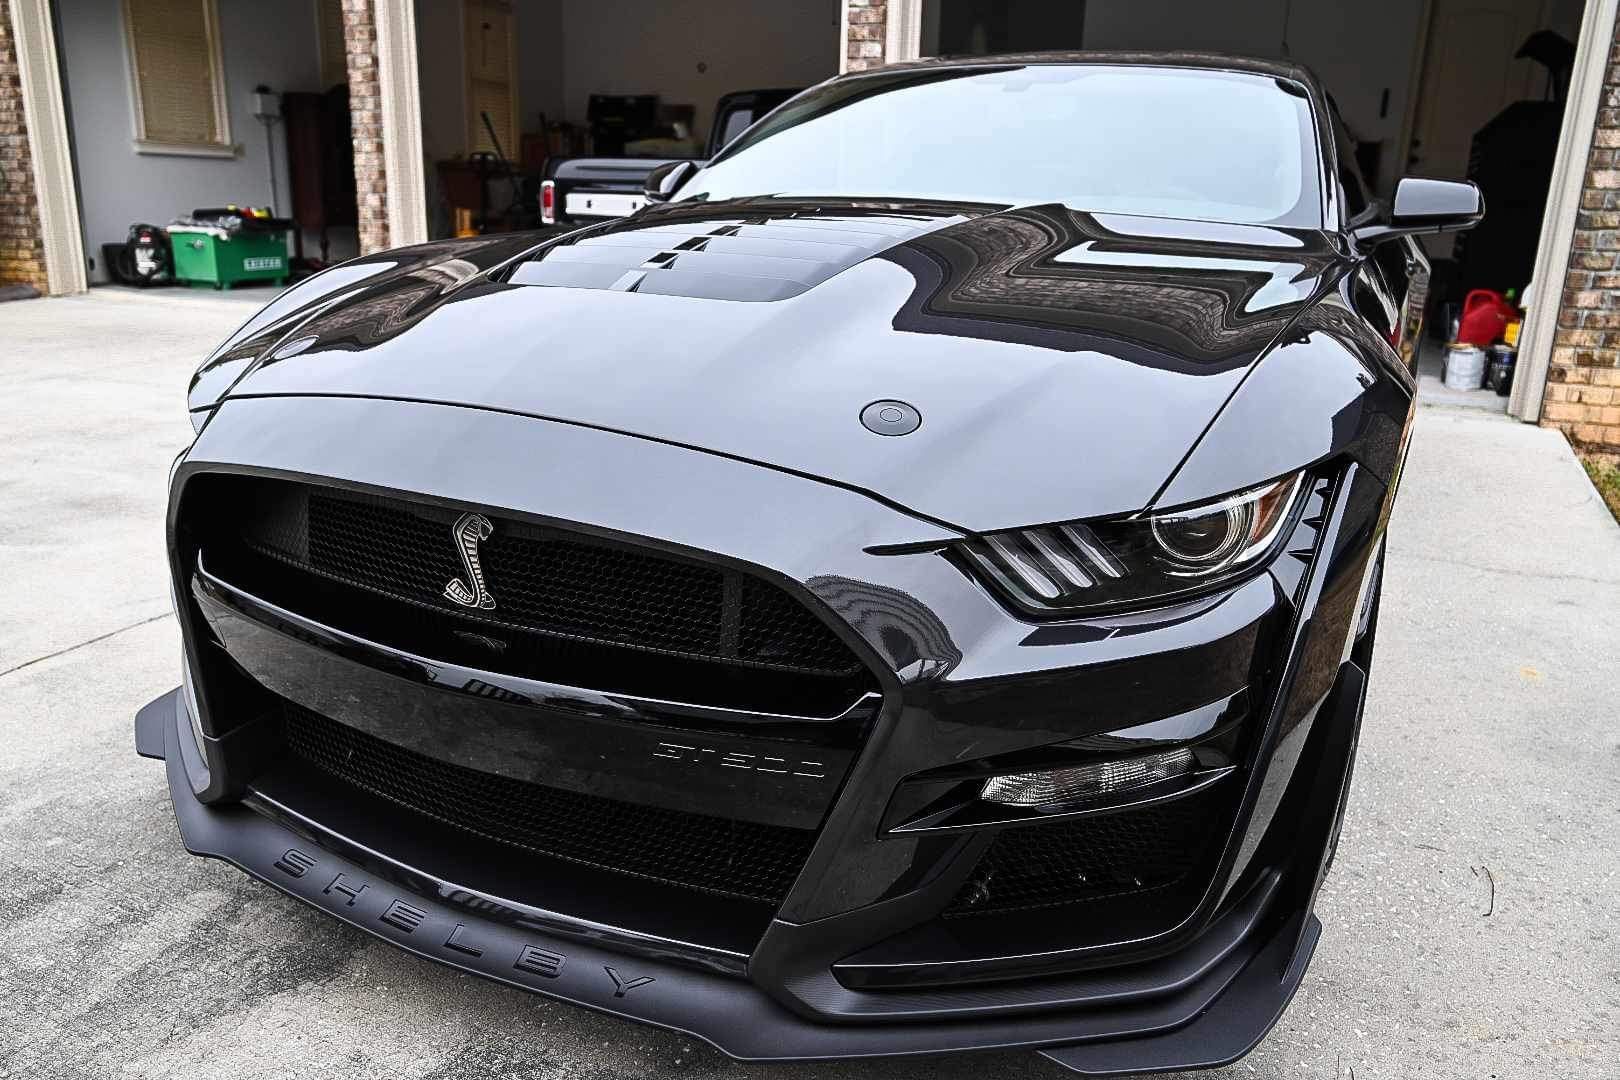
Paint Correction and Polishing

Factors Influencing Detailing Frequency


Not every car needs to be detailed on the same schedule. Here are the key factors that determine how often you should treat your vehicle to a detailing session:


1. Your Driving Environment


Urban Areas: Cars driven in cities may need more frequent detailing due to higher exposure to pollutants, road salt (in snowy regions), and bird droppings.


Rural Areas: Dust and debris from dirt roads can accumulate quickly, especially if you frequently drive on unpaved surfaces.


2. Weather Conditions


Harsh Winters: If you live in a region with snowy winters, your car may face road salt, which can corrode the paint and undercarriage. In such cases, regular detailing is essential during and after the winter season.


Hot and Sunny Climates: Constant exposure to UV rays can cause paint to fade. Regular waxing or ceramic coatings during detailing can help shield your vehicle from sun damage.


3. Personal Habits


Food and Drinks in the Car: If you often eat or drink in your car, the interior will require more frequent cleaning to address spills, stains, and crumbs.


Pets and Kids: If your furry friends or little ones are regular passengers, you may want to schedule interior detailing more often to manage fur, dirt, or sticky messes.


4. Type of Car Usage


Daily Commute vs. Weekend Use: A car driven daily will naturally accumulate more wear and tear than one reserved for occasional use.


Off-Road Adventures: If your car is your partner for off-roading or camping, it’ll likely need extra attention to remove mud, dirt, and scratches.


Establishing a Maintenance Routine


To maintain your car’s aesthetic and functional quality, creating a structured maintenance routine is fundamental. This doesn’t mean you have to spend hours each week; rather, it's about building small, manageable tasks into your schedule that can yield significant benefits over time.


Weekly Tasks


Starting with weekly tasks, dedicating just a short amount of time every week can keep both the exterior and interior of your vehicle looking pristine. A simple wash will remove dust, dirt, and any contaminants that might adhere to the paint. Don't forget about the wheel wells and undercarriage; grime from the road can accumulate surprisingly fast!


After you’ve washed the exterior, grab a vacuum cleaner and give the interior a quick once-over. This ensures that dirt doesn't accumulate on surfaces, seats, or carpets.

Regular cleaning not only improves aesthetic appeal but also prevents long-term wear and tear that comes from built-up grime.
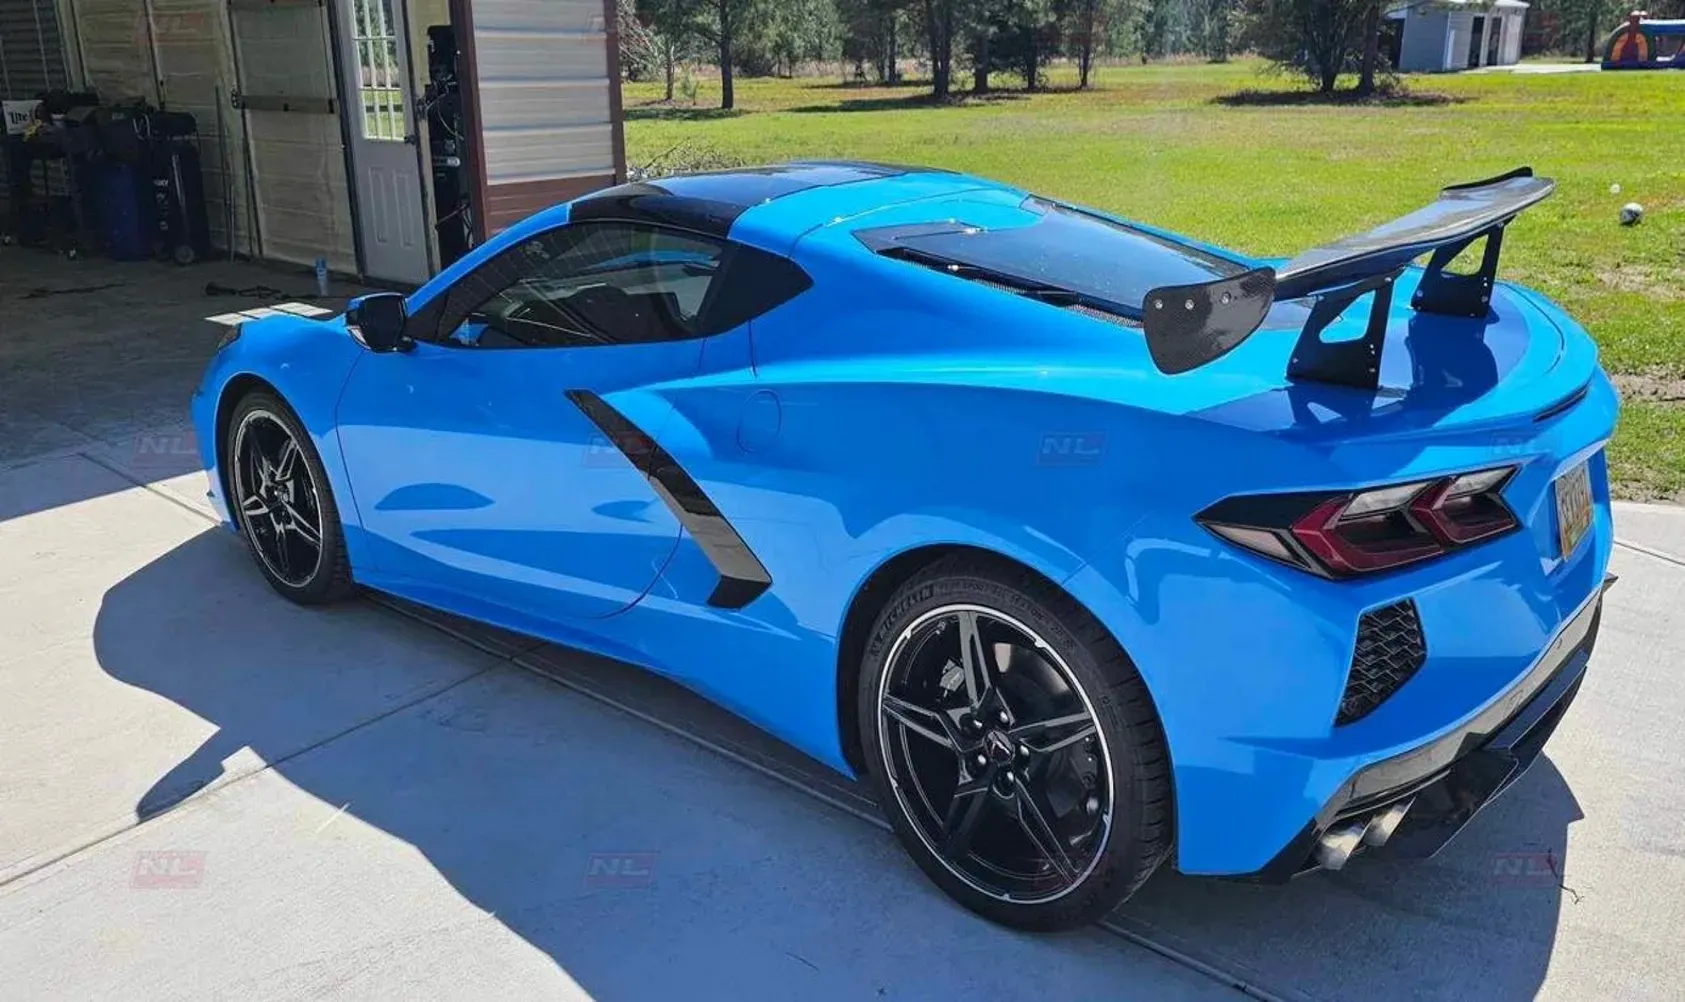
Vehicle Detailing

Monthly Checks


Transitioning to monthly checks can save you from larger issues down the line. Take a moment to inspect the car's exterior carefully for any paint chips or scratches. These small blemishes may seem insignificant at first glance but can lead to rust forming if not addressed promptly.


Similarly, check your tires, including tread depth and pressure. Keeping tires in good shape enhances fuel efficiency and overall safety.


Seasonal Detailing


When it comes to seasonal detailing, timing becomes vital. Aligning your detailing schedule with changing seasons creates an optimal environment for maintaining your vehicle’s resilience against varying climatic conditions.


For example, after winter, giving your car a detailed wash helps remove salt and other debris that could contribute to corrosion. In summer, protecting your vehicle’s paint with a good wax or ceramic coating can shield it from damaging UV rays.


Each season presents opportunities not just for cleaning but also for evaluation—check interior systems like the air conditioning before heavy usage during warm weather or inspect windshield wipers before heavy rainfalls or snowstorms.


Benefits of Regular Detailing


Detailing isn’t just about aesthetics—many practical benefits come with keeping your car clean and protected.


1. Paint Protection


Waxing and applying sealants during detailing sessions help create a protective barrier against contaminants like dirt, UV rays, and water spots. This prevents fading and maintains your car's vibrant shine for years.


2. Interior Comfort


A clean interior isn’t just about appearances—it also promotes better air quality inside your vehicle. Regular vacuuming and upholstery cleaning removes allergens, dust, and odors, making your driving experience more enjoyable.


3. Improved Resale Value


When it’s time to sell or trade-in your car, a well-maintained and detailed vehicle will fetch a higher price. Buyers are more willing to pay a premium for cars that look and feel like they’ve been cared for.


4. Longevity of Materials


Frequent detailing helps preserve the condition of both the interior and exterior components. For instance, conditioning leather seats prevents cracking, while cleaning carpets reduces wear from embedded dirt.


5. Safer Driving Experience


Detailing also includes cleaning windows, mirrors, and headlights. Clear visibility, especially in adverse weather, is critical for safe driving, and regular detailing ensures your glass and lights are spotless.


Final Thoughts


The frequency of detailing your car is ultimately determined by the amount of wear and tear it experiences, but maintaining a consistent schedule is crucial. Whether you aim for every 4-6 months or more frequent sessions based on your needs, the effort is well worth it. Not only will your car look great, but it will also maintain its value, provide a more enjoyable ride, and stay protected from the elements.


At Northern Lights Home & Auto Coatings, we understand the importance of keeping your car in peak condition. Our professional detailing services are designed to suit your specific needs, so you can drive with pride, knowing your vehicle is as clean and protected as it can be. Contact us today to schedule your next detailing session!
By SEO Team August 14, 2025
Window tint is one of the most popular upgrades for vehicle owners in Savannah, GA. It offers more than just a sleek look—it can reduce glare, block harmful UV rays, keep the interior cooler, and provide added privacy. But as with any investment in your vehicle, you might wonder: how long does window tint last ? At Northern Lights Home & Auto Coatings , we’ve seen firsthand that the answer depends on a few key factors, including the quality of the tint, the installation process, and how the vehicle is maintained over time. In this article, we’ll break down the typical lifespan of professional versus DIY window tint, the signs your tint is aging, and how expert installation can give you better clarity, longer performance, and legal peace of mind. Understanding the Lifespan of Window Tint Window tint isn’t a permanent feature—it has a natural lifespan. While some tints can last for many years without issue, others may start showing wear much sooner. The main difference comes down to material quality and installation technique . At Northern Lights Home & Auto Coatings , we use high-grade window films designed to withstand Savannah’s humid climate and intense sun exposure. Cheap films, often used in DIY kits or low-cost installations, tend to break down much faster because they lack the durability and UV-resistant properties found in premium products. Factors That Affect How Long Window Tint Lasts Quality of Film The film itself plays the biggest role in determining longevity. High-performance films made with advanced dyes, metals, or ceramic particles resist fading and bubbling much longer than budget films. Premium ceramic tints, for example, can maintain their appearance and performance far longer than dyed films. Installation Expertise Even the best film can fail early if it’s not installed correctly. Professional installers like our team at Northern Lights Home & Auto Coatings use precision techniques to ensure the tint adheres smoothly, without air pockets or contaminants that can cause early deterioration. Exposure to the Elements Savannah’s sunny days are beautiful, but constant UV exposure is tough on tint. Heat and sun can accelerate the breakdown of lower-quality films. Parking in shaded areas or using a windshield sunshade can help slow the process. Maintenance and Cleaning Gentle cleaning methods extend the life of your tint. Using ammonia-free cleaners and soft microfiber cloths helps prevent scratches and cloudiness.
Paint Protection Film
By SEO Team August 14, 2025
Learn common mistakes that damage Paint Protection Film and expert tips to keep your PPF looking new for years.
By SEO Team August 11, 2025
A professional ceramic coating can transform your car’s appearance and protect its finish for years, but the quality of the results often depends on how well the vehicle is prepared beforehand. If you’re in Savannah, GA, and planning to bring your car to Northern Lights Home & Auto Coatings for a ceramic coating service , you can take a few steps at home to ensure the best possible outcome. Proper washing, decontamination, and surface preparation help the coating bond better, leading to enhanced shine and durability. In this guide, we’ll walk you through the essential ceramic coating prep steps you can do yourself before handing your car over to the pros. We’ll also explain how professional detailers handle the final touches to achieve a flawless finish. Understanding Why Prep Matters for Ceramic Coating Before diving into the actual prep process, it’s important to understand why it’s necessary. Ceramic coating is a semi-permanent layer that bonds to your car’s paint, creating a hydrophobic surface that resists dirt, water spots, UV rays, and contaminants. However, for the coating to bond effectively, the paint surface needs to be clean, smooth, and free of imperfections. If dirt, tar, or old wax remain on the surface, they can prevent proper adhesion, causing the coating to fail prematurely. Even microscopic contaminants can create uneven spots, which means you won’t get the maximum protection or shine you’re paying for. This is why taking the time to properly prepare your car at home—and then letting a professional finish the job—makes such a difference. Step 1: Start with a Thorough Wash Washing your vehicle is the foundation of ceramic coating prep. The goal here is to remove surface dirt, dust, and loose contaminants so that deeper cleaning and decontamination are more effective. When washing your car before a ceramic coating appointment in Savannah, GA, it’s best to use a pH-neutral automotive shampoo. Avoid dish soaps or harsh detergents that can strip away necessary layers in an uncontrolled way. Work from top to bottom, using the two-bucket method—one bucket for clean, soapy water and another for rinsing your wash mitt—to prevent swirl marks. Pay special attention to crevices, door jambs, and areas around badges, as dirt tends to accumulate in these spots. After washing, rinse the car thoroughly to ensure no soap residue is left behind. Dry the surface with a clean microfiber towel to avoid water spots, which can interfere with the coating process. Step 2: Decontaminate the Paint Even after washing, your paint may still have embedded contaminants that aren’t visible to the naked eye. These can include industrial fallout, brake dust, tree sap, and road tar. If left on the paint, they will interfere with the coating’s bond. To handle this, you can use an iron remover product designed for automotive surfaces. Spray it evenly across panels, let it dwell for the recommended time, and rinse thoroughly. The chemical reaction will dissolve iron particles and other stubborn contaminants that a wash alone can’t remove. This step is especially important in coastal and humid climates like Savannah, where environmental contaminants can settle quickly on vehicles. By performing this step at home, you’re giving your professional ceramic coating service the best possible starting point. Step 3: Clay Bar Treatment A clay bar treatment goes a step further in smoothing the surface. It works by physically pulling out any remaining particles from the clear coat, leaving a glass-like finish. Using a clay bar or synthetic clay mitt, apply a lubricant (usually a detailing spray) to a small section of the car, then glide the clay over it using light pressure. You’ll feel resistance at first, but as contaminants are removed, the surface will become smooth. Wipe away residue and move to the next section until the entire car is clayed. This step is crucial because ceramic coating bonds best to a perfectly smooth, contaminant-free surface. Skipping it can leave tiny particles trapped under the coating, diminishing its durability and visual impact. Step 4: Light Polishing for Surface Correction While not always necessary for DIY prep, light polishing can help remove minor swirl marks, oxidation, or water spots before the coating process. If your car’s paint is already in good condition, you may not need this step—but if you notice visible imperfections, correcting them now will make your ceramic coating look even better. For light polishing, use a dual-action polisher and a fine finishing polish. Work in small sections, applying steady, even pressure. Once finished, wipe the surface with a clean microfiber towel. Be cautious—heavy paint correction should be left to professionals, but a light polish can significantly improve the final results. Step 5: Final Cleaning Before Handing It to a Pro Once you’ve completed washing, decontamination, clay barring, and light polishing, it’s time for the final cleaning step before bringing your car to Northern Lights Home & Auto Coatings . This is where you remove any remaining oils, residues, or polishing compounds from the paint. A quick wipe-down with an isopropyl alcohol (IPA) solution is ideal. Mix a 50/50 solution of IPA and distilled water in a spray bottle, mist it onto a panel, and wipe it clean with a microfiber cloth. This ensures the surface is completely bare, allowing the ceramic coating to form a strong chemical bond.
A blue sports car is parked in front of a house.
By SEO Team July 9, 2025
Best Window Tint for Privacy: Films for Homes and Vehicles
A man is wrapping a black truck with paint protection film.
By SEO Team July 7, 2025
For vehicle owners looking to protect their paint and upgrade aesthetics, combining Paint Protection Film (PPF) with a vinyl wrap is an option worth considering. This dual-layer strategy offers both visual flexibility and added surface defense. At Northern Lights Home & Auto Coatings, we help drivers in Savannah enhance their vehicles while safeguarding them from road damage and weather-related wear. This guide explains how PPF and vinyl wraps can work together, how to prepare for installation, and what to expect when comparing durability, protection, and application techniques. Can You Apply a Vinyl Wrap Over Paint Protection Film? Yes, you can apply a vinyl wrap over Paint Protection Film. When done correctly, this approach protects your vehicle’s original paint while adding a customized appearance. However, results depend on proper installation and surface preparation. Before moving forward, confirm that your PPF is clean, defect-free, and fully bonded to the surface. This ensures better wrap adhesion and extends the life of both layers. What Is Paint Protection Film? Paint Protection Film (PPF) is a clear, durable urethane layer applied to the painted surfaces of a vehicle. Its primary function is to protect against chips, minor scratches, bug splatter, and environmental contaminants. The material is designed to absorb impact and deflect debris without affecting the underlying paint. Most high-quality PPF products are around 6 to 8 mils thick, offering strong resistance to wear while remaining flexible enough to mold to a vehicle's curves. These films are typically available in different finishes—gloss, matte, and satin—which allows drivers to choose a level of sheen that suits their preferences while keeping protection intact. Glossy PPF enhances paint depth, while matte options create a more understated appearance. PPF can be installed using either pre-cut templates or bulk film that’s trimmed on the car. Pre-cut kits ensure edge precision and reduce cutting near the paint surface, while bulk applications allow for seamless coverage in hard-to-template areas. Some PPF products also come with a hydrophobic top layer, which enhances water beading and makes cleaning easier. Self-healing properties are one of the standout benefits. Minor scratches fade away with the application of heat, restoring the surface to near-original condition without manual buffing or polishing. Whether you park in the sun or rinse with warm water, this feature helps maintain a freshly detailed look with minimal upkeep. Before adding a vinyl wrap, it’s best to allow the PPF to fully cure—usually 48 to 72 hours—so it properly adheres to the paint and forms a stable surface for the wrap to bond. When installed and maintained properly, PPF offers long-lasting protection, helping preserve both the value and appearance of your vehicle.
ceramic coating for cars
By SEO Team July 4, 2025
Learn what makes ceramic coating glossy. Discover how SiO₂, surface leveling, and proper application techniques create a deep, long-lasting shine for vehicles in Savannah.
Window Tint Temperature Reduction
By SEO Team June 15, 2025
Learn how window tint temperature reduction helps cool your car's interior, reduces AC usage, and protects passengers from heat and UV rays. Contact us!
ppf for new car
By SEO Team June 10, 2025
Discover why applying PPF for new car protection can prevent paint damage, preserve resale value, and keep your vehicle looking brand new. Call us!
Signs of Good Ceramic Coating
By SEO Team June 10, 2025
Learn the top signs of good ceramic coating, from water beading and shine to smooth texture and even coverage, ensuring lasting protection. Call us!
Car surface showing results of how to apply paint protection film professionally.
By SEO Team May 15, 2025
Learn how pros apply paint protection film for a flawless finish using expert tools and techniques. Call us to book your PPF service!