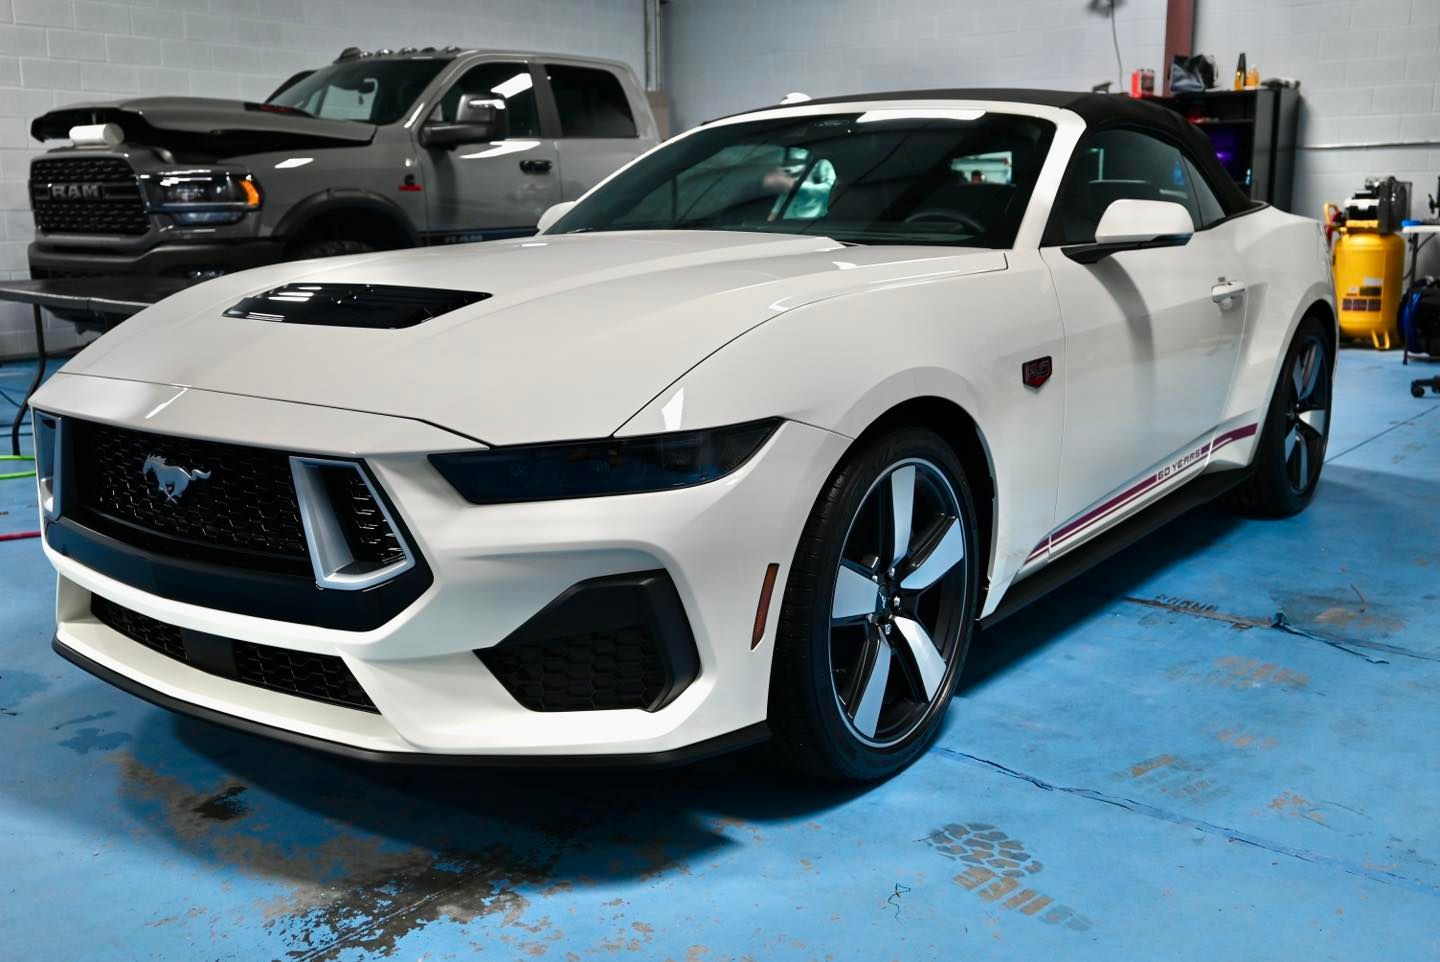
How to Prep a Car for Ceramic Coating at Home (Before Bringing to a Pro)
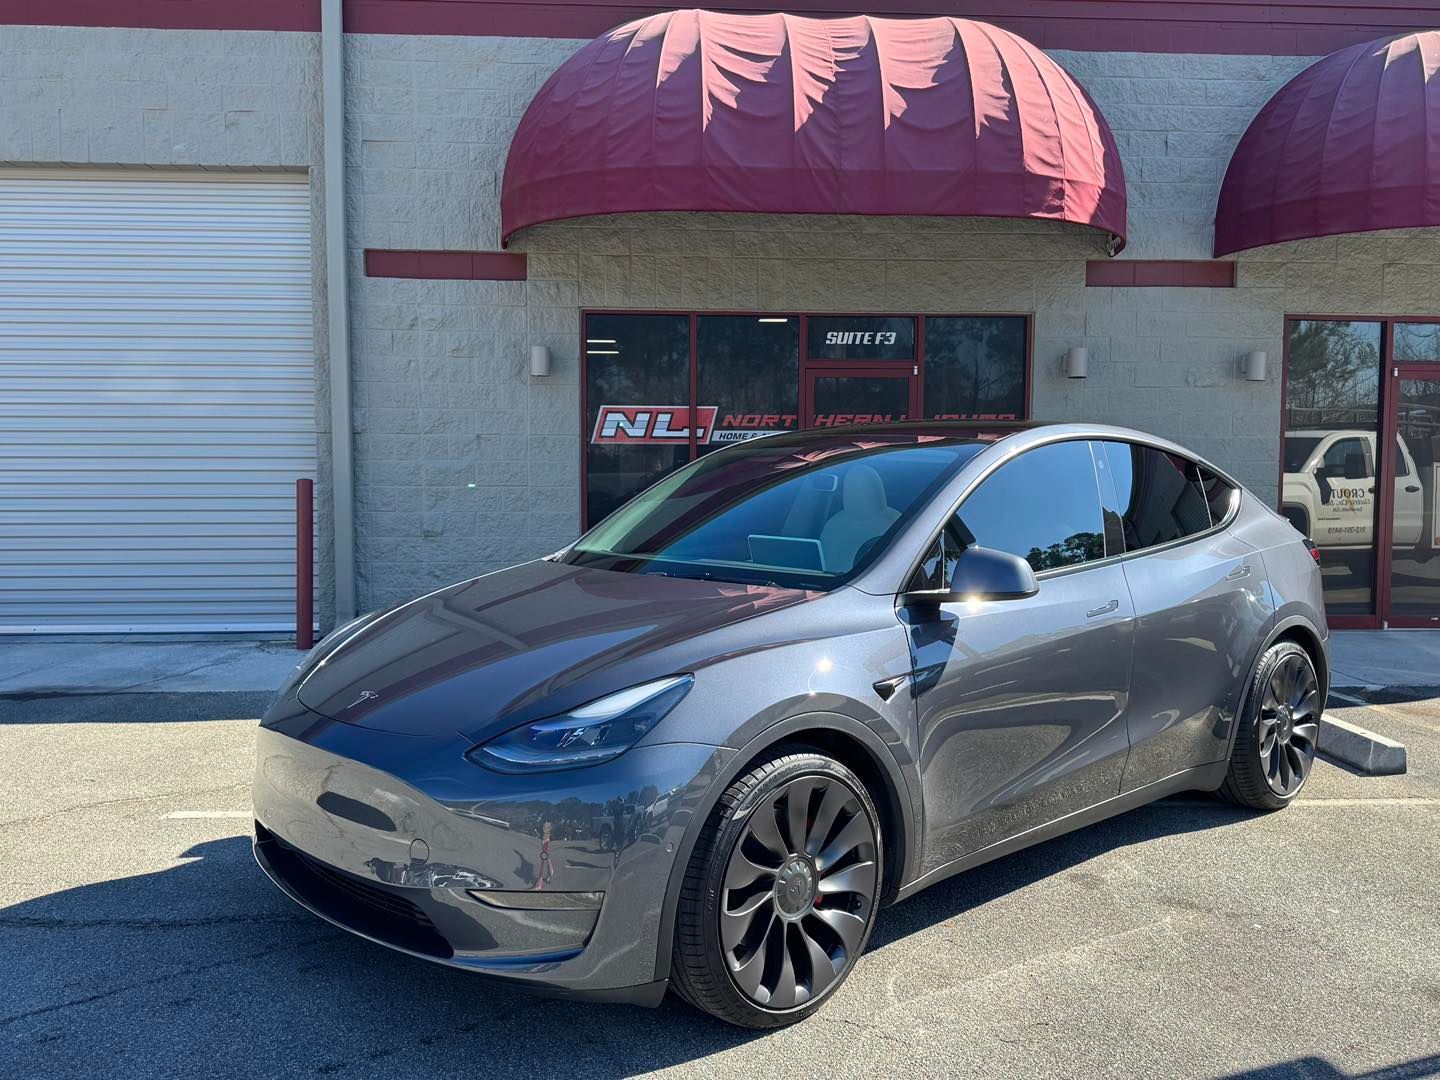
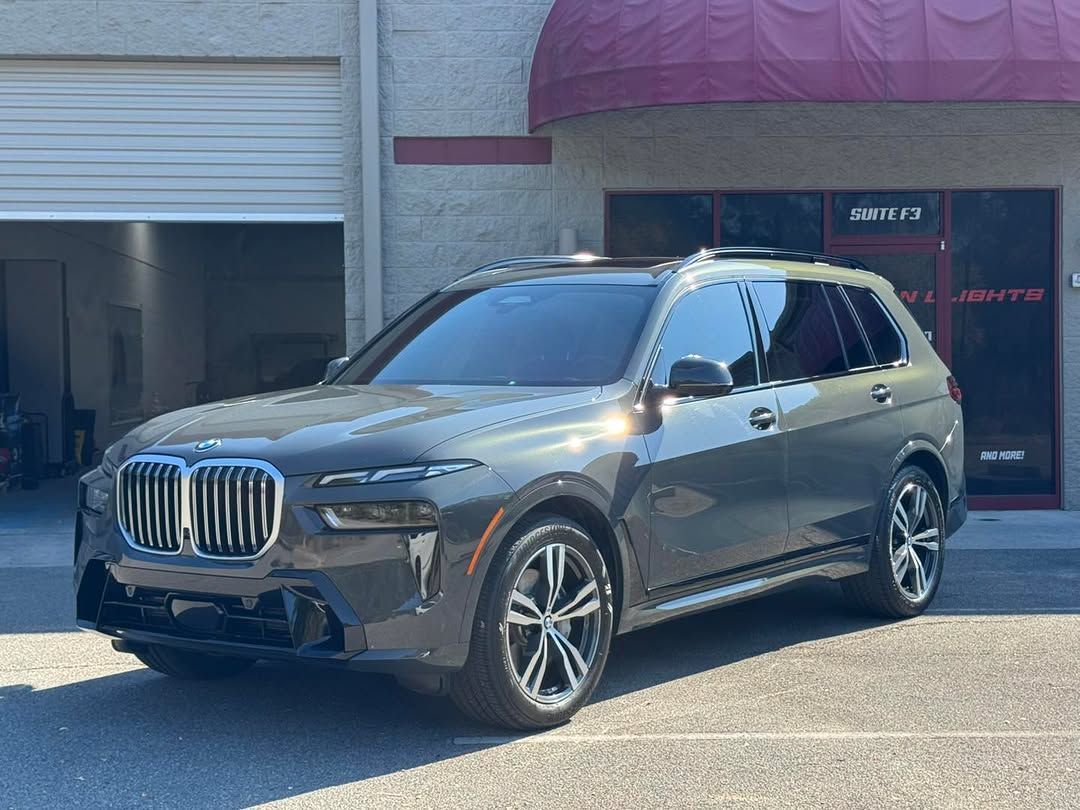
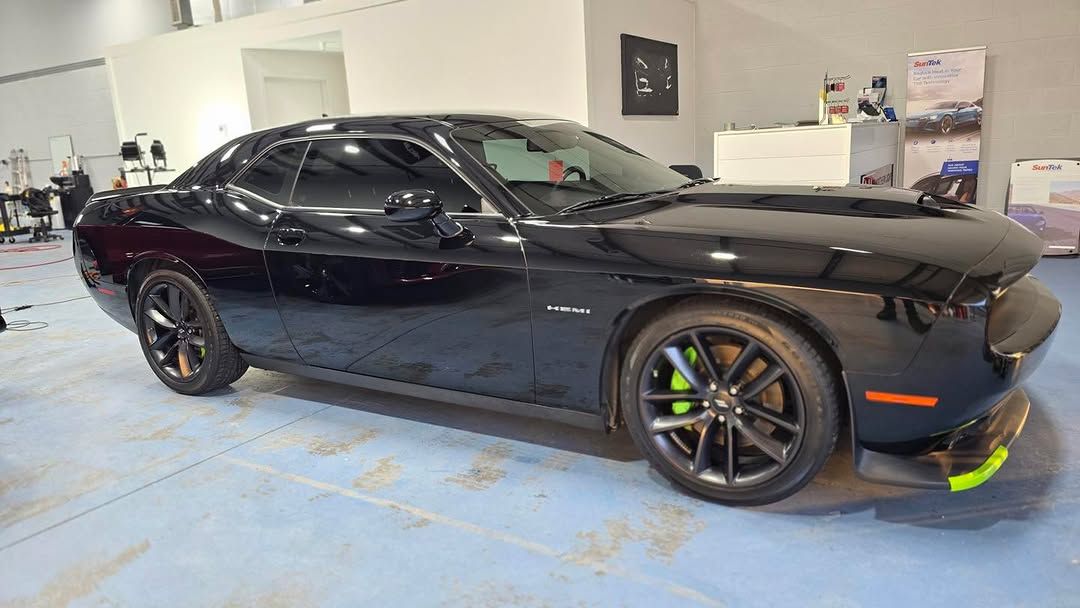
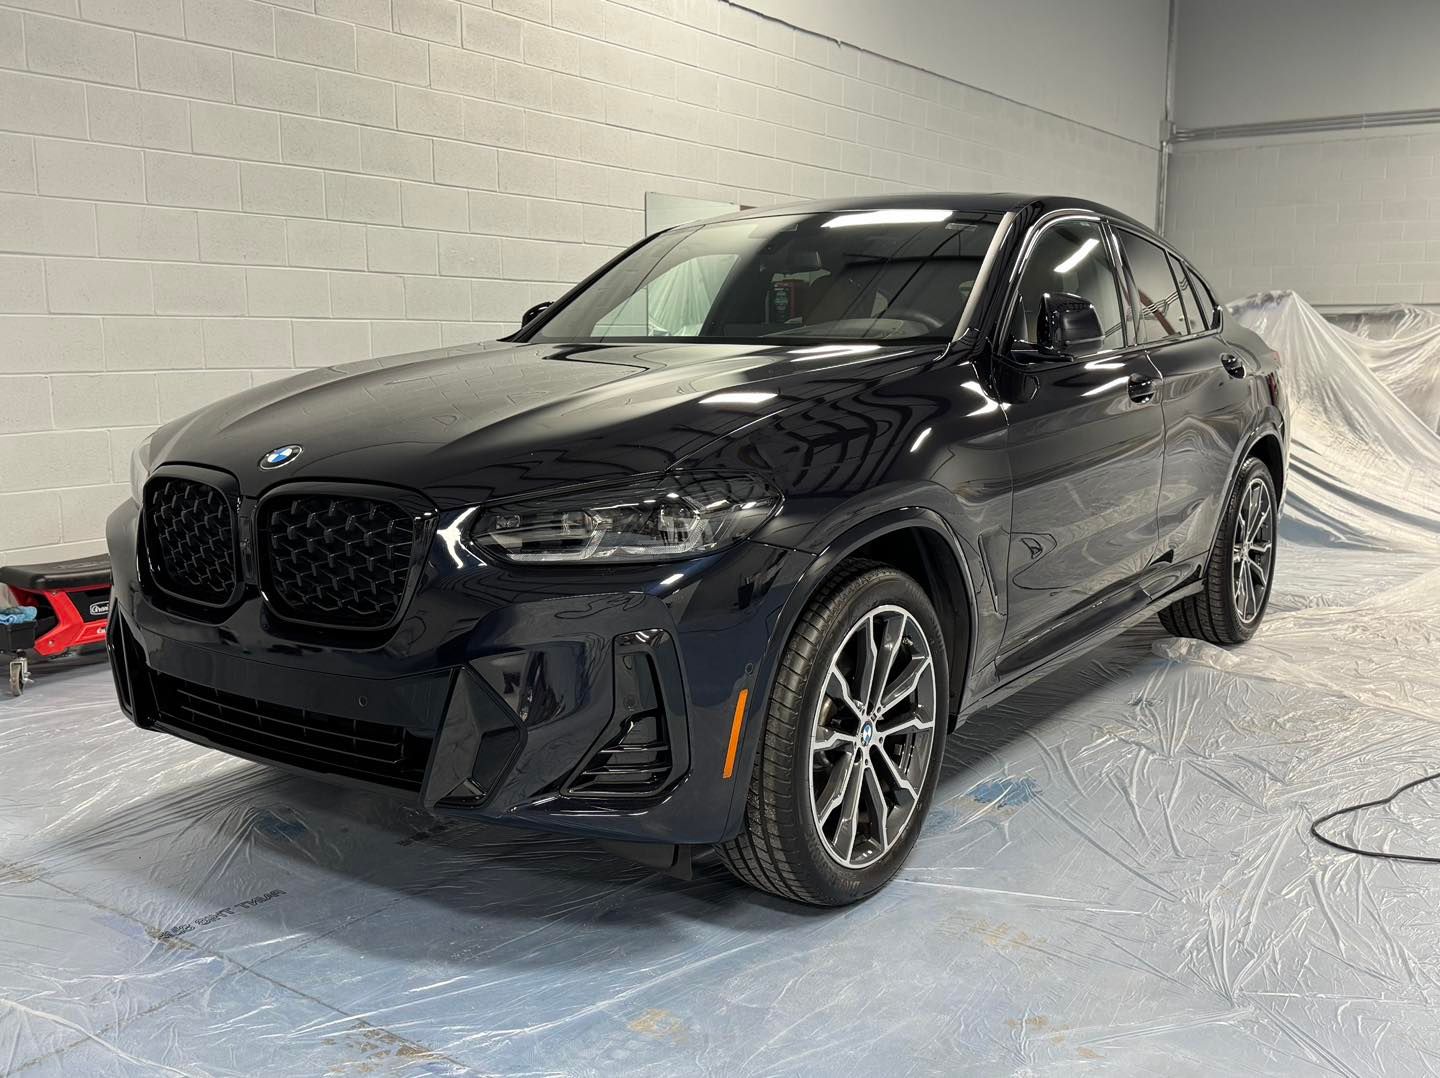
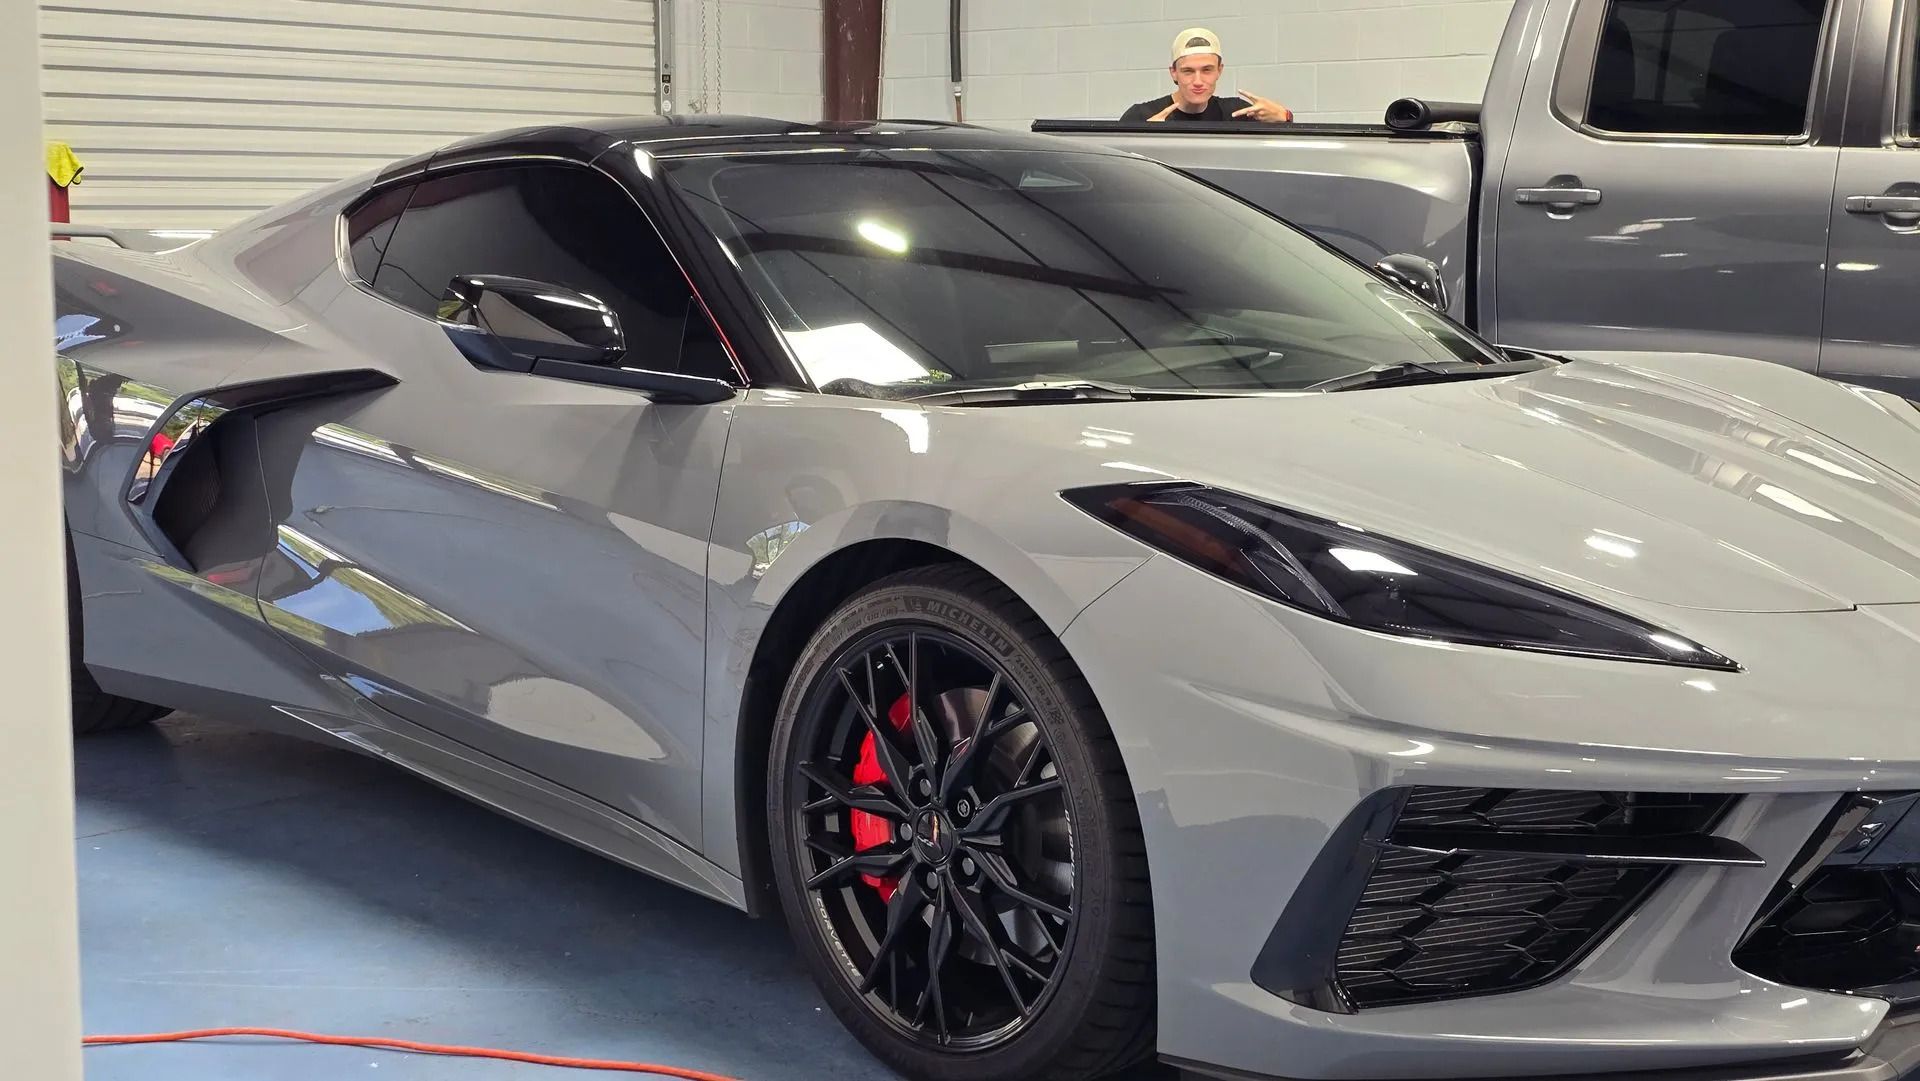
A professional ceramic coating can transform your car’s appearance and protect its finish for years, but the quality of the results often depends on how well the vehicle is prepared beforehand. If you’re in Savannah, GA, and planning to bring your car to Northern Lights Home & Auto Coatings for a ceramic coating service, you can take a few steps at home to ensure the best possible outcome. Proper washing, decontamination, and surface preparation help the coating bond better, leading to enhanced shine and durability.
In this guide, we’ll walk you through the essential ceramic coating prep steps you can do yourself before handing your car over to the pros. We’ll also explain how professional detailers handle the final touches to achieve a flawless finish.
Understanding Why Prep Matters for Ceramic Coating
Before diving into the actual prep process, it’s important to understand why it’s necessary. Ceramic coating is a semi-permanent layer that bonds to your car’s paint, creating a hydrophobic surface that resists dirt, water spots, UV rays, and contaminants. However, for the coating to bond effectively, the paint surface needs to be clean, smooth, and free of imperfections.
If dirt, tar, or old wax remain on the surface, they can prevent proper adhesion, causing the coating to fail prematurely. Even microscopic contaminants can create uneven spots, which means you won’t get the maximum protection or shine you’re paying for. This is why taking the time to properly prepare your car at home—and then letting a professional finish the job—makes such a difference.
Step 1: Start with a Thorough Wash
Washing your vehicle is the foundation of ceramic coating prep. The goal here is to remove surface dirt, dust, and loose contaminants so that deeper cleaning and decontamination are more effective.
When washing your car before a ceramic coating appointment in Savannah, GA, it’s best to use a pH-neutral automotive shampoo. Avoid dish soaps or harsh detergents that can strip away necessary layers in an uncontrolled way. Work from top to bottom, using the two-bucket method—one bucket for clean, soapy water and another for rinsing your wash mitt—to prevent swirl marks. Pay special attention to crevices, door jambs, and areas around badges, as dirt tends to accumulate in these spots.
After washing, rinse the car thoroughly to ensure no soap residue is left behind. Dry the surface with a clean microfiber towel to avoid water spots, which can interfere with the coating process.
Step 2: Decontaminate the Paint
Even after washing, your paint may still have embedded contaminants that aren’t visible to the naked eye. These can include industrial fallout, brake dust, tree sap, and road tar. If left on the paint, they will interfere with the coating’s bond.
To handle this, you can use an iron remover product designed for automotive surfaces. Spray it evenly across panels, let it dwell for the recommended time, and rinse thoroughly. The chemical reaction will dissolve iron particles and other stubborn contaminants that a wash alone can’t remove.
This step is especially important in coastal and humid climates like Savannah, where environmental contaminants can settle quickly on vehicles. By performing this step at home, you’re giving your professional ceramic coating service the best possible starting point.
Step 3: Clay Bar Treatment
A clay bar treatment goes a step further in smoothing the surface. It works by physically pulling out any remaining particles from the clear coat, leaving a glass-like finish.
Using a clay bar or synthetic clay mitt, apply a lubricant (usually a detailing spray) to a small section of the car, then glide the clay over it using light pressure. You’ll feel resistance at first, but as contaminants are removed, the surface will become smooth. Wipe away residue and move to the next section until the entire car is clayed.
This step is crucial because ceramic coating bonds best to a perfectly smooth, contaminant-free surface. Skipping it can leave tiny particles trapped under the coating, diminishing its durability and visual impact.
Step 4: Light Polishing for Surface Correction
While not always necessary for DIY prep, light polishing can help remove minor swirl marks, oxidation, or water spots before the coating process. If your car’s paint is already in good condition, you may not need this step—but if you notice visible imperfections, correcting them now will make your ceramic coating look even better.
For light polishing, use a dual-action polisher and a fine finishing polish. Work in small sections, applying steady, even pressure. Once finished, wipe the surface with a clean microfiber towel. Be cautious—heavy paint correction should be left to professionals, but a light polish can significantly improve the final results.
Step 5: Final Cleaning Before Handing It to a Pro
Once you’ve completed washing, decontamination, clay barring, and light polishing, it’s time for the final cleaning step before bringing your car to Northern Lights Home & Auto Coatings. This is where you remove any remaining oils, residues, or polishing compounds from the paint.
A quick wipe-down with an isopropyl alcohol (IPA) solution is ideal. Mix a 50/50 solution of IPA and distilled water in a spray bottle, mist it onto a panel, and wipe it clean with a microfiber cloth. This ensures the surface is completely bare, allowing the ceramic coating to form a strong chemical bond.
What the Professionals Do Next
When you bring your car to Northern Lights Home & Auto Coatings in Savannah, GA, our team takes over with professional-grade tools and products to finalize the preparation. Even after your careful at-home prep, we perform a meticulous inspection to identify any remaining imperfections.
We may carry out advanced paint correction, panel-by-panel cleaning, and controlled temperature application to ensure your coating lasts as long as possible. Our expertise ensures that the ceramic coating is applied evenly, cured properly, and delivers the deep, mirror-like shine and protection you’re expecting.
Benefits of Preparing Your Car at Home
By taking the time to handle these ceramic coating prep steps before your appointment, you not only save time but also ensure better results. The coating will bond more effectively, creating a stronger, longer-lasting barrier against environmental damage. Plus, you’ll feel confident knowing you’ve played a role in making your car look its absolute best.
In Savannah’s warm, humid climate, this extra effort can make a significant difference in maintaining your car’s shine and protecting it from sun, salt, and everyday wear.
Bring Your Car to Northern Lights for the Perfect Finish
If you’ve followed these steps, your car is already well on its way to a flawless ceramic coating application. Now it’s time to let the professionals at Northern Lights Home & Auto Coatings finish the job with our expertise and high-quality products.
We specialize in ceramic and graphene coatings that offer exceptional durability, UV resistance, and hydrophobic performance. Whether you’ve prepped your car or need us to handle every stage, we’ll ensure your investment delivers the ultimate results. Get started today by booking your ceramic coating service here: Contact Us