Replace Window Tint: Step-by-Step Guide for Cars and Homes
Window tinting can feel like a small detail, but it makes a huge difference in how your car or home looks and feels. Not only does it provide privacy from prying eyes, but it also blocks harmful UV rays that can damage your skin and fade your interiors. If you're thinking about replacing the window tint on your vehicle or windows at home, it's important to understand the steps involved in making a good choice. This guide will walk you through everything you need to know, from legal requirements to installation tips, ensuring you achieve the perfect balance of style and functionality while avoiding any unnecessary headaches. Whether you’re taking on this task yourself or calling in the pros, having the right information is key to getting it right!
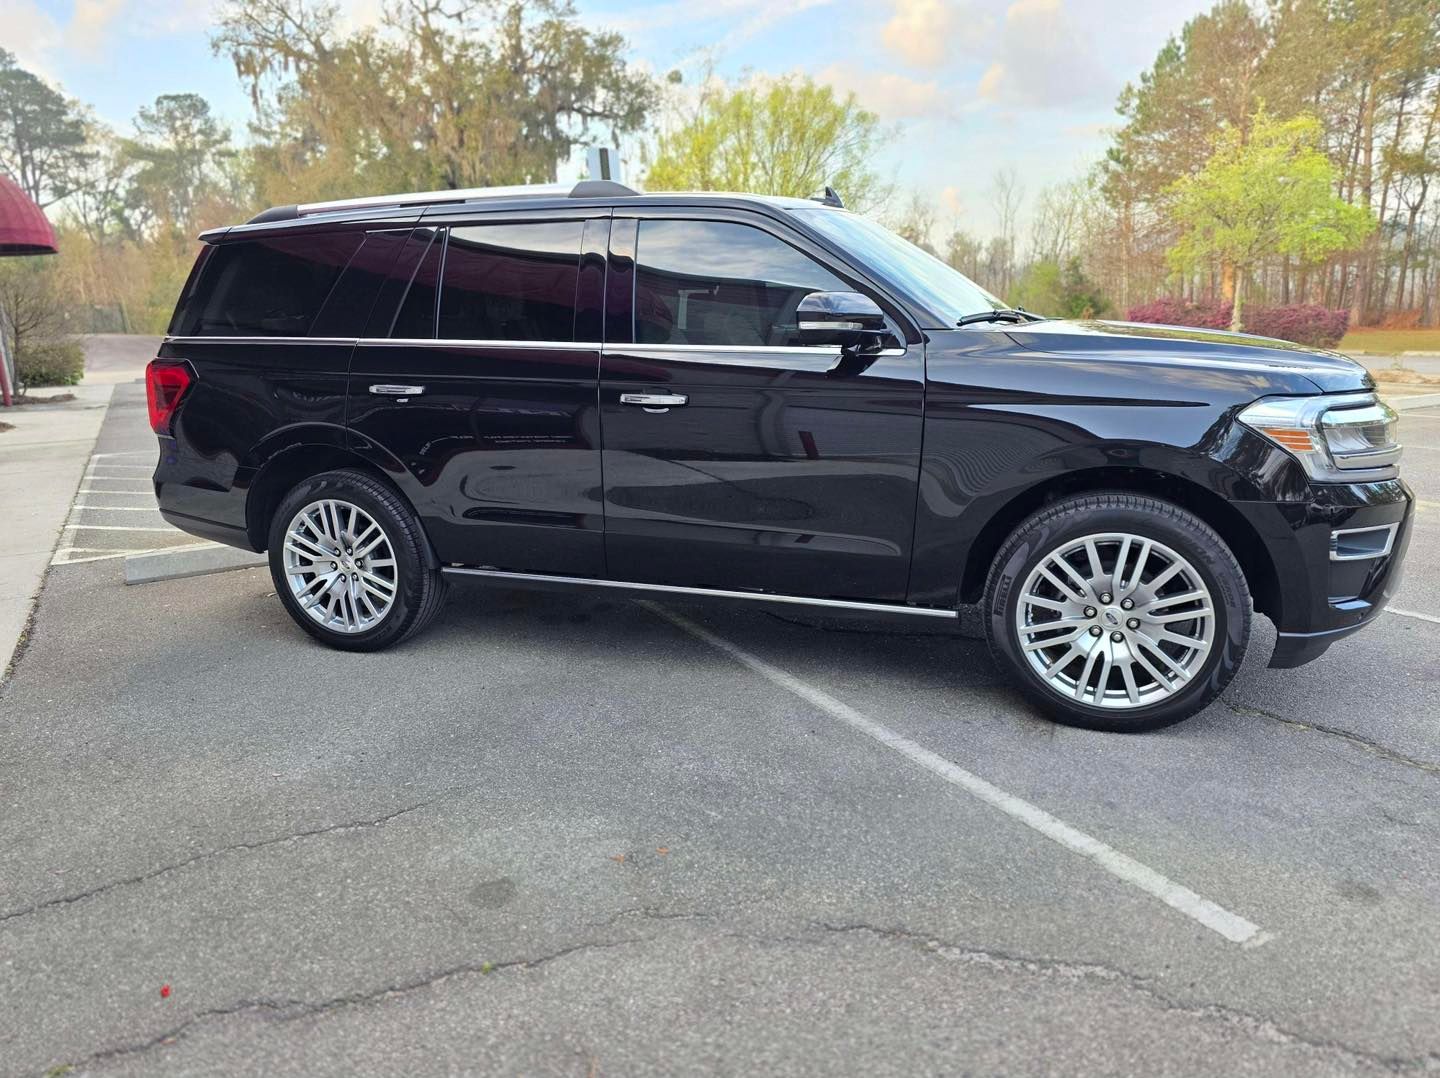
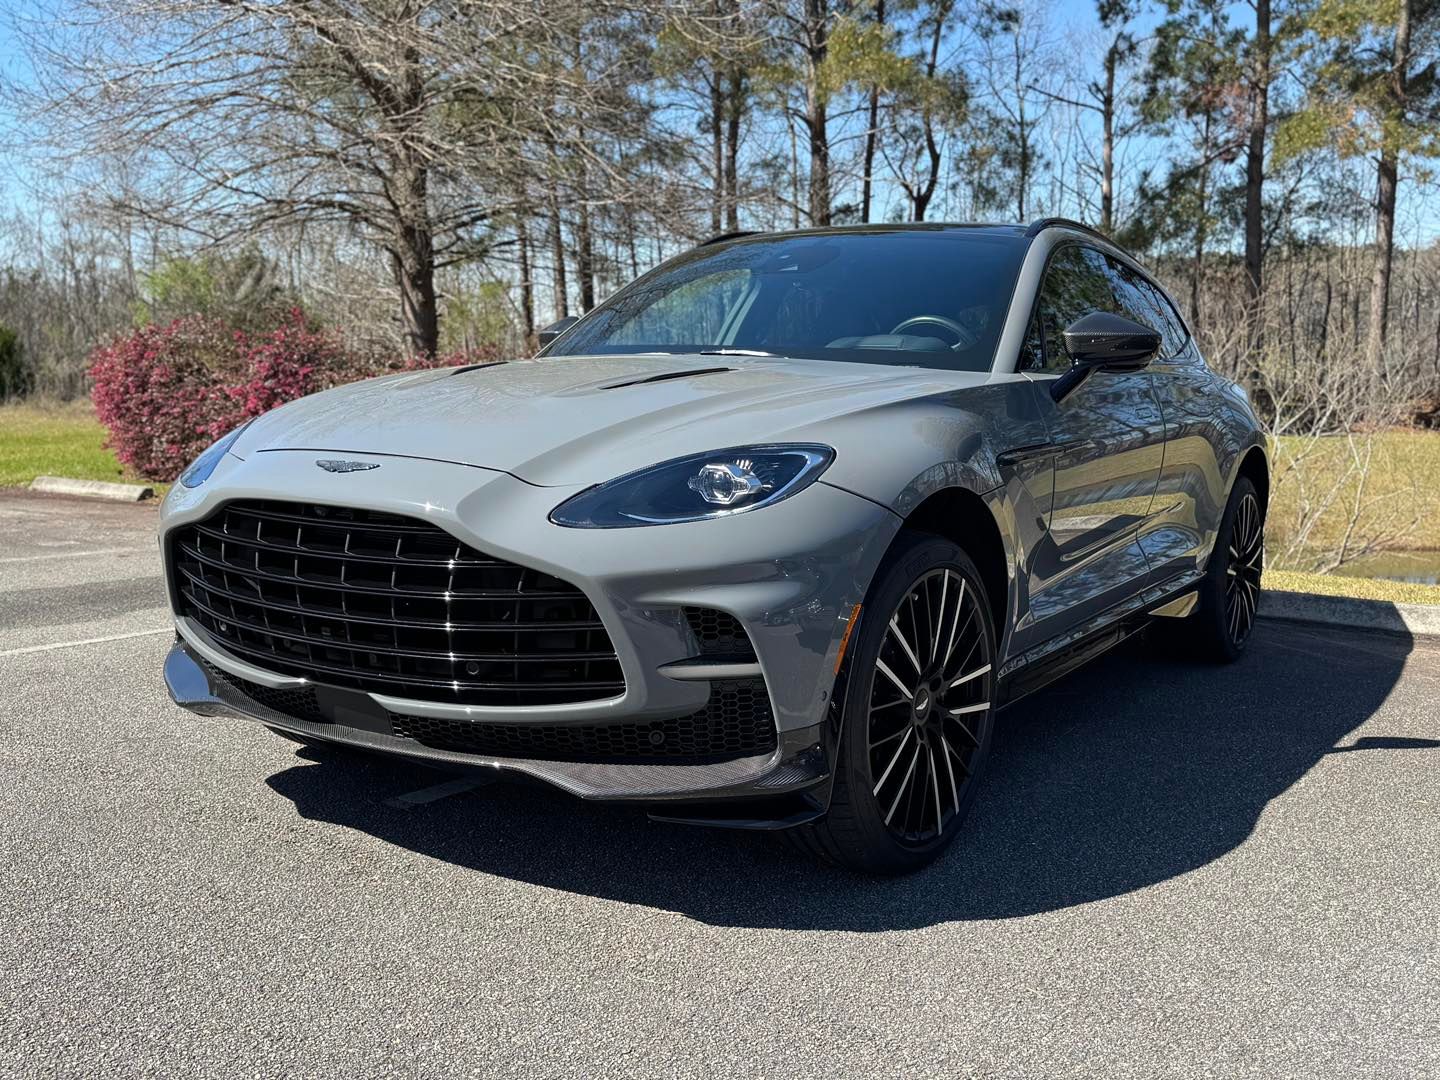
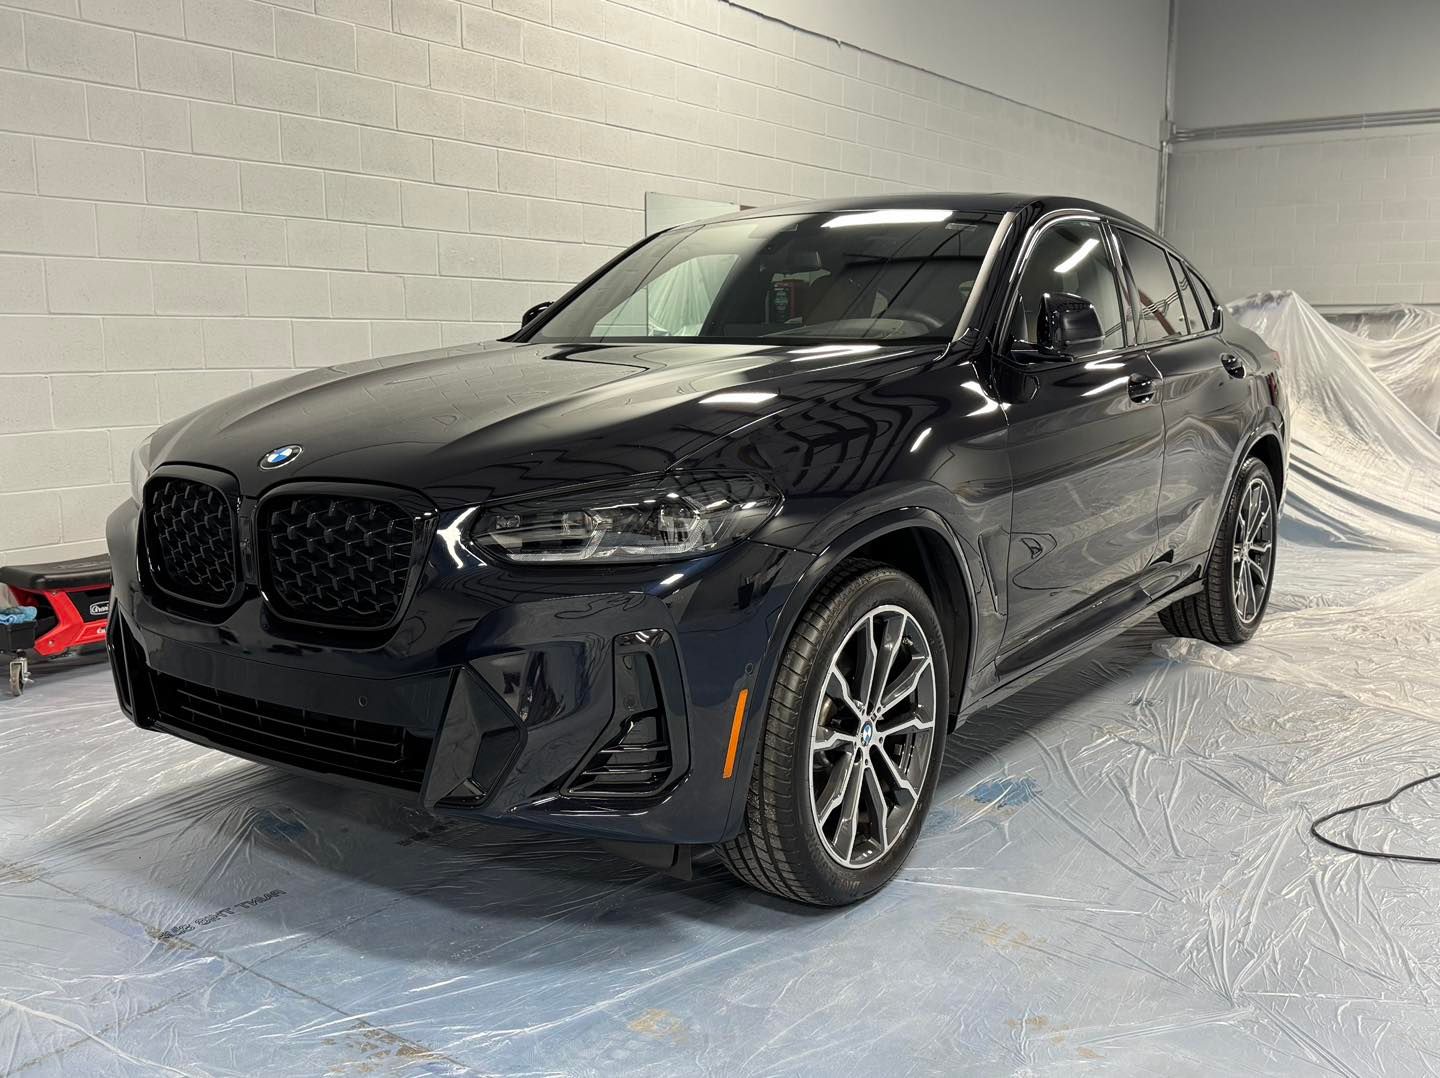
To replace your vehicle's window tint, you should first remove the existing tint by carefully peeling it away from the glass. It's advisable to use a professional auto detailing service, like Northern Lights Home & Auto Coatings, for high-quality replacement and proper installation of new tint that meets local regulations and ensures durability over time.
Legal Considerations for Window Tint
Each state has its set of rules that dictate the legal limits for window tinting, making it important to stay informed.
In Georgia, for instance, the law is specific: side windows must allow more than 32% of light transmission. This requirement means that any tint applied should still provide sufficient visibility from outside the vehicle, which is essential for law enforcement and other drivers. Additionally, only a non-reflective tint can be applied to the top six inches of windshields, creating a clear line of sight through the lower portion.
It's also wise to consider how your insurance company views illegal tints. Some policies may refuse coverage completely if your vehicle does not comply with local regulations. Removing non-compliant tints after an accident can complicate claims and lead to stressful conversations with adjusters.
Regional Differences
Whether you're in Savannah or another city across Georgia, local regulations vary widely. To truly protect yourself and ensure compliance, always verify your specific state laws before proceeding with any tinting work. Resources like state websites or local auto detailing services often provide updated guidelines to help you navigate this field clearly. Research pays off—it helps avoid regrets down the road when your new tinted windows might end up costing you much more than anticipated.
With this understanding of the legal aspects and potential implications of window tinting, let’s explore further preparations needed for a successful replacement process.
Preparing for Window Tint Replacement
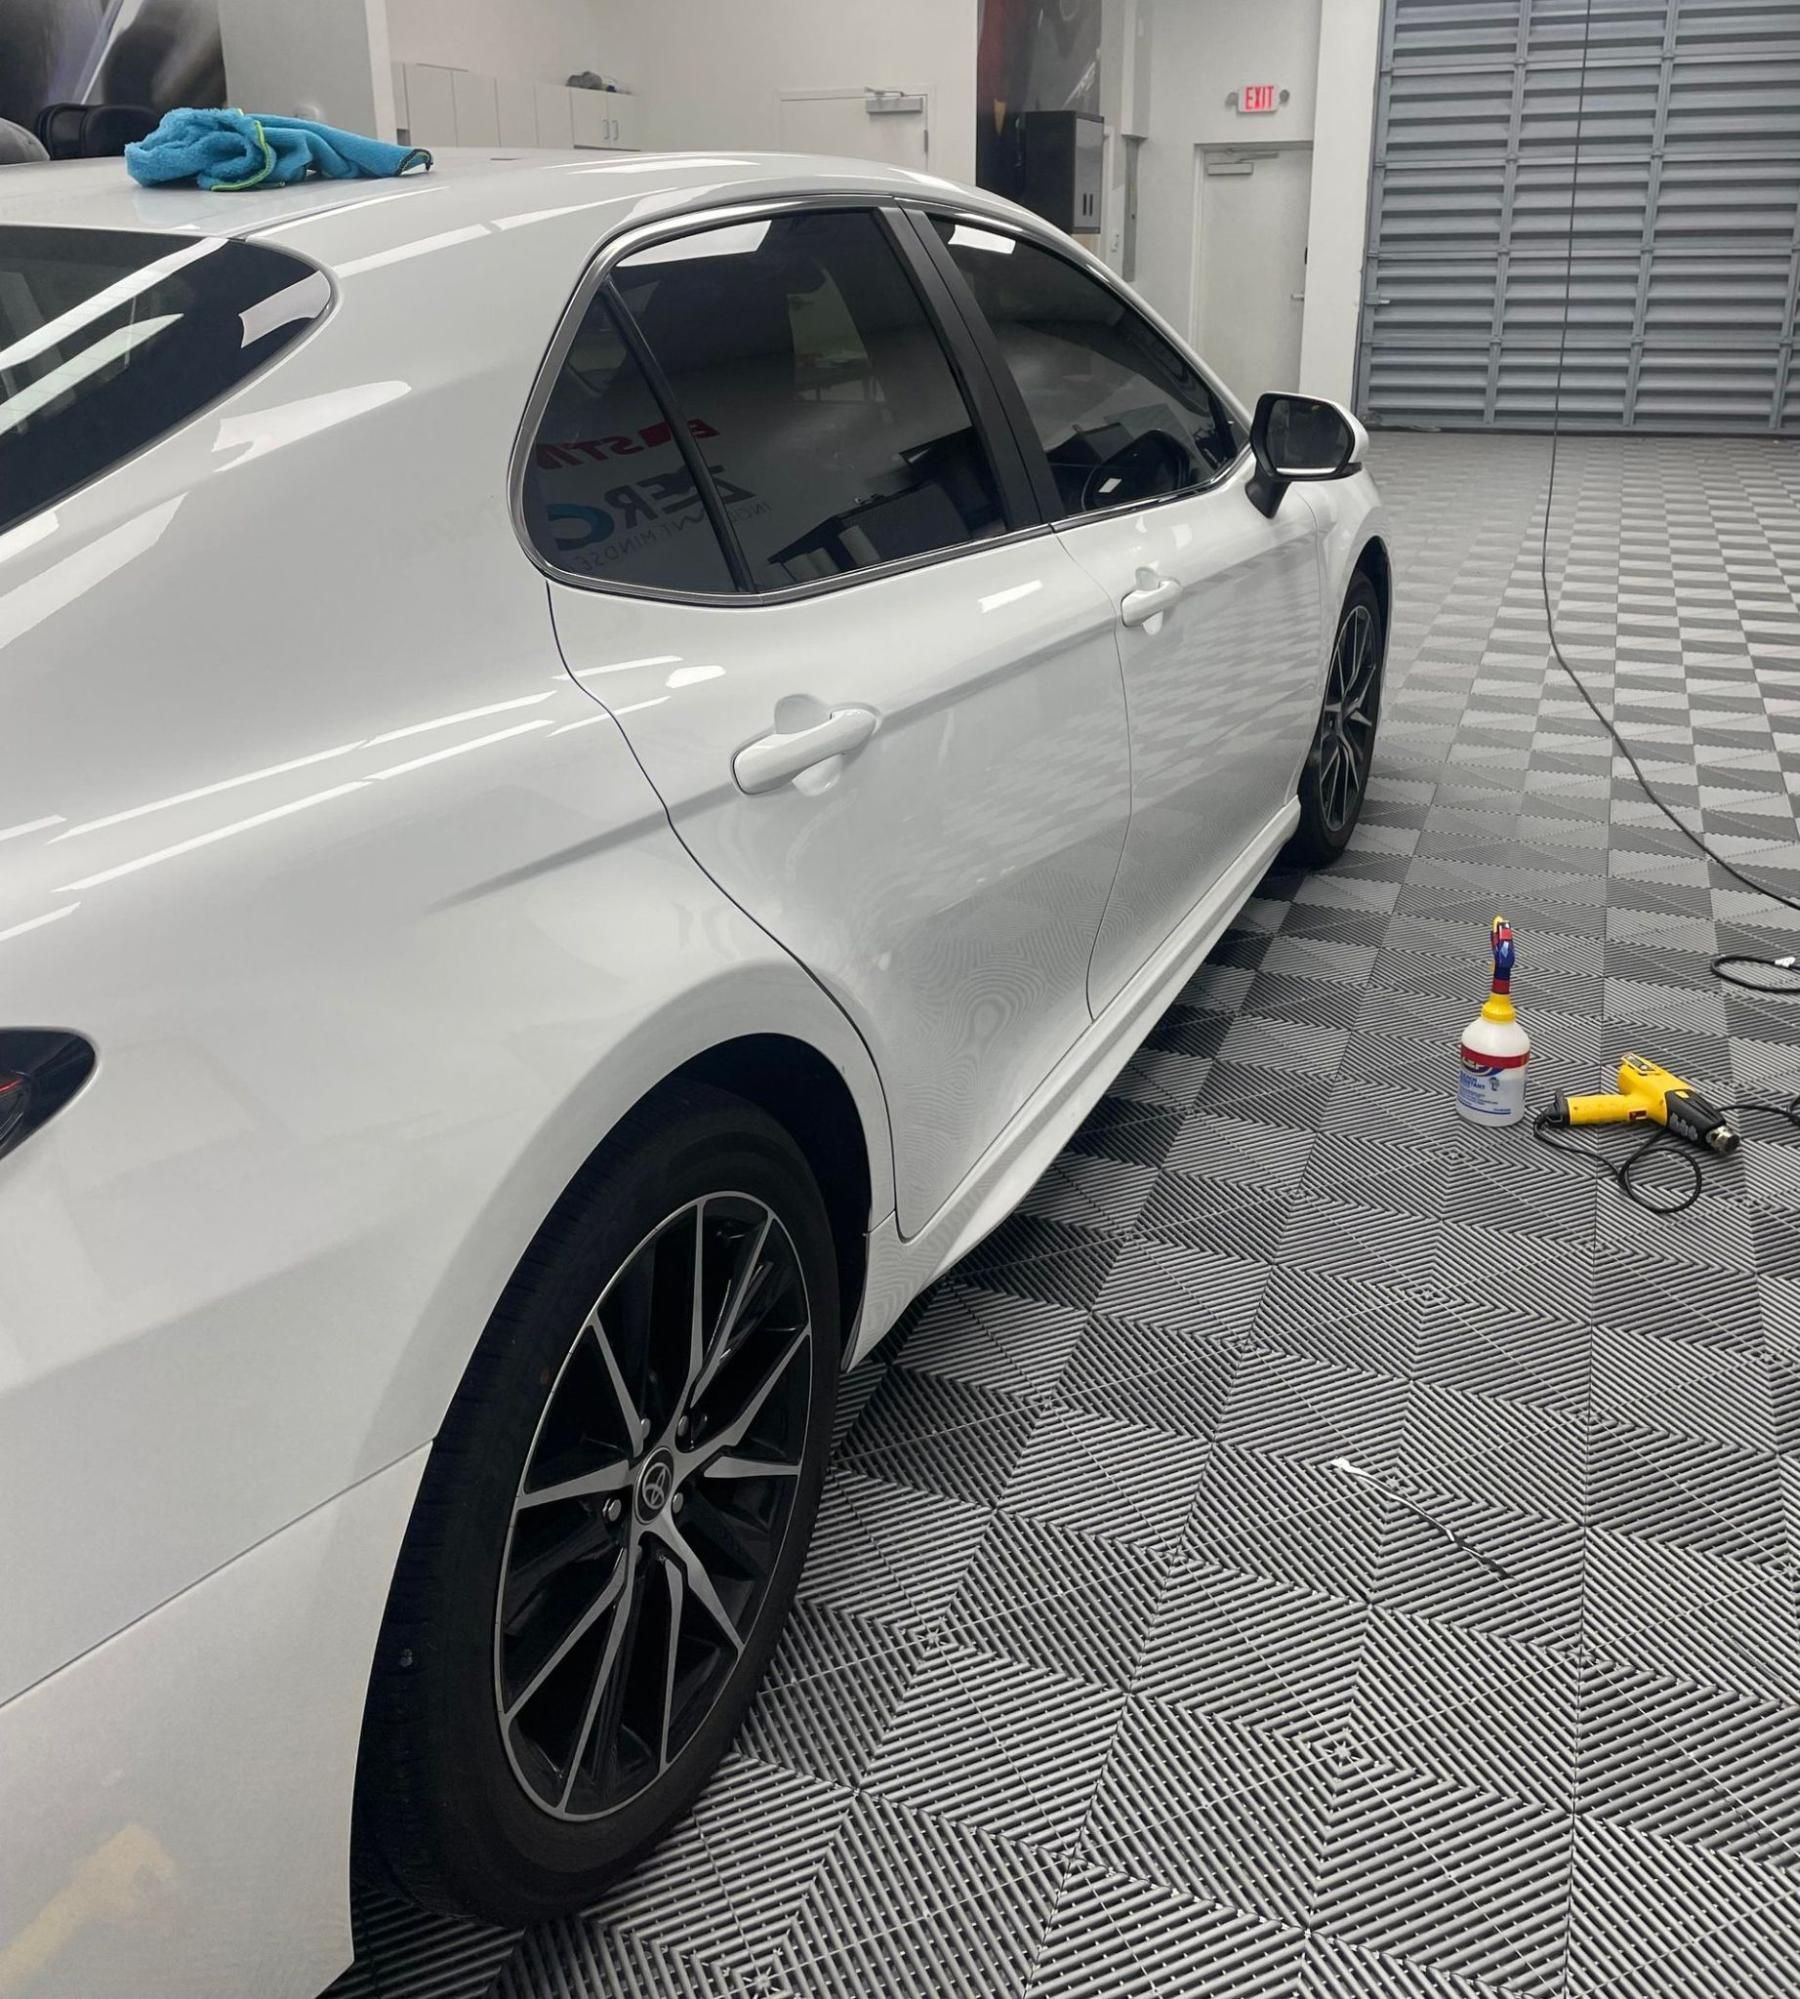
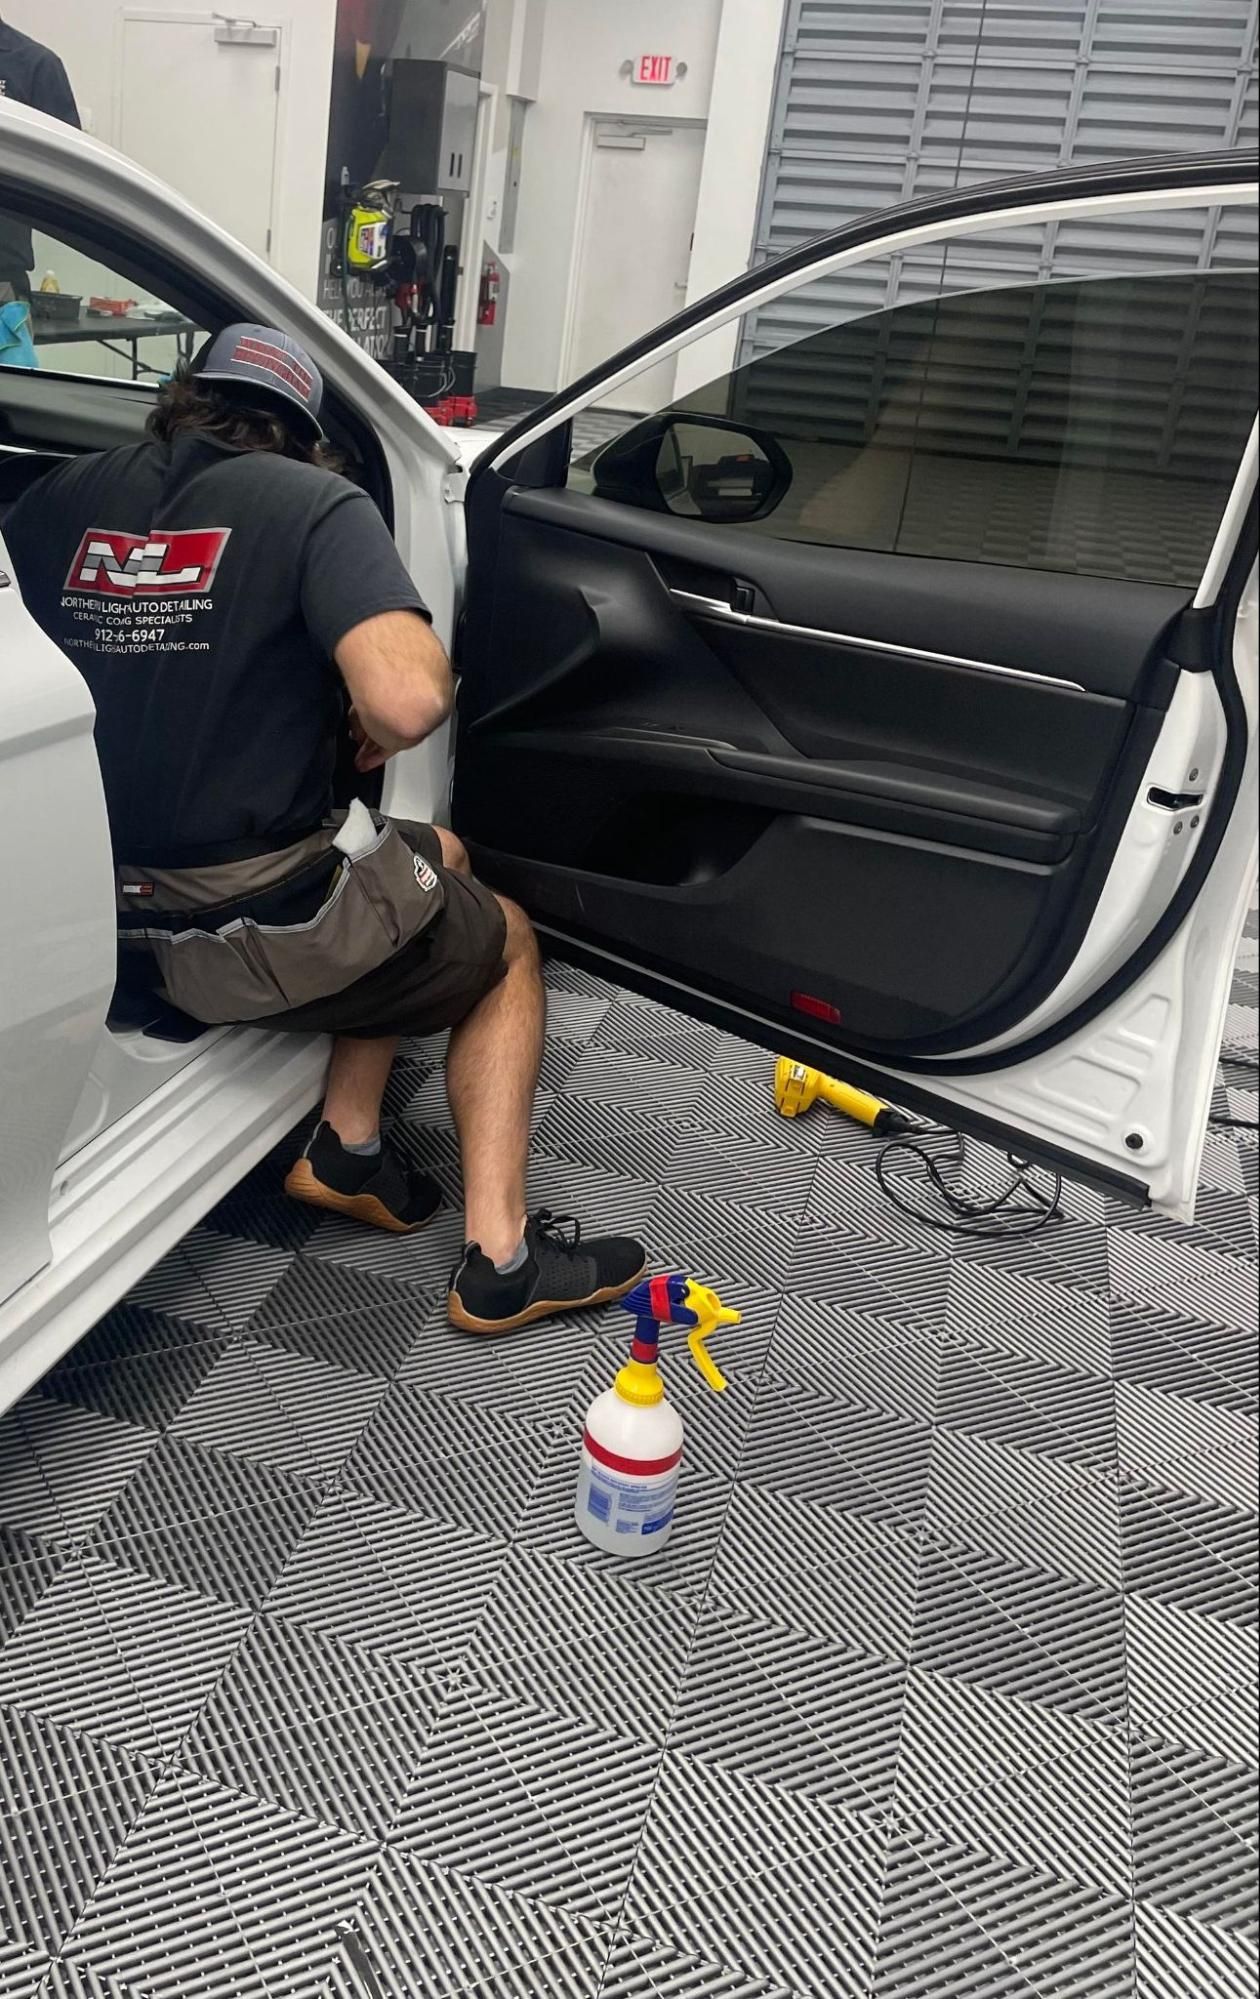
At Northern Lights Home & Auto Coatings, professional auto detailers follow a meticulous process to ensure every window tint replacement is done right the first time. It starts with thorough preparation—gathering high-grade tools, selecting a premium tint film that complies with local laws, and deep-cleaning the glass to create a flawless base. Before applying the new tint, the technicians carefully remove the old tint by using heat to soften the adhesive and precision tools to avoid damaging the glass. Every step is done with purpose to ensure a smooth transition from old to new without residue or imperfections.
Once the surface is prepped, detailers measure and custom-cut the new film to fit each window exactly, leaving no room for misalignment. They apply a soap solution to allow repositioning, then squeegee out bubbles and creases with expert control. If stubborn air pockets remain, heat is used to gently smooth them out without compromising the film. The result? A clean, crisp, and durable finish that not only elevates the vehicle’s look but also enhances UV protection and interior comfort. It’s not just a tint job—it’s craftsmanship.
Maintaining New Window Tint
Taking care of your new window tint is critical to making sure it looks great and performs well over time. You likely invested in this upgrade for its aesthetic appeal and its ability to keep out harmful UV rays, so why not ensure it lasts? The initial care after application is essential, and following that up with routine maintenance can extend the life of your tint greatly.
Step I - Initial Care
After installing window tint, wait a week before rolling down the windows. Why? This waiting period allows the adhesive to fully bond with the glass, which is crucial for preventing premature peeling or bubbling. It might feel like a long time if you're used to having that fresh air movement, but it's worth every day!
After this initial waiting period, you can begin routine cleaning. Use a mild soap solution mixed with water—think gentle, not aggressive! Avoid anything abrasive because it could scratch the surface and create more problems than it solves. A soft microfiber cloth works wonders here, making sure you wipe gently while removing any dirt or smudges without harming your tint.
Step II - Routine Maintenance
Regular maintenance checks can significantly increase your window tint’s lifespan. Set aside some time every month to inspect your tinted windows closely. Look for signs such as bubbling or peeling around the edges. These early signs can be swiftly addressed if caught soon enough, saving you from costly repairs down the line. It's like going to the doctor for regular checkups; catching issues early means less hassle later on.
Another aspect of maintaining your window tint involves keeping up with cleanliness. Clean two to three times a month using that same mild soap and soft cloth combination you employed initially. This routine will not only preserve its appearance but will also keep the heat rejection properties working efficiently.
Insider Tips
Here are a few tips gathered from years of experience and customer feedback to help ensure your investment stays protected:
- Always avoid ammonia-based cleaners, as they can easily degrade the tint.
- When cleaning, use vertical strokes on one side and horizontal strokes on the other. This approach helps identify spots that may have been missed.
- If you're ever unsure about how to clean something or if you spot an issue you can't tackle yourself, don't hesitate to reach out for professional advice or service.
Devoting time to maintenance guarantees aesthetically pleasing and long-lasting window tint. As we consider these facets, let’s assess whether tackling this task yourself or opting for professional assistance best meets your needs.
DIY vs Professional Replacement
Choosing between doing it yourself or seeking professional help often hinges on factors like cost, time, and the quality you expect from your window tint. A DIY project can be tempting, especially for those looking to save money. A DIY kit may cost between
$20 and $50, making it an attractive option if you're on a budget. However, executing a successful install requires precision and patience.
Imagine standing in your garage, armed with all the supplies but struggling to cut straight lines or apply the tint evenly. Mistakes are common and can lead to bubbles and creases, which spoil the aesthetic and compromise the effectiveness of blocking UV rays or heat. It’s an intricate process that can leave you frustrated if perfection eludes you.
DIY Approach
Many DIY enthusiasts report that while they saved money initially, the results didn't meet their expectations. Reapplying due to poor installation can end up costing more in the long run than just hiring a professional from the start.
Conversely, enlisting professional services provides a different experience.
Professional Services
While you might pay between $65 and $700 or more based on your vehicle's size and the tint type selected, this investment yields superior results. The expertise of trained professionals minimizes common issues like bubbling or unevenness significantly.
Customers frequently express satisfaction with the consistency and longevity of professionally applied tints, particularly noting how these services result in cleaner installations that enhance both appearance and performance. For anyone prioritizing quality outcomes without the hassle of DIY mishaps, considering a reputable company like Northern Lights Home & Auto Coatings becomes a clear choice.
With this level of dedication to excellence, visiting Northern Lights Home & Auto Coatings is one of the best decisions for achieving flawless results for your window tint replacement.
In conclusion, whether you choose to handle it yourself or seek professional help, always weigh your options carefully to ensure you get the best outcome for your window tint needs. For more information or to schedule your service today, visit Northern Lights Home & Auto Coatings or call (912) 656-6947.