How to Tell If Your Ceramic Coating Was Applied Correctly

GET A FREE ESTIMATE

CALL (912) 656-6947

June 10, 2025

Ceramic coatings offer a powerful shield against the elements while giving your car that deep, mirror-like shine but only if they're applied properly. A poorly applied ceramic coating can lead to uneven protection, reduced longevity, or even damage to your vehicle's finish. So how do you know if your ceramic coating was done right?


In this article, we’ll break down the most important indicators of a well-executed ceramic coating job, from visible signs like gloss and water beading to the finer points of preparation and application techniques. Whether you’ve already had a coating applied or are considering it, knowing what to look for can save you money and frustration.


1. Surface Gloss and Clarity: First Impressions Matter


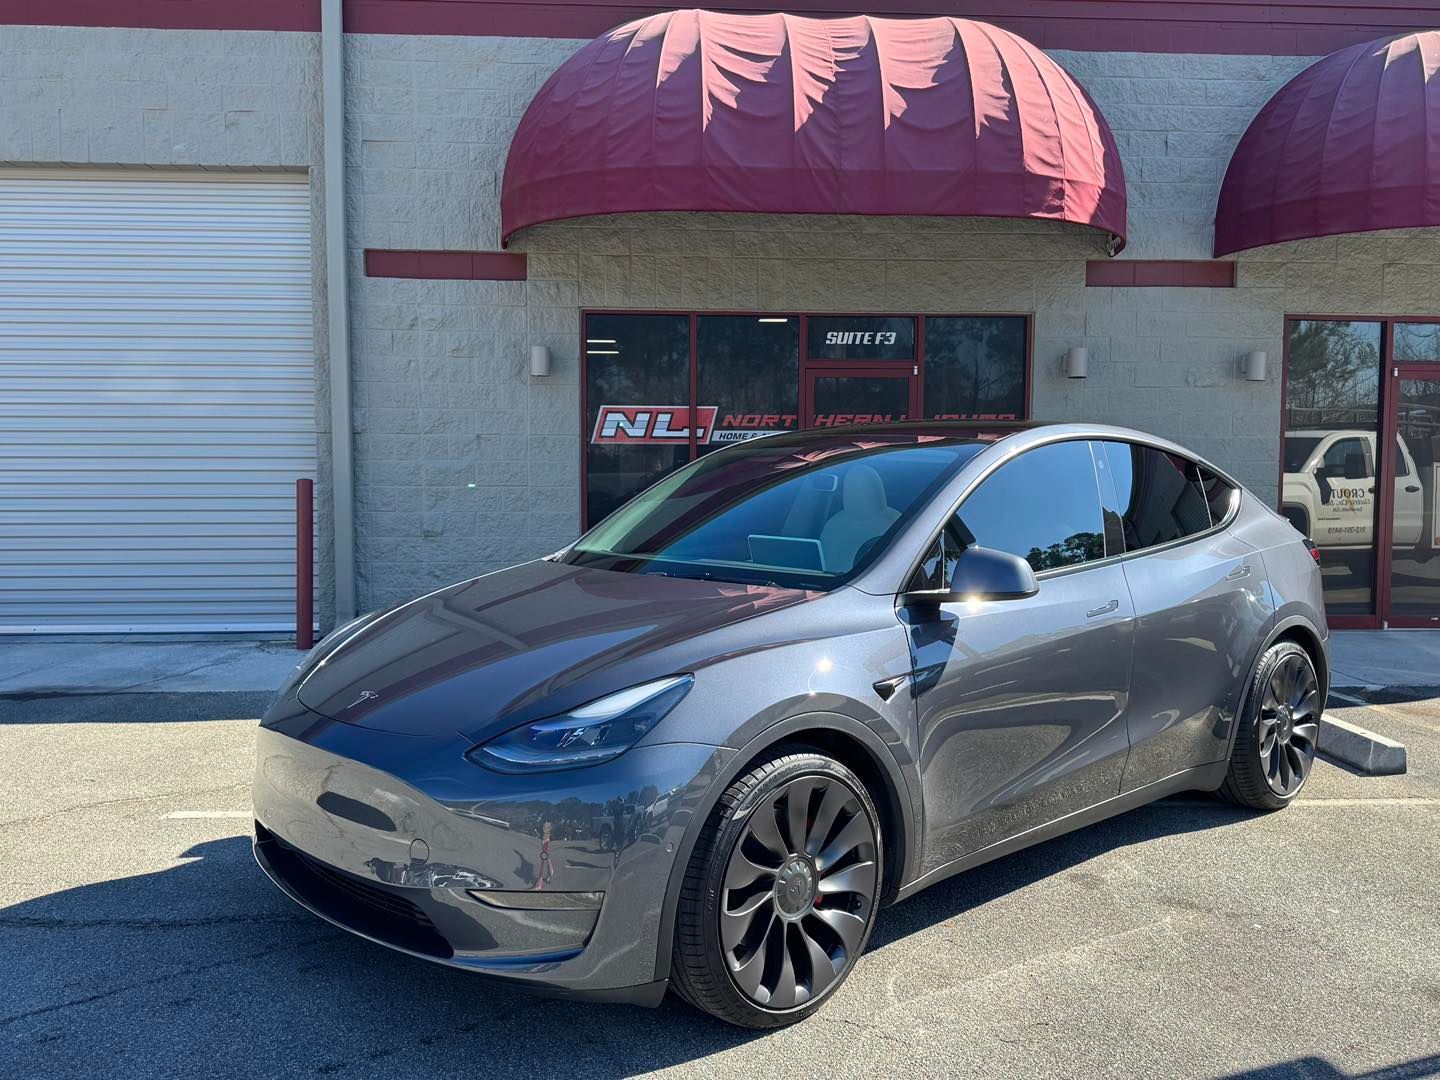
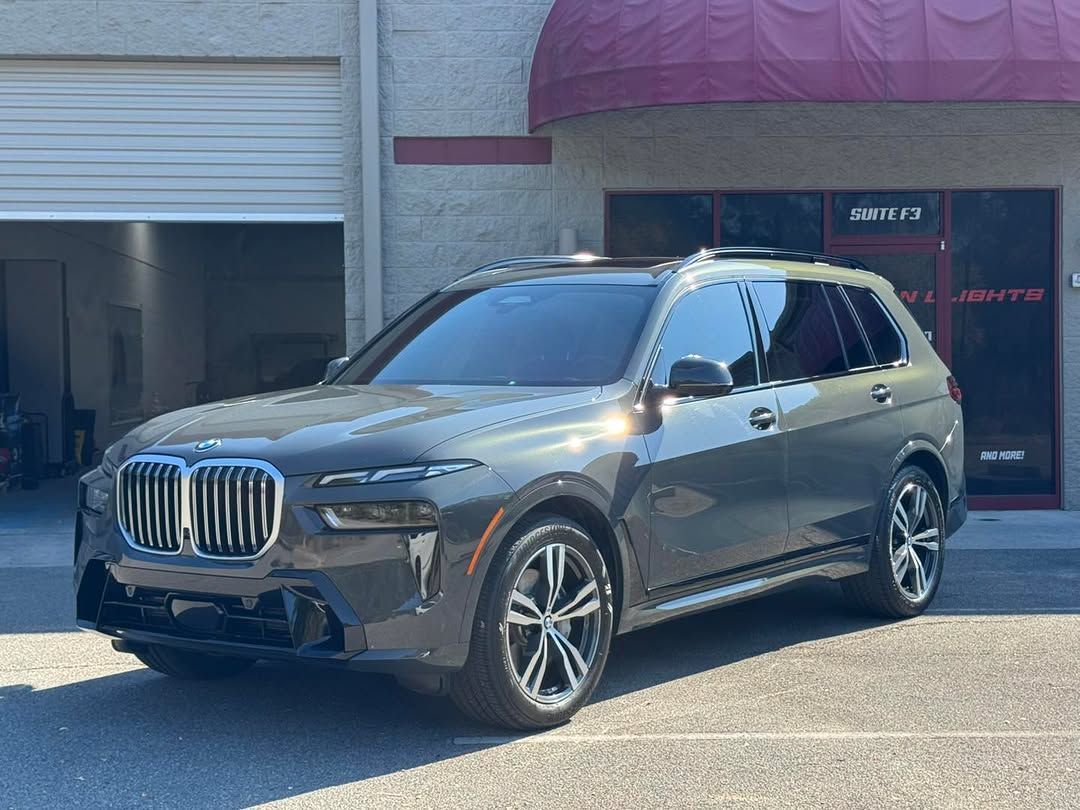
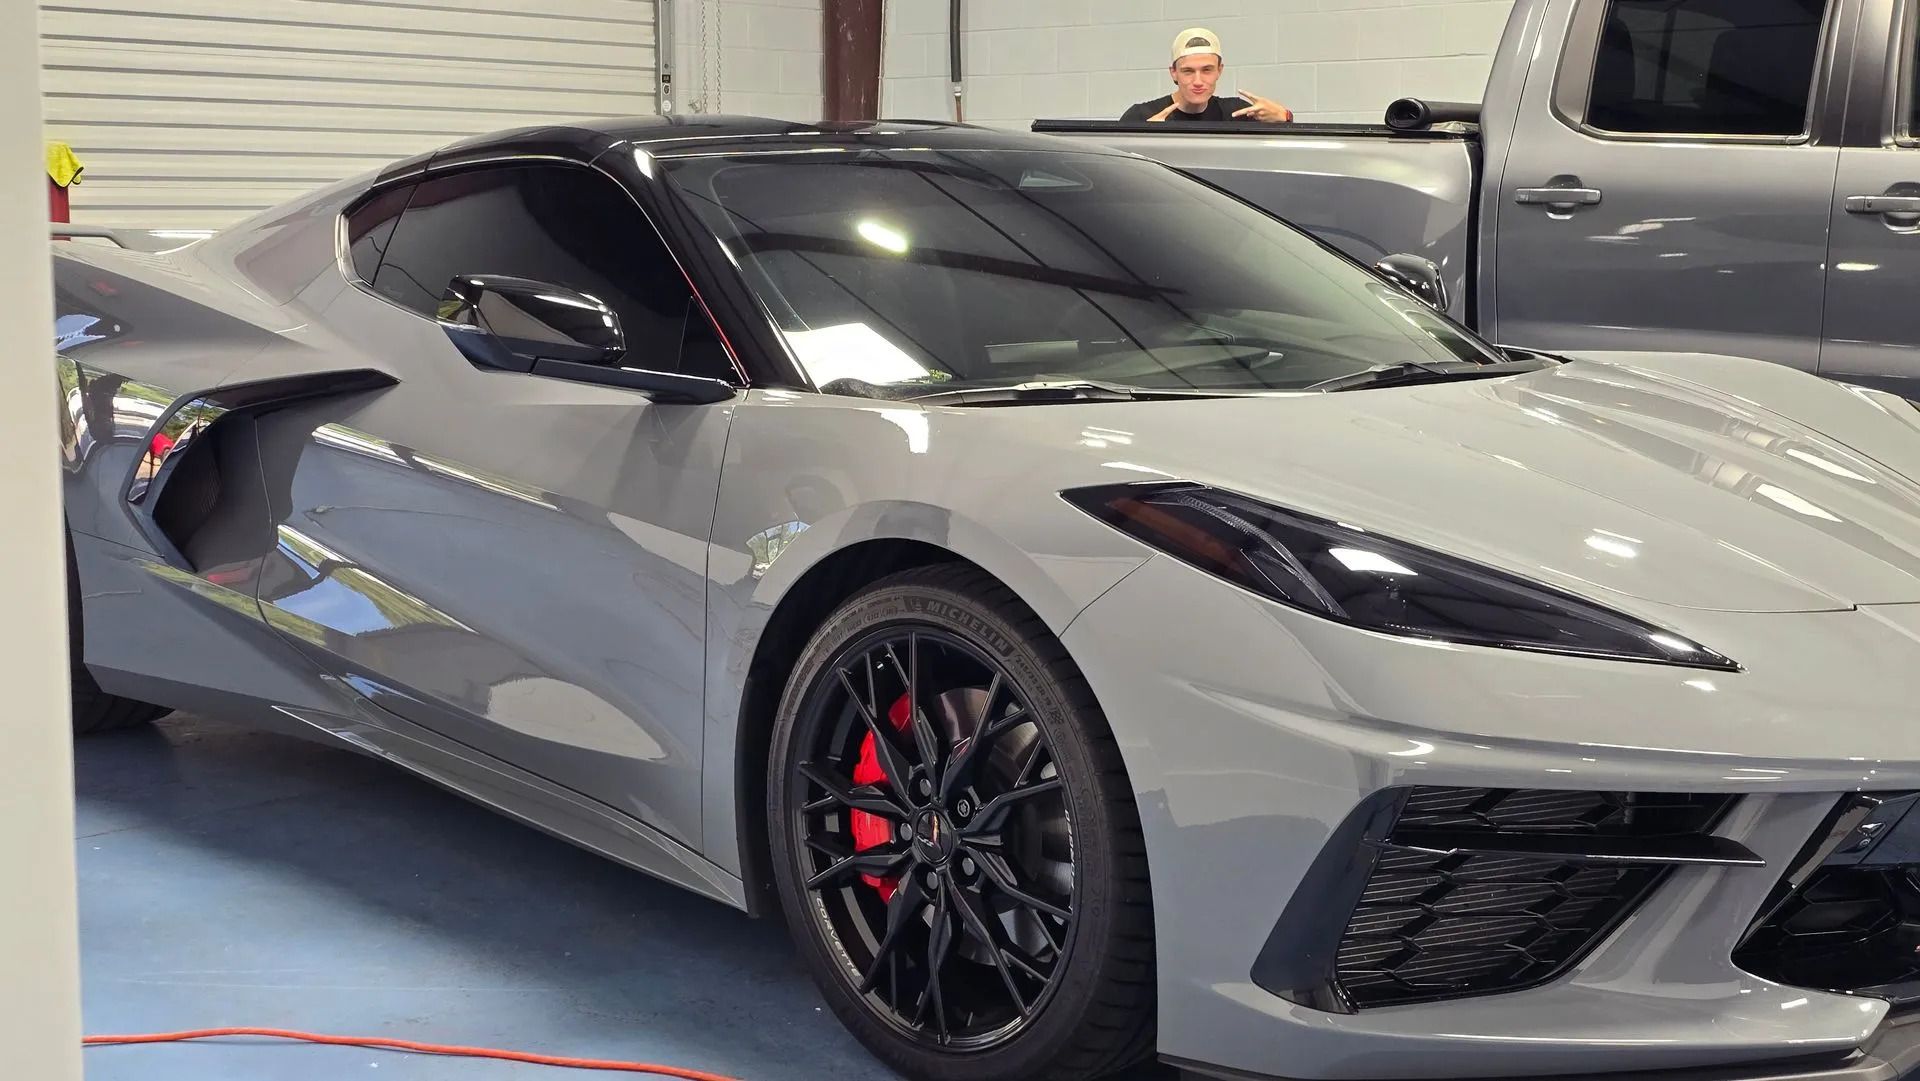
One of the most noticeable benefits of a high-quality ceramic coating is the immediate boost in shine. After a proper application, your vehicle should have a deep, glass-like gloss that looks almost wet to the eye.


However, the shine isn’t just about looking shiny, it’s a sign that the paint was properly prepped and the coating applied evenly. A dull, cloudy, or patchy finish often indicates surface contamination, poor correction, or rushed application.


Check for:

  • Uniform gloss from all viewing angles
  • Rich, vibrant paint color with no fading
  • No swirl marks, haze, or residue when viewed in direct light

Even the best ceramic products can’t mask poor preparation. The gloss should feel integrated into the paint, not just sitting on top of it.

ceramic coating longevity

2. Hydrophobic Performance: Water Beads Tell the Truth


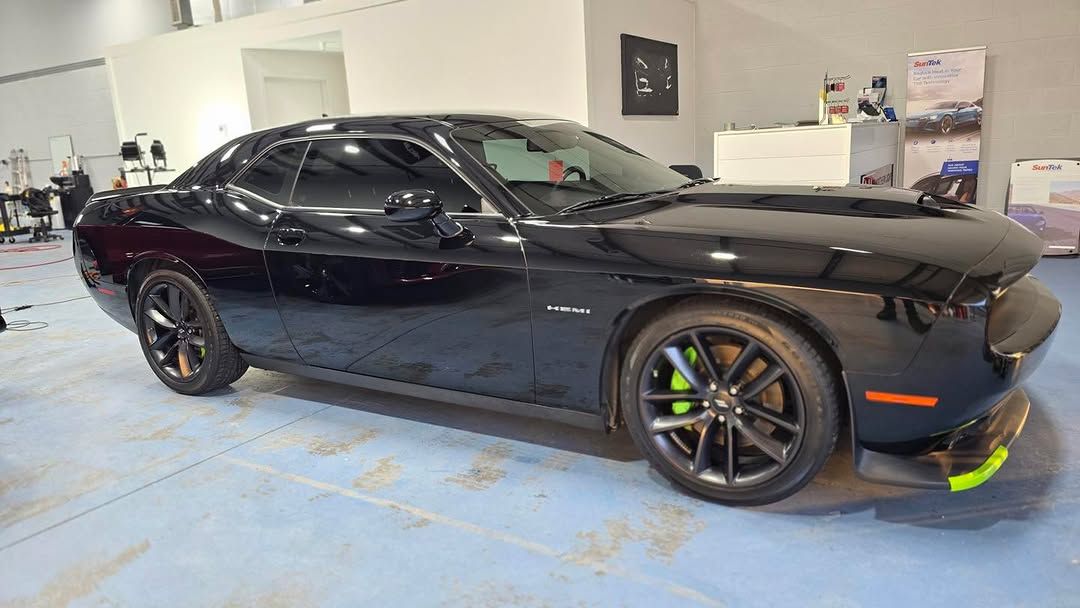
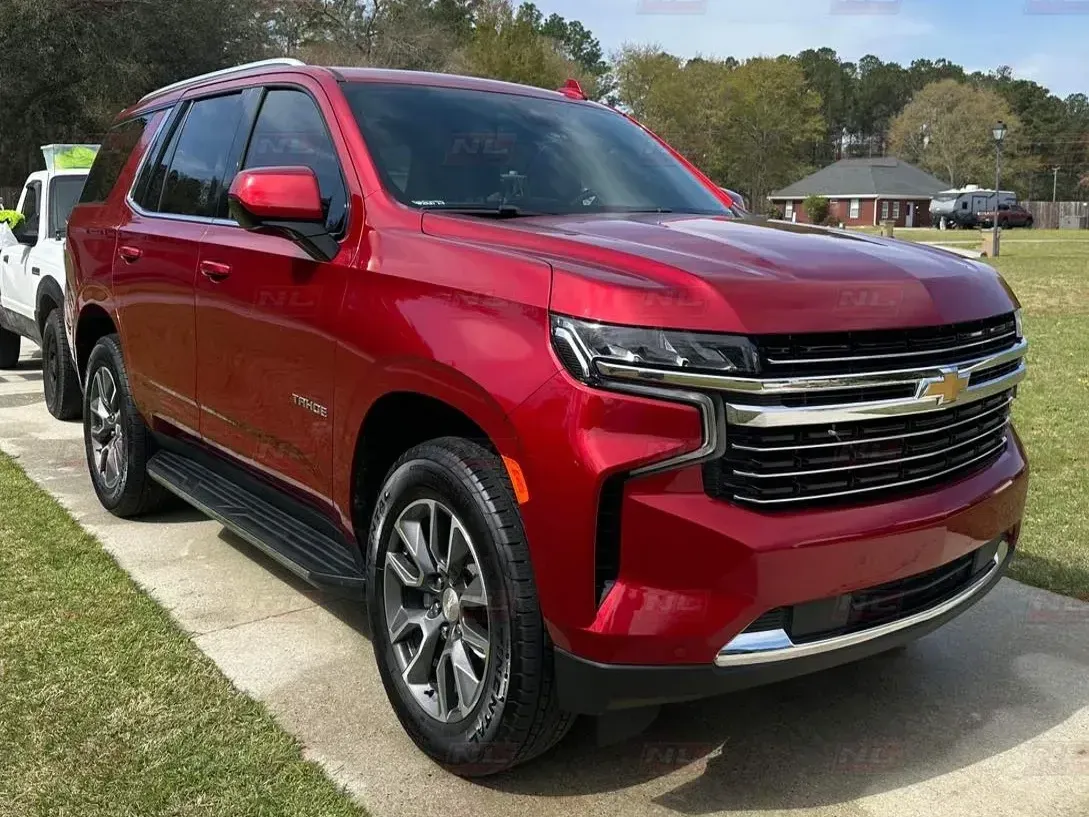
A ceramic coating’s ability to repel water—its hydrophobic property—is one of the easiest and most visual ways to test if it was applied correctly. When water contacts a coated surface, it should instantly form tight, spherical beads that roll off easily.


This “beading” behavior looks impressive and contributes to the self-cleaning effect, helping dust and debris slide off instead of sticking.


What you should see:

  • Water beads quickly upon contact, forming round droplets
  • Rain or rinsing causes fast water shedding, leaving minimal streaks
  • Water slides off both flat and vertical panels


If water appears to cling to the surface or pools unevenly, this may signal poor surface bonding, insufficient product usage, or improper curing.


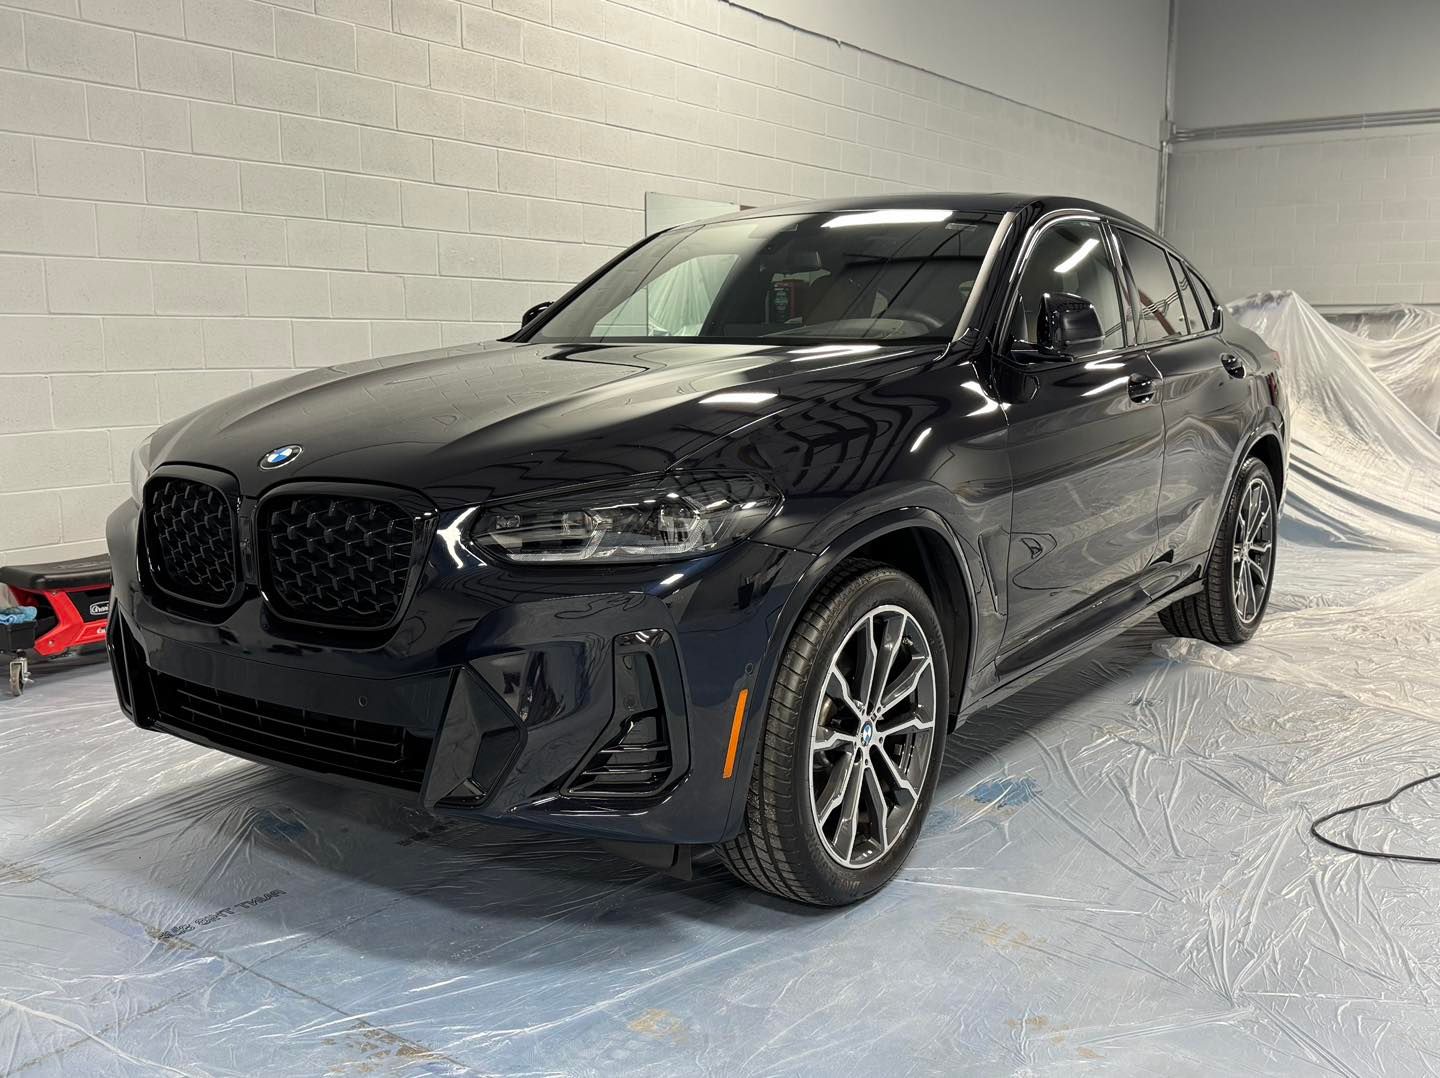
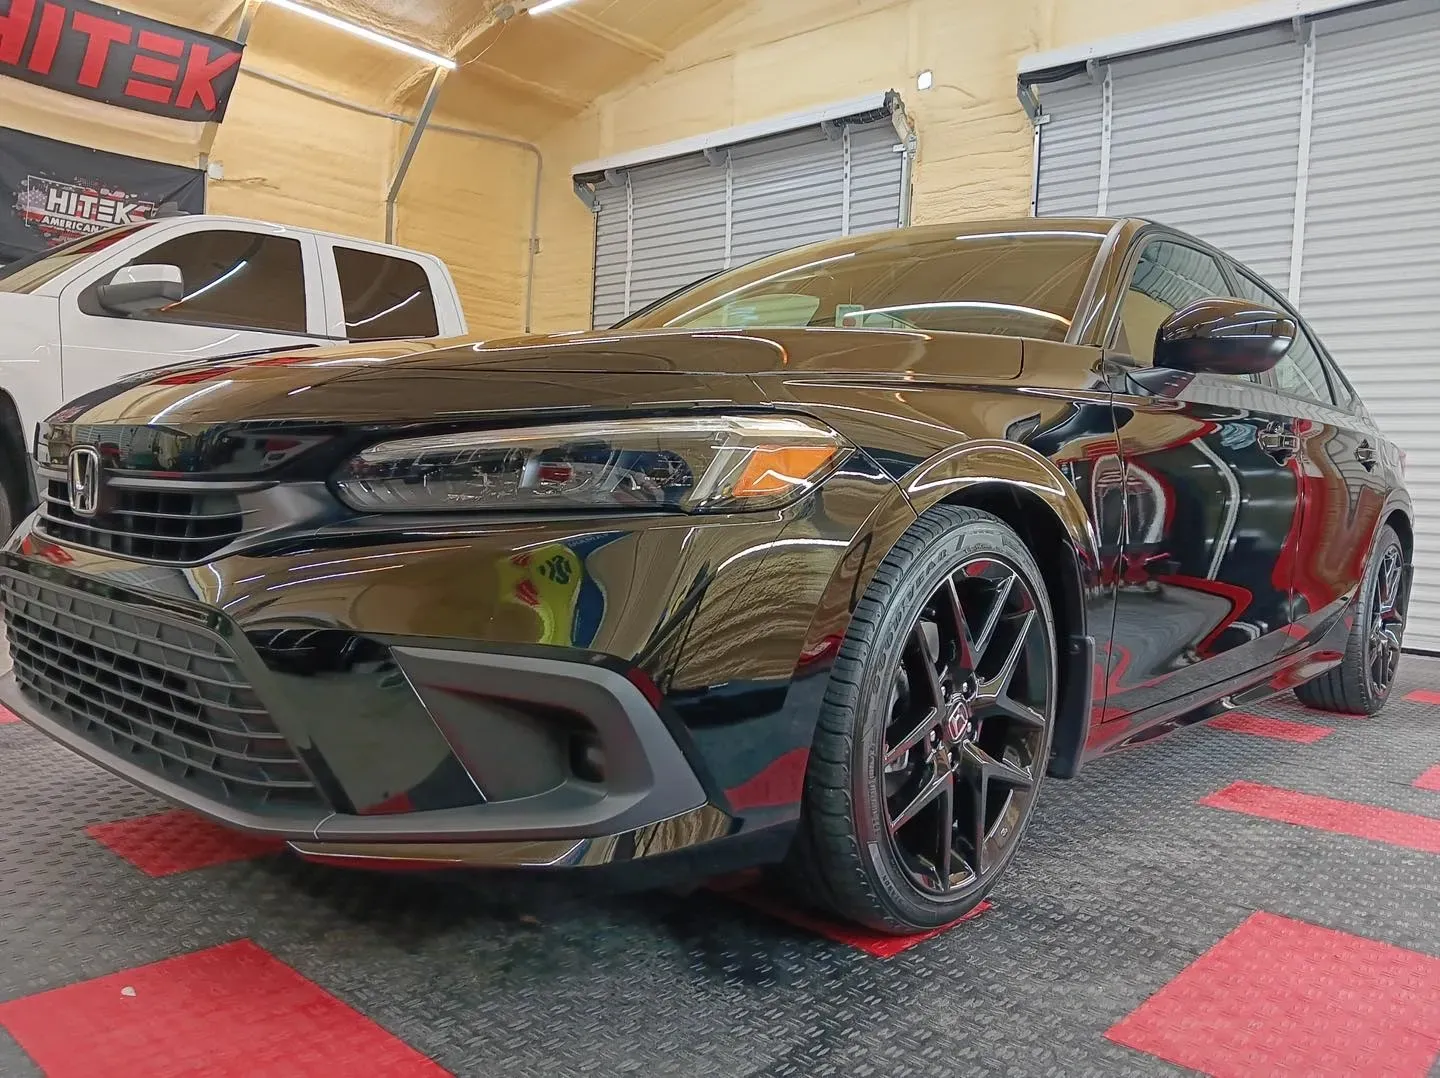
3. Smooth, Slick Texture: Feel the Difference


The tactile feel of your vehicle’s surface can reveal just as much as what you see. A properly applied ceramic coating will feel extremely slick and smooth to the touch, like polished glass. This slickness results from nano-sized particles filling in microscopic pores in the paint.


Signs of correct application include:

  • Your hand glides effortlessly over the surface with minimal drag.
  • Dirt and grime wipe off easily with minimal effort.
  • The surface feels "buttery smooth," especially after washing.


If the surface feels gritty, sticky, or uneven, it's likely the coating wasn’t applied properly—or the surface wasn’t decontaminated beforehand.


4. Even, Consistent Coverage Across All Panels


Ceramic coatings need to be applied uniformly. Missed spots, high spots (thick, sticky areas), or overlapping streaks can compromise both performance and appearance.

Professionals use techniques like cross-hatching and level lighting to ensure full coverage. Missed sections appear differently under light and fail to resist contaminants, thereby defeating the purpose of the coating.


Red flags of poor coverage:

  • Some panels bead water while others don’t
  • Surface feels tacky or leaves streaks when wiped
  • Uneven gloss or rainbow-like smears visible in sunlight


A reputable detailer should inspect and correct high spots before curing, but rushed jobs often skip this step.


5. Proper Surface Preparation Before Application


No ceramic coating—regardless of quality—will perform well if the surface underneath wasn’t correctly prepared. This includes washing, decontaminating, polishing, and degreasing. These steps remove old wax, embedded dirt, and microscopic imperfections that interfere with coating adhesion.


Signs the prep was done right:

  • No leftover contaminants or rough patches on the paint
  • Swirl marks and scratches have been minimized or corrected
  • Surface feels pure and clean before coating (pre-application inspections are key)


If a coating starts failing early or performs inconsistently, poor preparation is often the culprit.

ceramic coating take to cure

6. Respect for Curing Time: Let It Set


Ceramic coatings require time to bond with the paint and harden—this is known as curing. Most coatings need 24–48 hours of dry, controlled conditions before exposure to moisture. Full chemical bonding and hardening can take up to 7 days.


If the coating was cured properly:

  • No water spots or hazing within the first week
  • Beading and slickness increase after a few days
  • No soft, sticky areas or signs of premature wash exposure

Short-cutting the curing period can permanently compromise durability and appearance. If you exposed your vehicle to rain within hours of the job, the results might not endure.


7. Long-Term Durability and Easy Maintenance


Ceramic coatings are designed for long-term protection, not just short-term shine. You should still notice hydrophobic effects, enhanced gloss, and easier cleaning for months—even years—after application.


After 3 to 6 months, look for:

  • Continued water beading after washes

  • Less dirt buildup between washes

  • No signs of fading, oxidation, or clear coat failure

If your vehicle looks dull or feels unprotected after a few months, your coating may have been poorly applied—or wasn’t ceramic at all.


8. Chemical and UV Resistance: A True Shield


Another benefit of a correctly applied ceramic coating is its ability to resist harsh environmental factors. These include UV rays, acid rain, bird droppings, tree sap, and industrial fallout.


Indications of protection:

  • No fading or discoloration of the paint, even in sunny conditions
  • Bird droppings and sap wipe off easily without etching the surface
  • Brake dust and road grime don’t stick as easily to wheels or lower panels

If you're noticing paint dulling, etching, or fading despite having a “ceramic coating,” it may not have been installed or cured correctly—or the product used wasn't genuine.


9. Professional Detailer Touch: Quality Over Convenience


Lastly, ask yourself: Who applied the coating?


Many DIY kits claim similar results, but unless applied with attention to every detail—and on a properly prepped surface—those results rarely last. Professional detailers not only use higher-grade products but also perform multi-step preparation, precision application, and quality checks.


The difference with pros includes:

  • Paint correction to remove swirls and scratches before coating
  • Controlled environments for dust-free, ideal-temperature application
  • Warranty options or post-application checkups


Final Thoughts: Know the Signs, Protect Your Investment


A ceramic coating is more than just a beauty treatment—it’s an investment in your vehicle’s protection and longevity. But the results depend entirely on how well the product was applied.


If your coating exhibits high gloss, water beading, slickness, consistent coverage, and long-term resilience—congratulations! You likely received a high-quality application. But if something seems off, it might be time for a professional assessment.


Trust Your Shine to the Experts


At Northern Lights Home & Auto Coatings, we specialize in professional-grade ceramic coatings that are installed with precision and care. From surface prep to final cure, we inspect every step to ensure your coating looks incredible and performs for years to come.


Want to know if your current coating was done right—or ready to start fresh with the experts? Contact us today to schedule your ceramic coating consultation. Protect your ride. Preserve your shine.

By SEO Team August 14, 2025
Window tint is one of the most popular upgrades for vehicle owners in Savannah, GA. It offers more than just a sleek look—it can reduce glare, block harmful UV rays, keep the interior cooler, and provide added privacy. But as with any investment in your vehicle, you might wonder: how long does window tint last ? At Northern Lights Home & Auto Coatings , we’ve seen firsthand that the answer depends on a few key factors, including the quality of the tint, the installation process, and how the vehicle is maintained over time. In this article, we’ll break down the typical lifespan of professional versus DIY window tint, the signs your tint is aging, and how expert installation can give you better clarity, longer performance, and legal peace of mind. Understanding the Lifespan of Window Tint Window tint isn’t a permanent feature—it has a natural lifespan. While some tints can last for many years without issue, others may start showing wear much sooner. The main difference comes down to material quality and installation technique . At Northern Lights Home & Auto Coatings , we use high-grade window films designed to withstand Savannah’s humid climate and intense sun exposure. Cheap films, often used in DIY kits or low-cost installations, tend to break down much faster because they lack the durability and UV-resistant properties found in premium products. Factors That Affect How Long Window Tint Lasts Quality of Film The film itself plays the biggest role in determining longevity. High-performance films made with advanced dyes, metals, or ceramic particles resist fading and bubbling much longer than budget films. Premium ceramic tints, for example, can maintain their appearance and performance far longer than dyed films. Installation Expertise Even the best film can fail early if it’s not installed correctly. Professional installers like our team at Northern Lights Home & Auto Coatings use precision techniques to ensure the tint adheres smoothly, without air pockets or contaminants that can cause early deterioration. Exposure to the Elements Savannah’s sunny days are beautiful, but constant UV exposure is tough on tint. Heat and sun can accelerate the breakdown of lower-quality films. Parking in shaded areas or using a windshield sunshade can help slow the process. Maintenance and Cleaning Gentle cleaning methods extend the life of your tint. Using ammonia-free cleaners and soft microfiber cloths helps prevent scratches and cloudiness.
Paint Protection Film
By SEO Team August 14, 2025
Learn common mistakes that damage Paint Protection Film and expert tips to keep your PPF looking new for years.
By SEO Team August 11, 2025
A professional ceramic coating can transform your car’s appearance and protect its finish for years, but the quality of the results often depends on how well the vehicle is prepared beforehand. If you’re in Savannah, GA, and planning to bring your car to Northern Lights Home & Auto Coatings for a ceramic coating service , you can take a few steps at home to ensure the best possible outcome. Proper washing, decontamination, and surface preparation help the coating bond better, leading to enhanced shine and durability. In this guide, we’ll walk you through the essential ceramic coating prep steps you can do yourself before handing your car over to the pros. We’ll also explain how professional detailers handle the final touches to achieve a flawless finish. Understanding Why Prep Matters for Ceramic Coating Before diving into the actual prep process, it’s important to understand why it’s necessary. Ceramic coating is a semi-permanent layer that bonds to your car’s paint, creating a hydrophobic surface that resists dirt, water spots, UV rays, and contaminants. However, for the coating to bond effectively, the paint surface needs to be clean, smooth, and free of imperfections. If dirt, tar, or old wax remain on the surface, they can prevent proper adhesion, causing the coating to fail prematurely. Even microscopic contaminants can create uneven spots, which means you won’t get the maximum protection or shine you’re paying for. This is why taking the time to properly prepare your car at home—and then letting a professional finish the job—makes such a difference. Step 1: Start with a Thorough Wash Washing your vehicle is the foundation of ceramic coating prep. The goal here is to remove surface dirt, dust, and loose contaminants so that deeper cleaning and decontamination are more effective. When washing your car before a ceramic coating appointment in Savannah, GA, it’s best to use a pH-neutral automotive shampoo. Avoid dish soaps or harsh detergents that can strip away necessary layers in an uncontrolled way. Work from top to bottom, using the two-bucket method—one bucket for clean, soapy water and another for rinsing your wash mitt—to prevent swirl marks. Pay special attention to crevices, door jambs, and areas around badges, as dirt tends to accumulate in these spots. After washing, rinse the car thoroughly to ensure no soap residue is left behind. Dry the surface with a clean microfiber towel to avoid water spots, which can interfere with the coating process. Step 2: Decontaminate the Paint Even after washing, your paint may still have embedded contaminants that aren’t visible to the naked eye. These can include industrial fallout, brake dust, tree sap, and road tar. If left on the paint, they will interfere with the coating’s bond. To handle this, you can use an iron remover product designed for automotive surfaces. Spray it evenly across panels, let it dwell for the recommended time, and rinse thoroughly. The chemical reaction will dissolve iron particles and other stubborn contaminants that a wash alone can’t remove. This step is especially important in coastal and humid climates like Savannah, where environmental contaminants can settle quickly on vehicles. By performing this step at home, you’re giving your professional ceramic coating service the best possible starting point. Step 3: Clay Bar Treatment A clay bar treatment goes a step further in smoothing the surface. It works by physically pulling out any remaining particles from the clear coat, leaving a glass-like finish. Using a clay bar or synthetic clay mitt, apply a lubricant (usually a detailing spray) to a small section of the car, then glide the clay over it using light pressure. You’ll feel resistance at first, but as contaminants are removed, the surface will become smooth. Wipe away residue and move to the next section until the entire car is clayed. This step is crucial because ceramic coating bonds best to a perfectly smooth, contaminant-free surface. Skipping it can leave tiny particles trapped under the coating, diminishing its durability and visual impact. Step 4: Light Polishing for Surface Correction While not always necessary for DIY prep, light polishing can help remove minor swirl marks, oxidation, or water spots before the coating process. If your car’s paint is already in good condition, you may not need this step—but if you notice visible imperfections, correcting them now will make your ceramic coating look even better. For light polishing, use a dual-action polisher and a fine finishing polish. Work in small sections, applying steady, even pressure. Once finished, wipe the surface with a clean microfiber towel. Be cautious—heavy paint correction should be left to professionals, but a light polish can significantly improve the final results. Step 5: Final Cleaning Before Handing It to a Pro Once you’ve completed washing, decontamination, clay barring, and light polishing, it’s time for the final cleaning step before bringing your car to Northern Lights Home & Auto Coatings . This is where you remove any remaining oils, residues, or polishing compounds from the paint. A quick wipe-down with an isopropyl alcohol (IPA) solution is ideal. Mix a 50/50 solution of IPA and distilled water in a spray bottle, mist it onto a panel, and wipe it clean with a microfiber cloth. This ensures the surface is completely bare, allowing the ceramic coating to form a strong chemical bond.
A blue sports car is parked in front of a house.
By SEO Team July 9, 2025
Best Window Tint for Privacy: Films for Homes and Vehicles
A man is wrapping a black truck with paint protection film.
By SEO Team July 7, 2025
For vehicle owners looking to protect their paint and upgrade aesthetics, combining Paint Protection Film (PPF) with a vinyl wrap is an option worth considering. This dual-layer strategy offers both visual flexibility and added surface defense. At Northern Lights Home & Auto Coatings, we help drivers in Savannah enhance their vehicles while safeguarding them from road damage and weather-related wear. This guide explains how PPF and vinyl wraps can work together, how to prepare for installation, and what to expect when comparing durability, protection, and application techniques. Can You Apply a Vinyl Wrap Over Paint Protection Film? Yes, you can apply a vinyl wrap over Paint Protection Film. When done correctly, this approach protects your vehicle’s original paint while adding a customized appearance. However, results depend on proper installation and surface preparation. Before moving forward, confirm that your PPF is clean, defect-free, and fully bonded to the surface. This ensures better wrap adhesion and extends the life of both layers. What Is Paint Protection Film? Paint Protection Film (PPF) is a clear, durable urethane layer applied to the painted surfaces of a vehicle. Its primary function is to protect against chips, minor scratches, bug splatter, and environmental contaminants. The material is designed to absorb impact and deflect debris without affecting the underlying paint. Most high-quality PPF products are around 6 to 8 mils thick, offering strong resistance to wear while remaining flexible enough to mold to a vehicle's curves. These films are typically available in different finishes—gloss, matte, and satin—which allows drivers to choose a level of sheen that suits their preferences while keeping protection intact. Glossy PPF enhances paint depth, while matte options create a more understated appearance. PPF can be installed using either pre-cut templates or bulk film that’s trimmed on the car. Pre-cut kits ensure edge precision and reduce cutting near the paint surface, while bulk applications allow for seamless coverage in hard-to-template areas. Some PPF products also come with a hydrophobic top layer, which enhances water beading and makes cleaning easier. Self-healing properties are one of the standout benefits. Minor scratches fade away with the application of heat, restoring the surface to near-original condition without manual buffing or polishing. Whether you park in the sun or rinse with warm water, this feature helps maintain a freshly detailed look with minimal upkeep. Before adding a vinyl wrap, it’s best to allow the PPF to fully cure—usually 48 to 72 hours—so it properly adheres to the paint and forms a stable surface for the wrap to bond. When installed and maintained properly, PPF offers long-lasting protection, helping preserve both the value and appearance of your vehicle.
ceramic coating for cars
By SEO Team July 4, 2025
Learn what makes ceramic coating glossy. Discover how SiO₂, surface leveling, and proper application techniques create a deep, long-lasting shine for vehicles in Savannah.
Window Tint Temperature Reduction
By SEO Team June 15, 2025
Learn how window tint temperature reduction helps cool your car's interior, reduces AC usage, and protects passengers from heat and UV rays. Contact us!
ppf for new car
By SEO Team June 10, 2025
Discover why applying PPF for new car protection can prevent paint damage, preserve resale value, and keep your vehicle looking brand new. Call us!
Car surface showing results of how to apply paint protection film professionally.
By SEO Team May 15, 2025
Learn how pros apply paint protection film for a flawless finish using expert tools and techniques. Call us to book your PPF service!
Close-up of a car window with freshly installed dark window tint
By SEO Team May 10, 2025
See how experts replace car window tint with precision tools and techniques. For a flawless finish, contact us today!