Wrap Over Paint Protection Film: A Guide to Vehicle Customization
For vehicle owners looking to protect their paint and upgrade aesthetics, combining Paint Protection Film (PPF) with a vinyl wrap is an option worth considering. This dual-layer strategy offers both visual flexibility and added surface defense. At Northern Lights Home & Auto Coatings, we help drivers in Savannah enhance their vehicles while safeguarding them from road damage and weather-related wear.
This guide explains how PPF and vinyl wraps can work together, how to prepare for installation, and what to expect when comparing durability, protection, and application techniques.
Can You Apply a Vinyl Wrap Over Paint Protection Film?
Yes, you can apply a vinyl wrap over Paint Protection Film. When done correctly, this approach protects your vehicle’s original paint while adding a customized appearance. However, results depend on proper installation and surface preparation.
Before moving forward, confirm that your PPF is clean, defect-free, and fully bonded to the surface. This ensures better wrap adhesion and extends the life of both layers.
What Is Paint Protection Film?
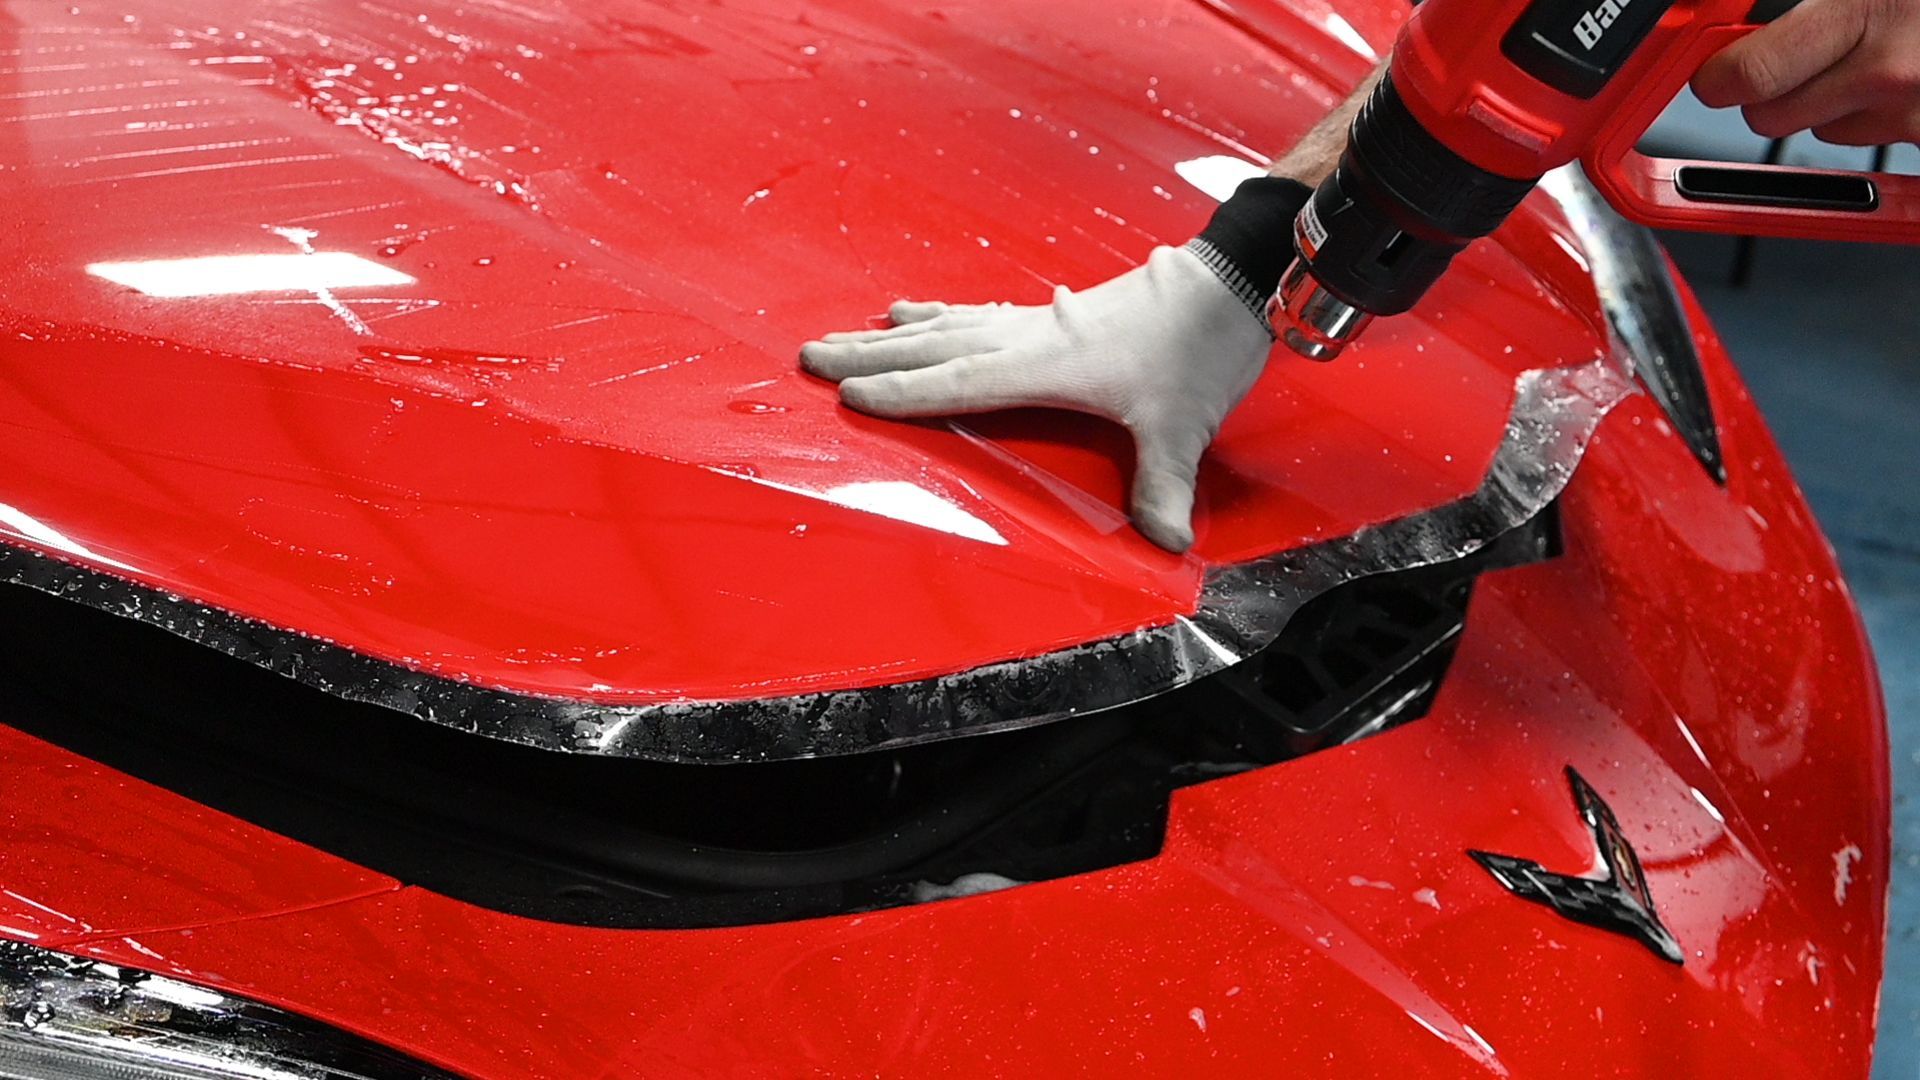
Paint Protection Film (PPF) is a clear, durable urethane layer applied to the painted surfaces of a vehicle. Its primary function is to protect against chips, minor scratches, bug splatter, and environmental contaminants. The material is designed to absorb impact and deflect debris without affecting the underlying paint.
Most high-quality PPF products are around 6 to 8 mils thick, offering strong resistance to wear while remaining flexible enough to mold to a vehicle's curves. These films are typically available in different finishes—gloss, matte, and satin—which allows drivers to choose a level of sheen that suits their preferences while keeping protection intact. Glossy PPF enhances paint depth, while matte options create a more understated appearance.
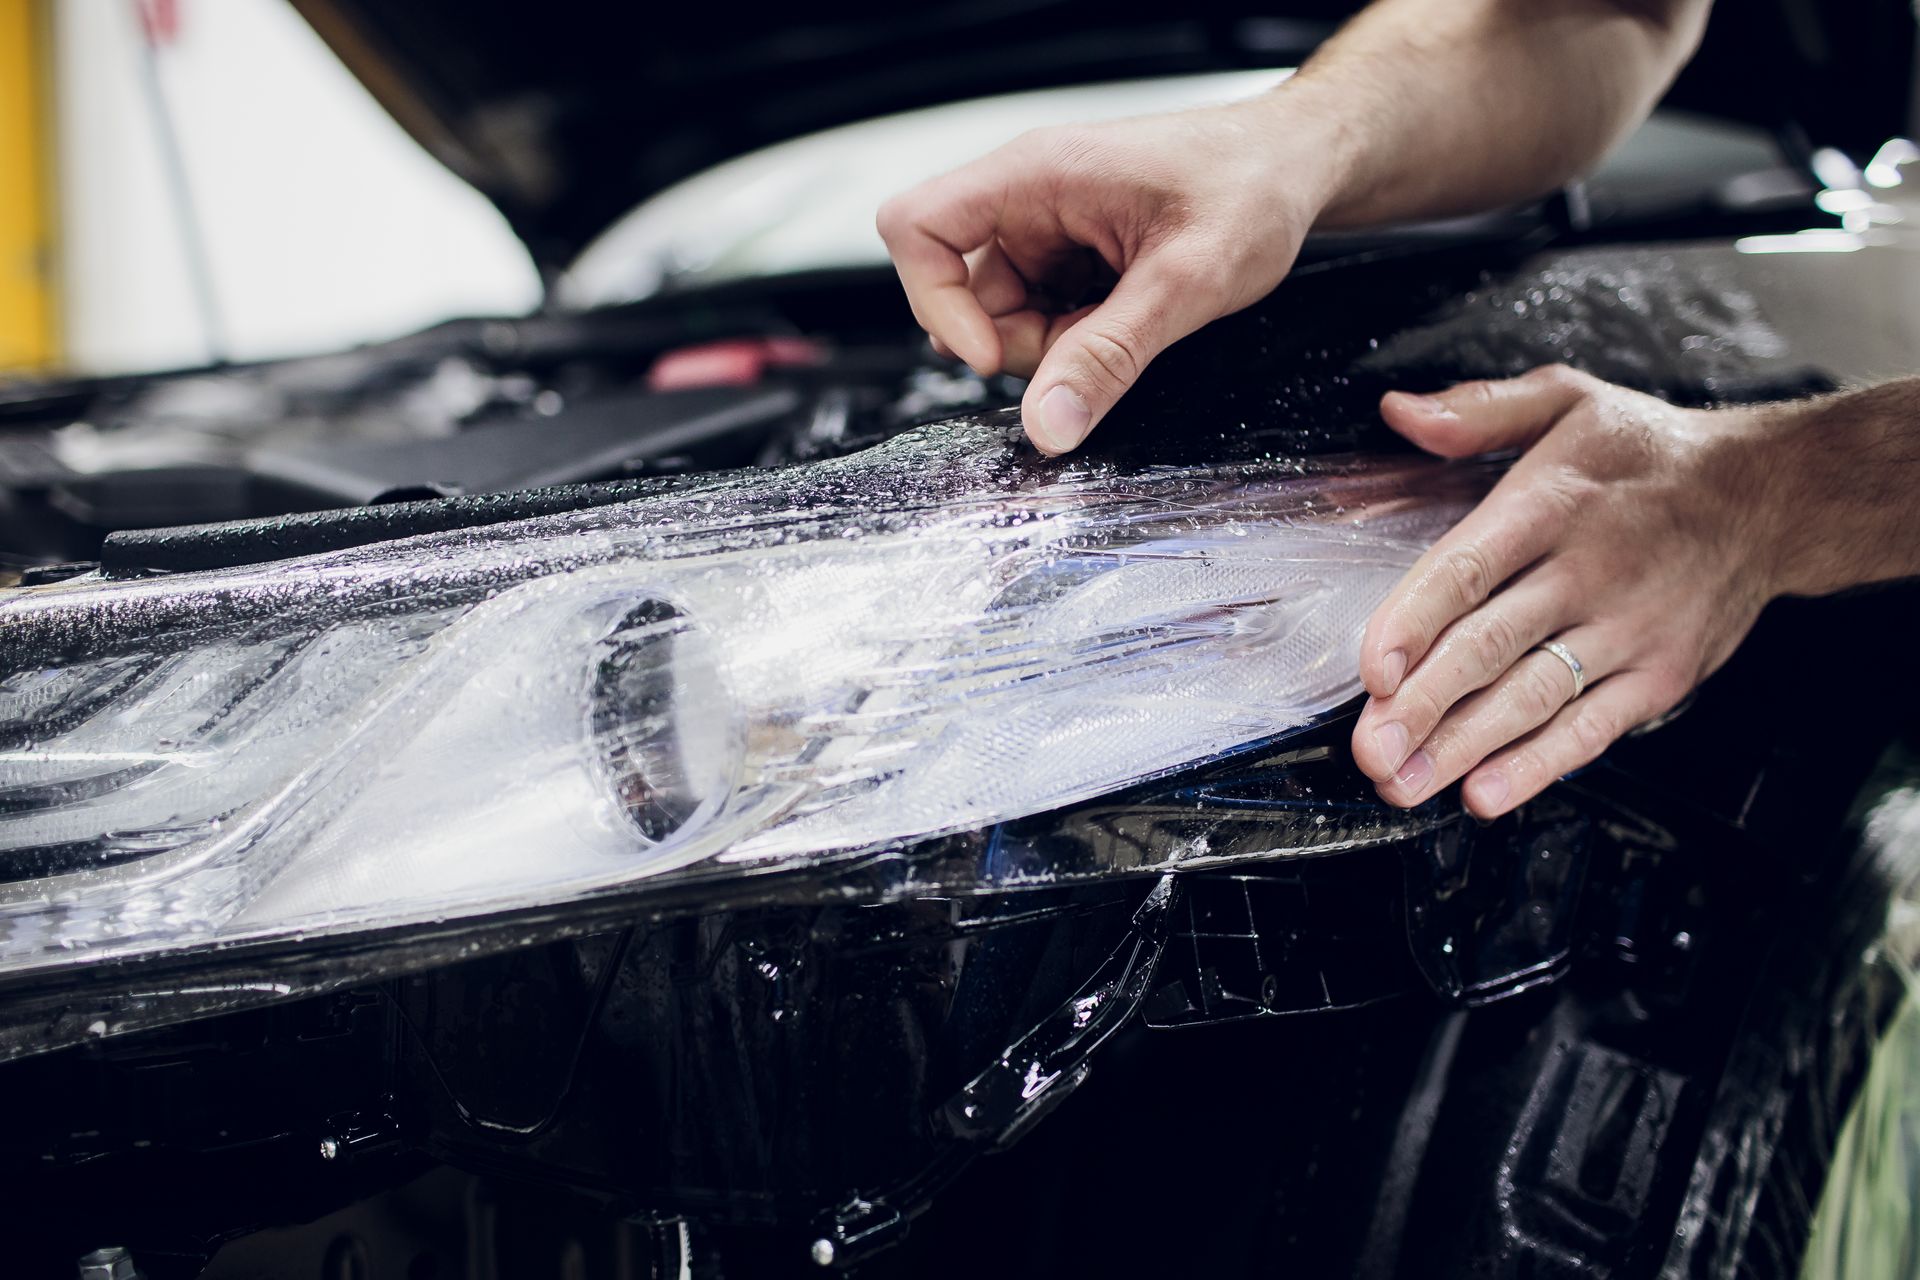
PPF can be installed using either pre-cut templates or bulk film that’s trimmed on the car. Pre-cut kits ensure edge precision and reduce cutting near the paint surface, while bulk applications allow for seamless coverage in hard-to-template areas. Some PPF products also come with a hydrophobic top layer, which enhances water beading and makes cleaning easier.
Self-healing properties are one of the standout benefits. Minor scratches fade away with the application of heat, restoring the surface to near-original condition without manual buffing or polishing. Whether you park in the sun or rinse with warm water, this feature helps maintain a freshly detailed look with minimal upkeep.
Before adding a vinyl wrap, it’s best to allow the PPF to fully cure—usually 48 to 72 hours—so it properly adheres to the paint and forms a stable surface for the wrap to bond. When installed and maintained properly, PPF offers long-lasting protection, helping preserve both the value and appearance of your vehicle.
Benefits of Wrapping Over PPF
Pairing a vinyl wrap with existing PPF allows you to personalize your vehicle while maintaining strong surface protection. Here’s how this approach works to your advantage:
1. Added Protection
The PPF absorbs impacts and shields the underlying paint. By applying a vinyl wrap over it, you gain an additional barrier that protects the PPF from scratches, dust, and fading.
2. Longer-Lasting Aesthetics
The vinyl wrap endures fewer direct hits from road debris and UV rays when applied over PPF. This helps retain the finish longer, reducing the need for early replacement.
3. Easier Wrap Removal
When it's time for a new look, removing the wrap is simpler and less risky. Since it doesn’t bond directly to the paint, the PPF below stays intact, preventing accidental damage during removal.
4. Reduced Maintenance
With both layers in place, dirt and contaminants are less likely to penetrate the surface. This simplifies washing routines and reduces the frequency of detailing.
Surface Preparation for Best Results
Before installing a vinyl wrap over PPF, proper preparation is essential. Skipping or rushing this step can lead to adhesion issues, trapped air, or premature peeling. Following a careful process ensures the wrap sits correctly and lasts longer.
Step 1: Wash and Dry Thoroughly
Start with a full wash using pH-neutral car shampoo. Avoid any product that contains wax, silicone, or harsh detergents. These substances may leave behind a residue that can interfere with vinyl adhesion. After rinsing, dry the vehicle using microfiber towels. Traditional towels often leave fibers or streaks behind, which can affect the wrap's smoothness.
Step 2: Decontaminate the Surface
Even after washing, fine particles can linger on the surface. Use a clay bar to remove embedded contaminants, such as tar, brake dust, and road grit. This helps create a completely smooth foundation, especially important when wrapping over PPF. Follow up with an isopropyl alcohol (IPA) wipe to remove any remaining oils or residue.
Step 3: Inspect the PPF Layer
Once the surface is clean, inspect the Paint Protection Film closely. Check for lifted edges, scratches, or signs of bubbling. Any defects should be repaired or replaced before wrapping. Vinyl applied over a damaged PPF may highlight flaws or fail to bond evenly.
Step 4: Control the Environment
Ideally, conduct installation indoors with controlled temperature and airflow. Dust, wind, or sunlight can introduce complications that reduce wrap performance. The optimal application range is between 60°F and 80°F.
By investing time in preparation, you reduce the likelihood of peeling, uneven bonding, or surface inconsistencies that shorten the life of the wrap.
Application Methods for Wrapping Over PPF
Both dry and wet installation methods can be used when applying a wrap over PPF. The right approach depends on the installer’s preference and the vehicle’s contours.
Dry Application
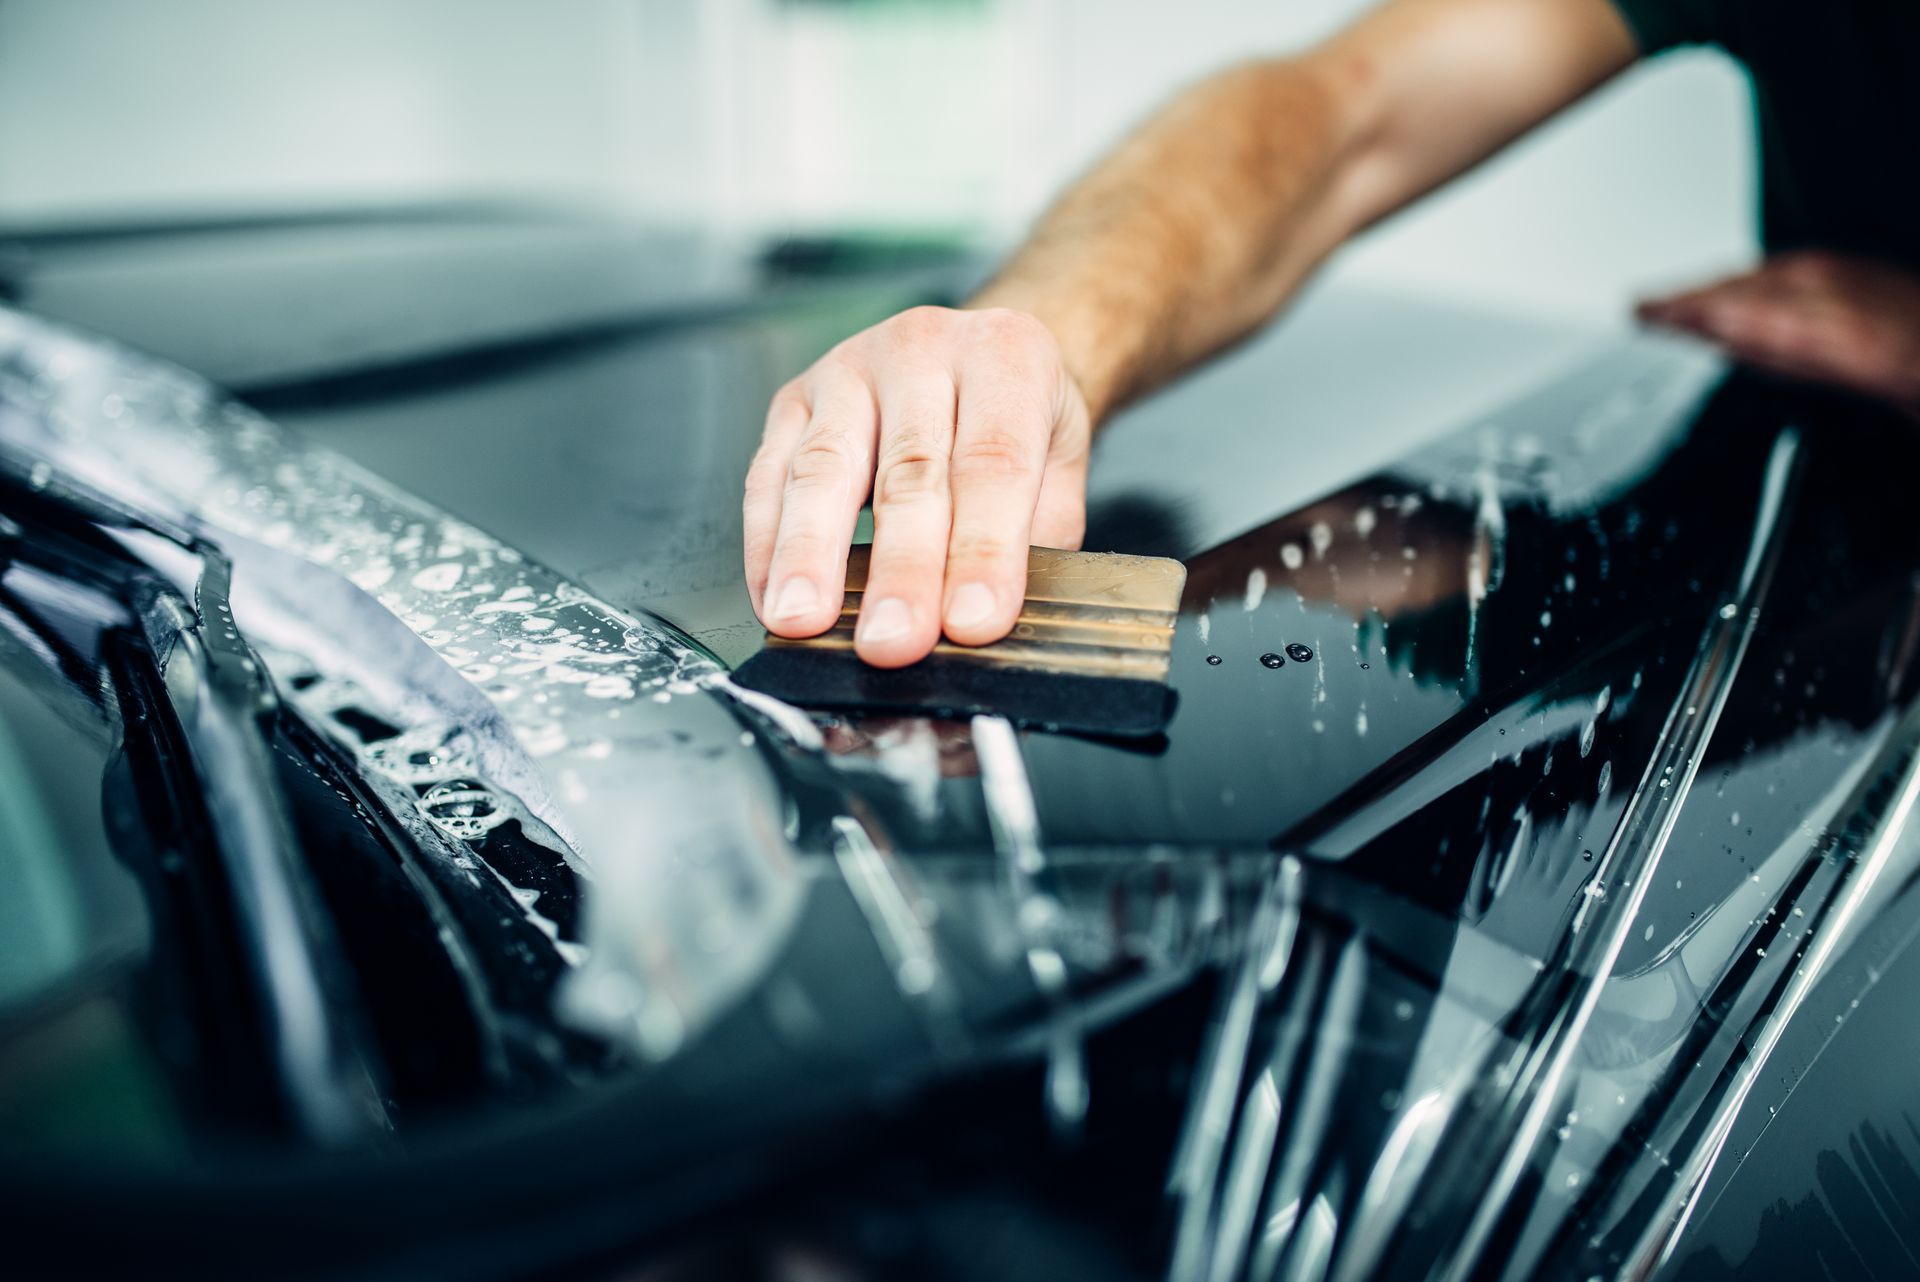
Dry wrapping involves placing the film directly onto the surface and using a squeegee to press it into place. This method is faster but requires precision to avoid trapped air or misalignment. Work in moderate temperatures—ideally between 60°F and 80°F—to maintain vinyl flexibility.
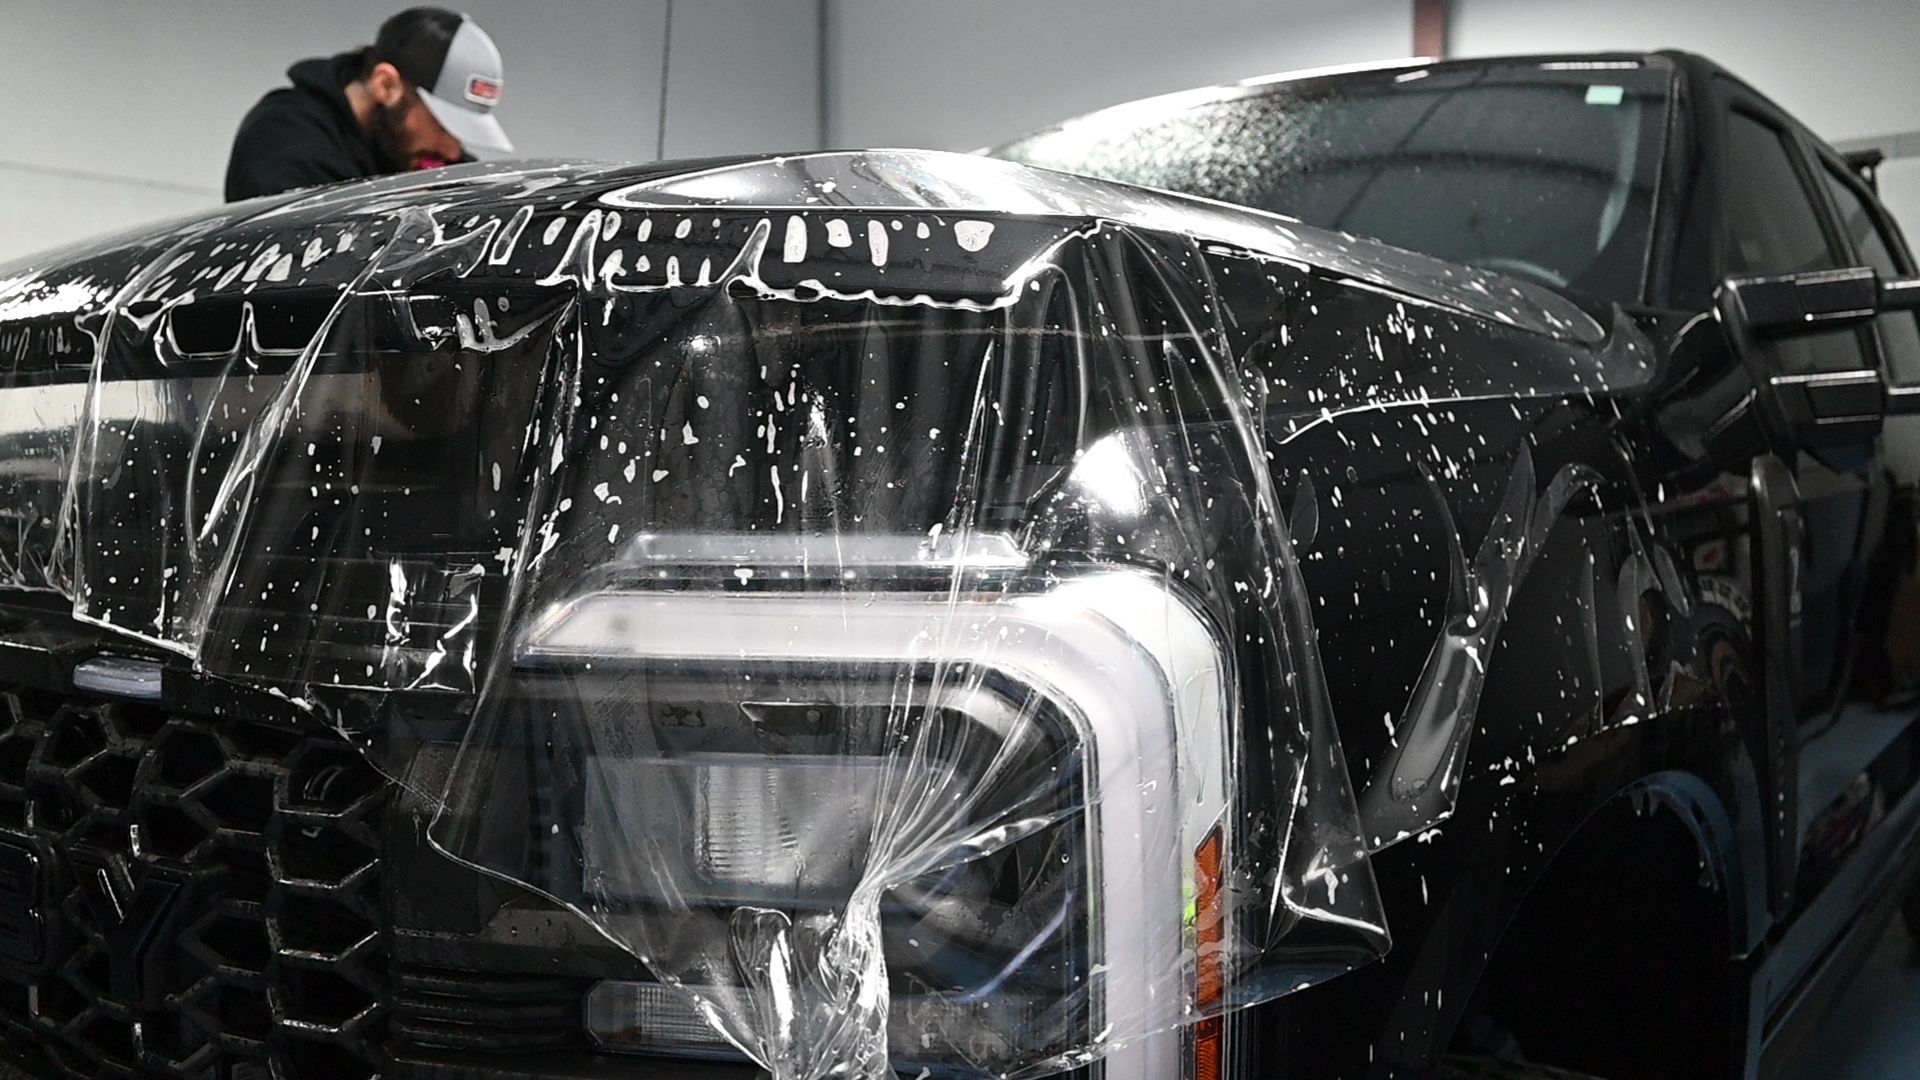
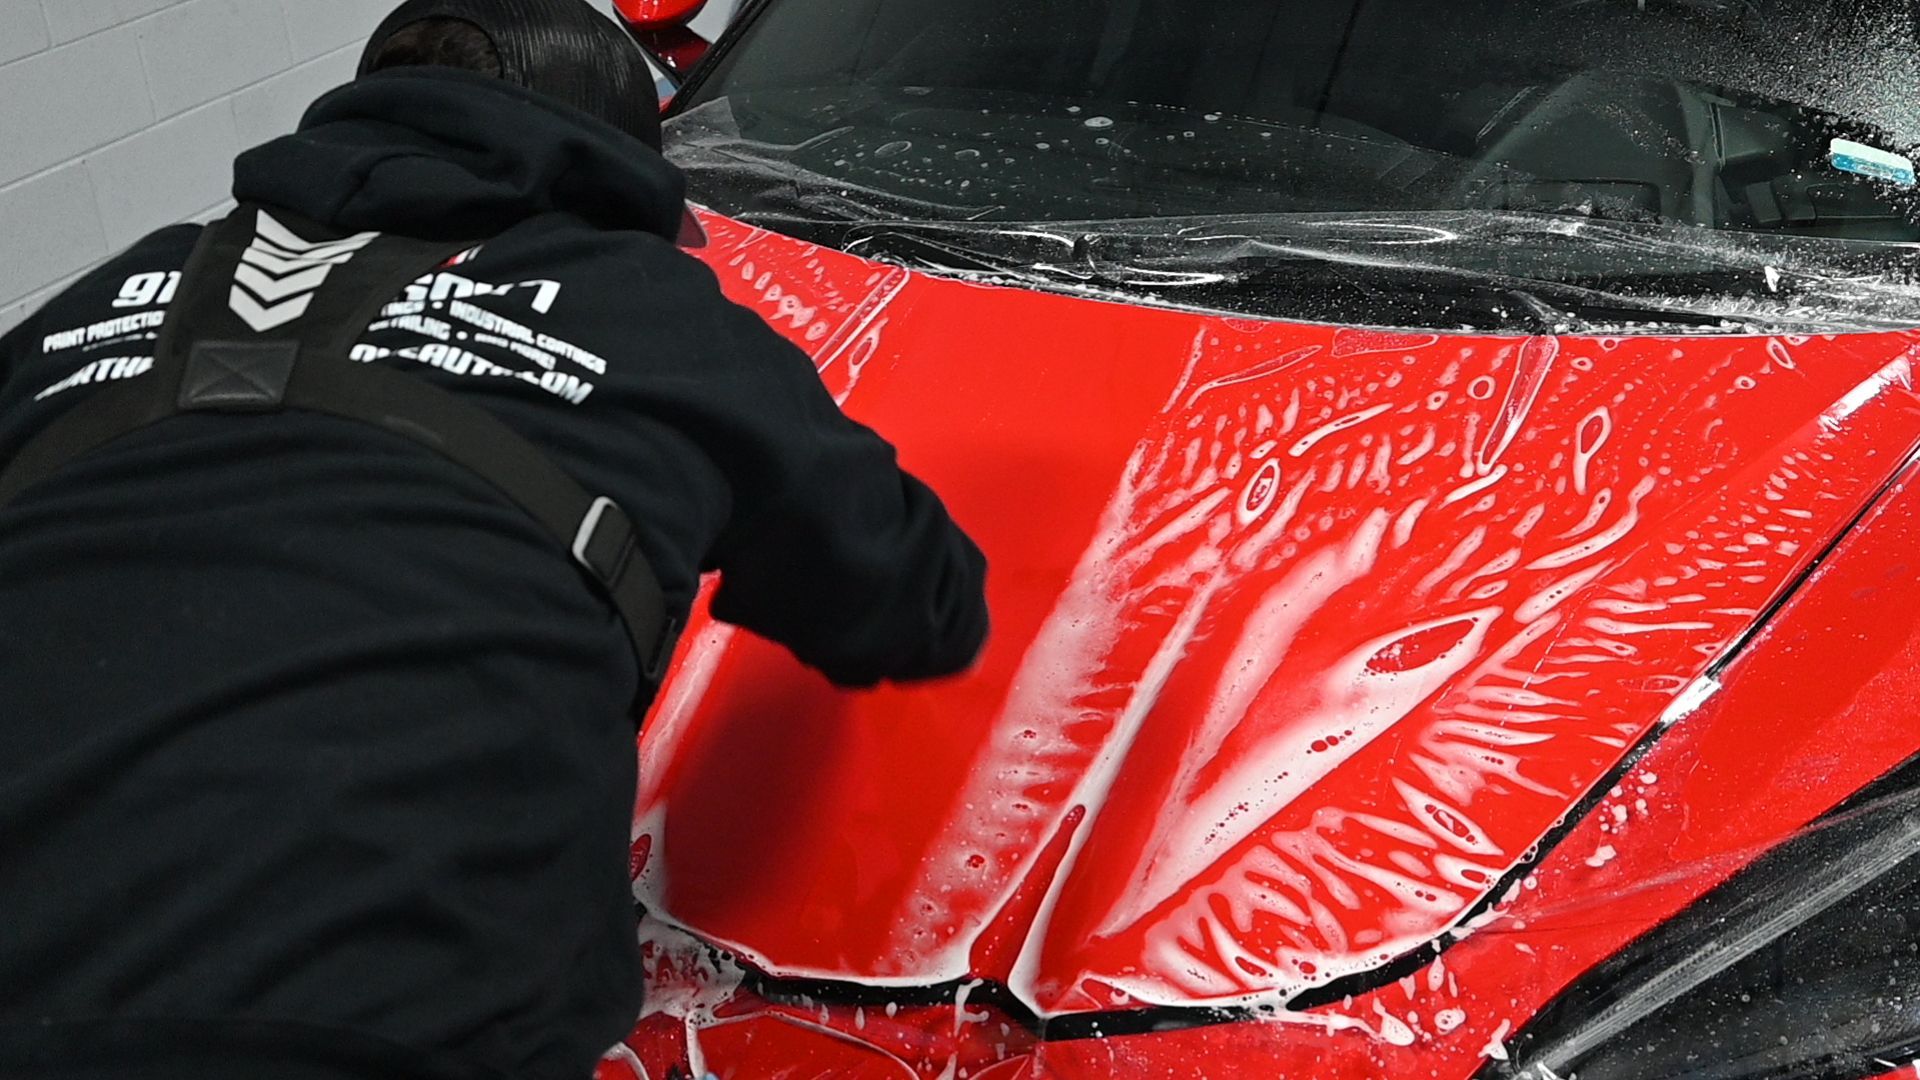
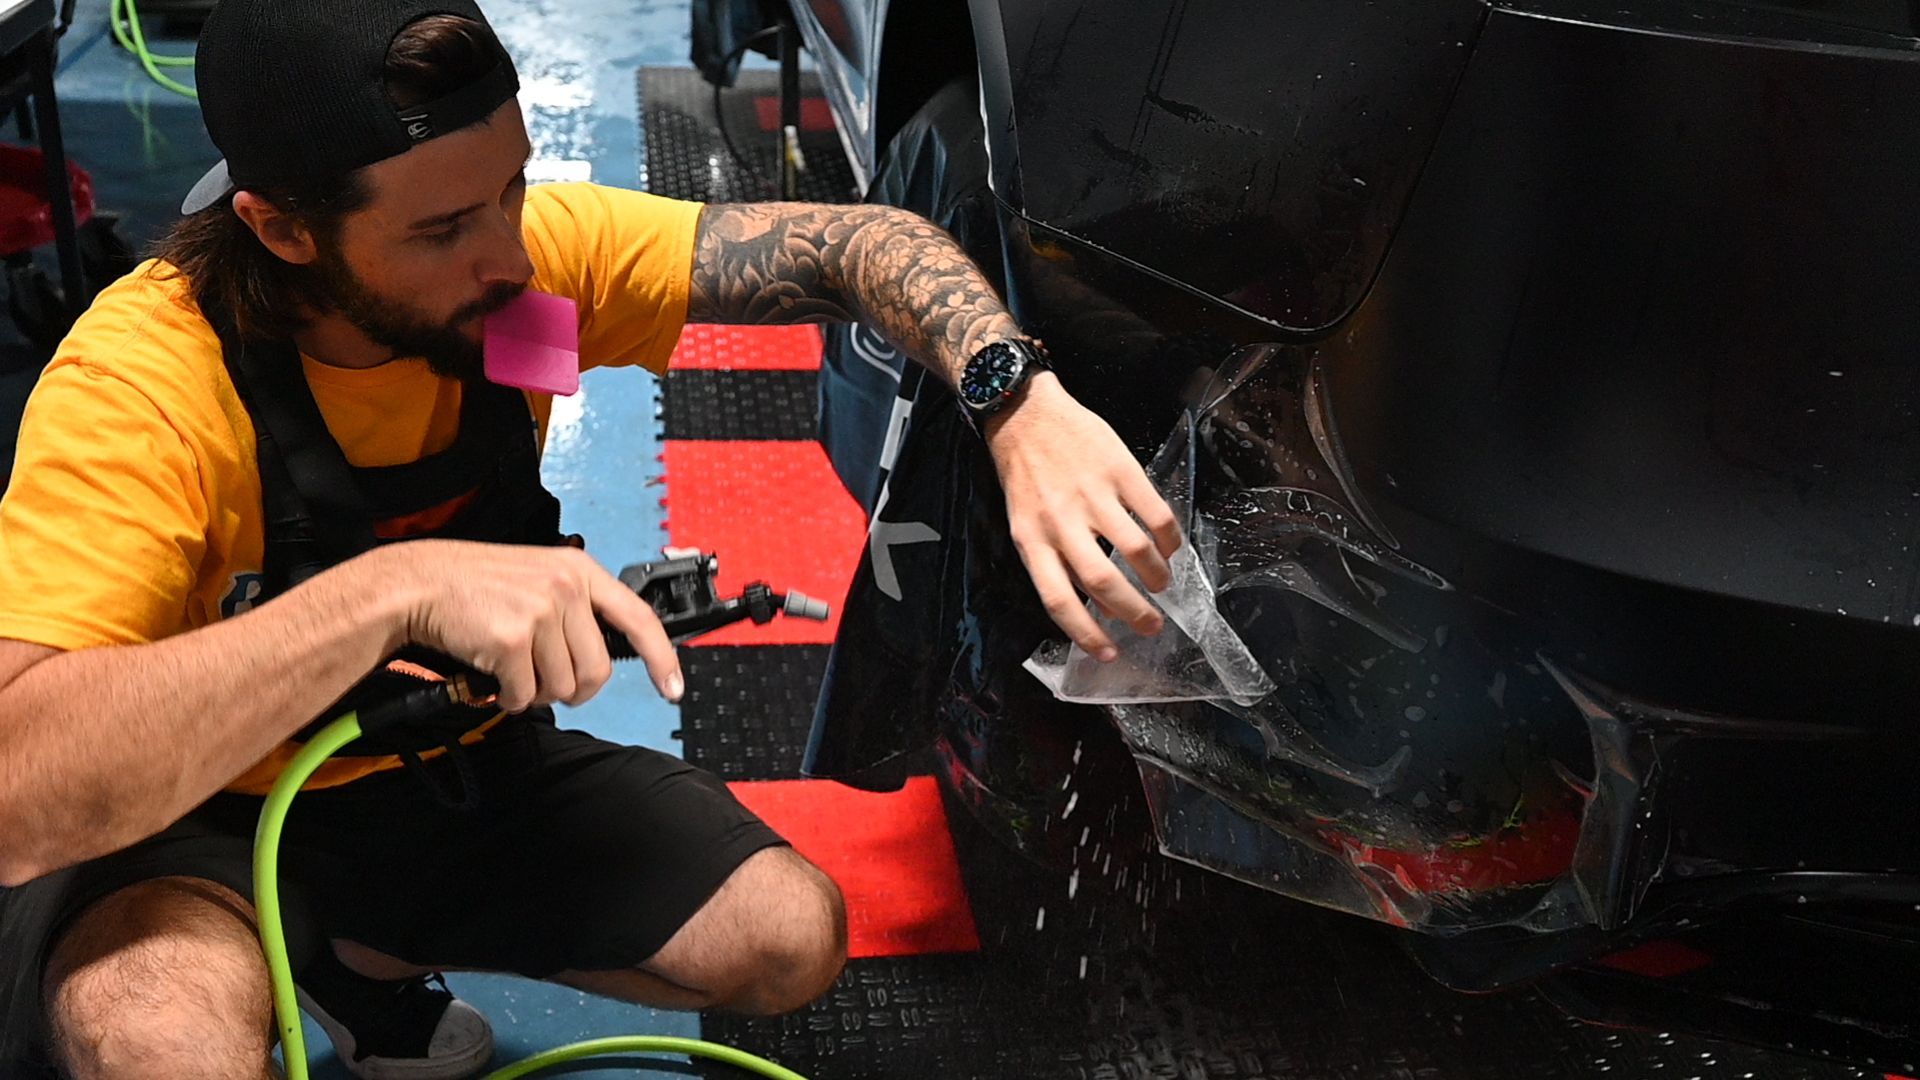
Wet Application
For greater control, the wet method allows repositioning before final adhesion. A soap-and-water solution is sprayed on both the surface and adhesive side of the vinyl. After placement, installers use tools to remove trapped fluid and air before allowing the wrap to cure. While this method takes longer, it helps avoid wrinkles and stretching in curved areas.
In many cases, installers combine both methods—dry application for flat sections and wet application around curves or recessed areas.
Durability and Protection: PPF vs. Vinyl Wrap
Both Paint Protection Film and vinyl wraps offer distinct forms of protection, and together, they create a layered system that increases the resilience of your vehicle’s finish.
PPF: The Impact Shield
Paint Protection Film is built to absorb impact. It protects against rock chips, road debris, and other physical damage. It also offers strong resistance to chemical contaminants like bug acids, bird droppings, and road salt—substances that can etch paint over time.
PPF’s self-healing top layer responds to heat, which helps erase swirl marks and light abrasions automatically. This feature helps preserve the surface even after repeated exposure to daily hazards.
Vinyl Wrap: Style and Support
Vinyl wrap adds a customizable appearance layer. Though not as impact-resistant as PPF, it contributes by reducing UV exposure and minor surface wear. When used over PPF, the vinyl wrap acts as a sacrificial layer, preserving both the paint and the film beneath it.
Combined Benefits
When both are used together, the protective system becomes more effective. The vinyl wrap takes the brunt of wear—especially from UV rays, weather, and surface contact—while PPF protects against deeper, structural damage. This reduces the frequency of maintenance and improves gloss retention.
Longevity Comparison
PPF alone typically lasts 5 to 10 years depending on maintenance and exposure. Vinyl wraps, when exposed directly to sunlight and the elements, often last around 3 to 5 years. When installed over PPF, the vinyl retains its finish longer since it experiences less direct wear. Some data suggests up to a 25% improvement in lifespan when the wrap is layered over a fully cured PPF.
Together, these layers deliver a balance of style, longevity, and surface resilience that outperforms either material on its own.
Professional Installation vs. DIY
Choosing between professional installation and a do-it-yourself (DIY) approach depends on your goals, skill level, and budget.
DIY: Budget-Friendly, But Riskier
Installing your own wrap or PPF may help save on labor costs, which can be a substantial portion of total project expenses. DIY kits are readily available and include essential tools like squeegees and application fluid.
However, installation requires a dust-free space, temperature control, and detailed technique. Even small errors—such as overstretching vinyl or failing to remove trapped air—can result in visible imperfections or early material failure. DIY PPF is especially challenging, as trimming film around edges without scratching paint takes considerable precision.
For reference, a common issue among DIY installers is edge lifting. This occurs when the wrap fails to seal properly and starts to peel after a few months, especially near high-stress areas like mirrors, bumpers, and hood corners.
Professional Installation: Quality and Peace of Mind
Professional installers have years of experience, use specialized equipment (like plotters and infrared heaters), and work in controlled environments. At Northern Lights Home & Auto Coatings, we offer expert installation for both PPF and wraps, including edge sealing and post-installation inspection.
Professional services often include warranties that cover defects, peeling, and discoloration—benefits not typically available for DIY applications. While the upfront cost may be higher, the result is a cleaner finish, stronger adhesion, and long-term savings by avoiding rework or early replacements.
If protecting your investment is the priority, professional installation offers a level of consistency and quality control that’s difficult to achieve alone.
Is Wrapping Over PPF Worth It?
Combining a vinyl wrap with Paint Protection Film offers style, customization, and surface defense in one package. When installed properly, this layered method helps you maintain a clean, well-preserved appearance with less frequent maintenance.
Whether you’re looking to protect a new car, refresh your current vehicle’s appearance, or test a unique design—this dual-layer solution delivers both visual impact and long-term protection.
Book Your Custom Wrap and PPF Installation Today
For drivers in Savannah who want both protection and personalized style, Northern Lights Home & Auto Coatings offers expert application of vinyl wraps over Paint Protection Film. Whether you're looking to preserve a factory finish, test out a new color, or reduce maintenance, our team is here to help. Contact us now!